An invoice is an important document used for maintaining the records of payments or transactions between a customer and a vendor. Invoices are useful in business analysis and provide legal protection against any kind of misconduct. For every invoice, there has to be a Purchase Order provided to the vendor.
In this blog we will create a non-PO based Invoice.
Pre-requisites:
- Accounts Payable Manager Role in ERP cloud instance for Invoice Creation.
Solution: Solution is divided into two parts:
Part 1 – Invoice Creation
Part 2 – Payment Processing
Part 1 – Invoice Creation
Step 1: Log in to Oracle ERP cloud instance and navigate to Invoices work area via Payables tab.
Navigator -> Payables -> Invoices.


Step 2: Click on Tasks and then click on Create Invoice.
Tasks -> Create Invoice.

Step 3: Add required details and click on Save.
Invoice Header Details ->Add Line.

Line Details -> Click Save.


Step 4: Validate the Invoice by clicking on Invoice Actions tab.
Recommended for you: How to apply Hold on Duplicate invoices in Fusion using Rest API in OIC?
Invoice Actions -> Validate.

Step 5: Account the Invoice by clicking on Invoice Actions tab.
Invoice Actions-> Post to Ledger.

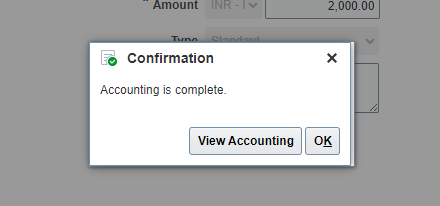
Step 6: Click on View Accounting and review the accounting of the Invoice.
View Accounting-> View T-Accounts

Step 7: We can also view the accounting by navigating to Journals work area via General Accounting tab.
Navigator-> General Accounting -> Journals.


Step 8: Click on Tasks and then click on Manage Journals.
Tasks -> Manage Journals.

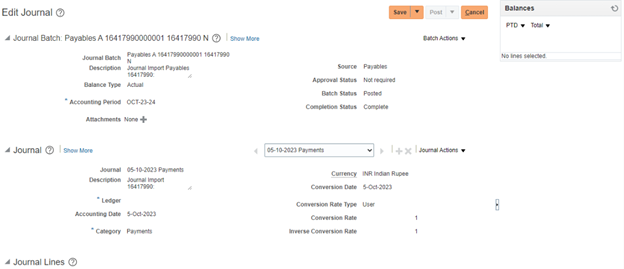
Step 9: Add Accounting Period and click on Search. To view the Journal details, we can click on the hyperlink below the headings Journal or Journal Batch.

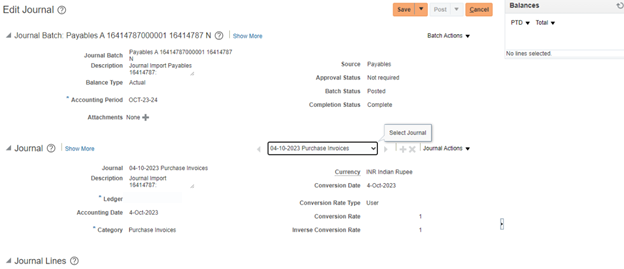

Part 2: Payment Processing: Payment can be processed in three ways:
- Pay in Full
- Submit Payment Process Request
- Create Payment
Here, in this blog we will process the Payment with 1st method that is Pay in Full.
Step 1: Navigate to Invoices work area via Payables tab and from Tasks, go to Manage Invoices and Search by Invoice Number.
Navigator -> Payables -> Invoices -> Tasks -> Manage Invoices -> Invoice Number -> Search.


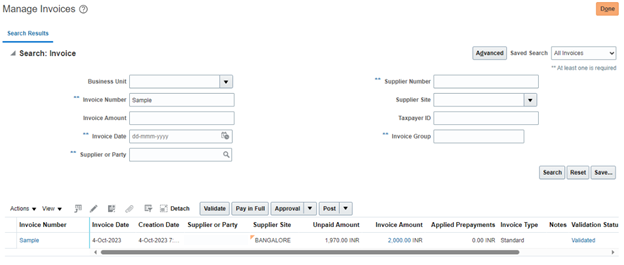
Step 2: Edit the Invoice and from Invoice Actions tab, click on Pay in Full. Add required details and click on Submit and then click on Save and Close.
Edit Icon -> Invoice Actions -> Pay in Full -> Payment Details -> Submit -> Save and Close.

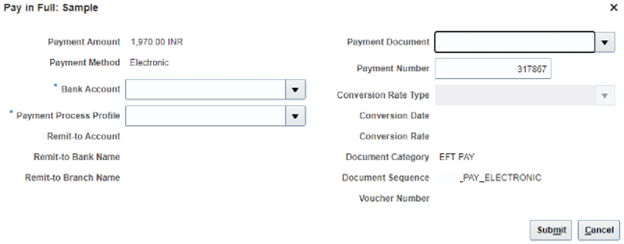

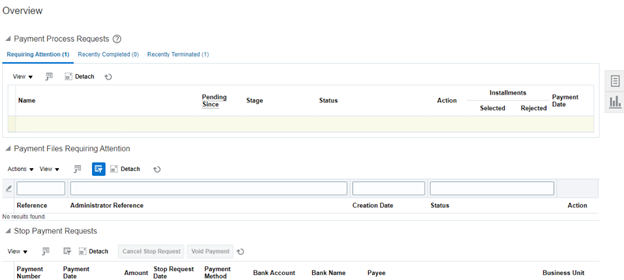
Step 3: To view the Payment details, navigate to Payments work area via Payables tab and from Tasks, go to Manage Payments and Search by Payment Number.
Navigator-> Payables->Payments->Tasks->Manage Payments->Payment Number->Search.



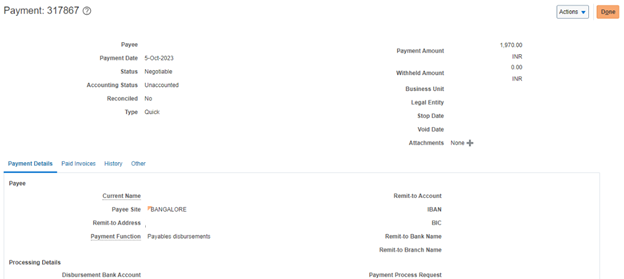
Step 4: Click on the hyperlink below the heading Payment Number to view the Payment details.

Step 5: Account the Payment by clicking on Actions tab.
Actions-> Post to Ledger.

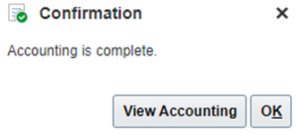
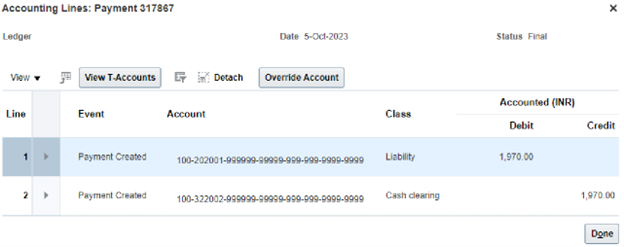
Step 6: Click on View Accounting and review the accounting of the Payment.
View Accounting->View T-Accounts

Step 7: We can also view the accounting by navigating to Journals work area via General Accounting tab.
Navigator-> General Accounting->Journals.


Step 8: Click on Tasks and then click on Manage Journals.
Tasks->Manage Journals.

Step 9: Add Accounting Period and click on Search. To view the Journal details, we can click on the hyperlink below the headings Journal or Journal Batch.

