In this blog, we will cover the basics of developing chatbots using Oracle Digital Assistant. To get started, we need to know some terminologies used in Oracle digital assistants. So, let’s understand some of the terms first before we proceed to the process.
SKILLS:
Skills in chatbots are individual units that, when combined, create a whole digital assistant. Each skill deals with its own context of conversation. So, we need to make sure we are defining a skill that holds only common types of conversations.
DIGITAL ASSISTANTS:
This is the whole system that manages connections among the various skills and deals with auto-initiating conversations with the users, access to channels, and various other things.
Let’s start by creating a demo skill, which is the banking skill, which creates a bank account in our own database, enables SQL tables, and allows us to fetch our account balance and transfer money from it as well.
Note:
Since it is a demo skill that walks you through various components of the digital assistant, we are not going to create different skills for various conversation contexts. Fetching an account balance is a whole new process altogether, which is quite different from opening a bank account and transferring money. Fetching balance is a complex process in a real-time scenario, so we should create a whole new skill for it. But here, for demo purposes, we are going to put all the processes into one single skill.
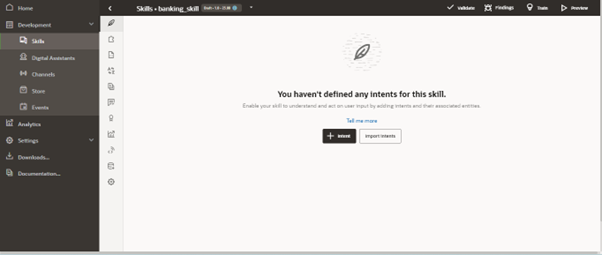
Once you log in to the digital assistant instance, choose the hamburger menu to open the navigation. Next, you must choose the development button.
In there, you will have a bunch of options, and then you will have to choose the skills button. Now, you will be navigating to the skill development UI.
Here you can choose to create a new skill, something like this.
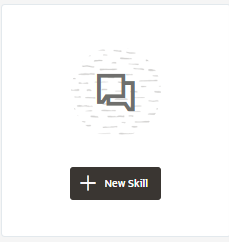
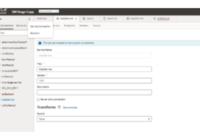
After choosing this, you would get a dialog box for the light configuration of the skill, something similar to the screenshot below:
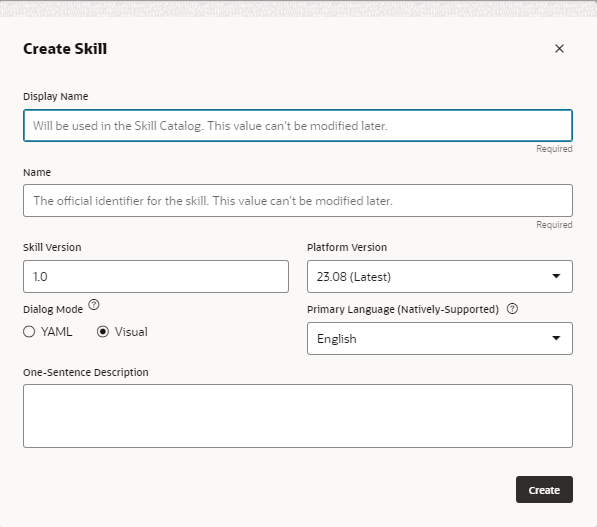
Here we can fill our skill name as banking_skill and we can choose Dialogue mode as Visual.
There are differences between YAML and Visual YAML mode is an old version option that has components that we must develop using a code editor. But in the Visual Mode component, there is a drag and drop option, which is the latest option.
Click Create, and you will be directed to a whole new workspace where you have a bunch of options.
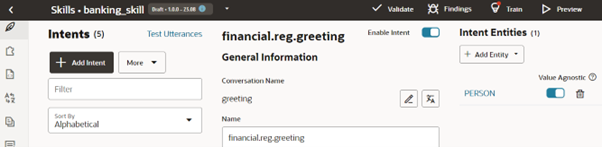
The first feather-like structure is navigation for the intent, and next to it we can see navigation for the entity. But before that, let’s understand exactly what these keywords are.
INTENT: This can be understood by its name itself; it is nothing but an operation a user wants to perform using a chatbot. For example, we have a sentence: “He plays football.” Here, “he plays” is the intent because this is the operation being performed.
ENTITY: This is nothing but the object on which the operation is being performed; if we take the previous example, we can say “football” is the entity. Similarly, all real-world objects like date-time, currency, food, and location numbers are nothing but entities.
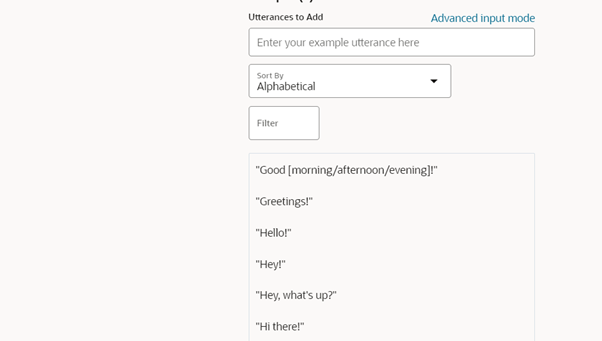
Creating an Intent: Click on add intent and give the intent name financial.reg.greeting, and now when we scroll down, we can get an input box to add utterances. Now, what are utterances?
UTTERANCES: Utterances are nothing but data that is required to train an intent for a single conversation context. For example, if we want the skill to perform some action when the user asks, “How much money is in my account?” Then we must train the skill by providing it with some more different sentences, which can be termed utterances.
Add some utterances for the greeting.
- “Good [morning/afternoon/evening]!”
- “Greetings!”
- “Hello!”
- “Hey!”
- “Hey, what’s up?”
- “Hi there!”
- “Howdy!”
- “Nice to see you!”
- “Salutations!”
But add all utterances in advanced input mode.
Now, if we just scroll above, we can find the Answer input box. If we want a default answer for this model’s intent, we can add it here. Let’s do that as well.
Just add an answer like this:
“Hello, how can I help you today?”
Now that we have created a greeting intent and its response, let us test it.
Click on the Preview button in the top right corner. A conversation tester will open, and here you must start the conversation. Say “hello”.
You will get the response, “Hello, how can I help you today?”
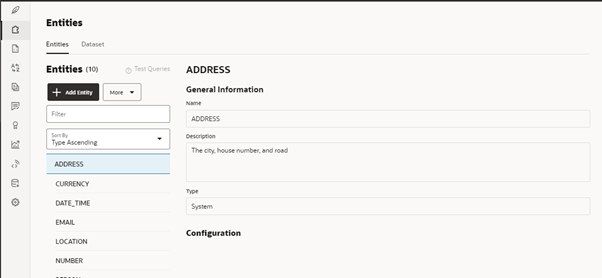
So, we have covered very basic things just to get acquainted with the flow; now let’s create our own defined entity.
Intent:
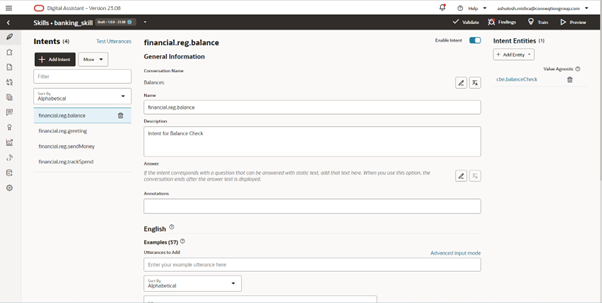
There are a total of four intents.
- balance
- greeting
- sendMoney
- trackSpend
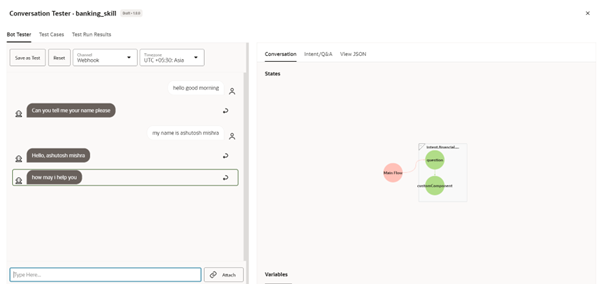
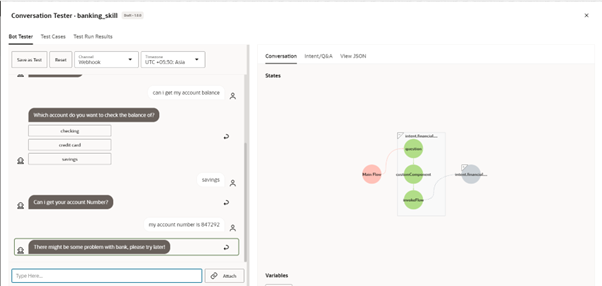
Financial.reg.greeting is the main entry point for the skill. Please find below a demo of the chatbot in the preview mode of the skill. Here, you can greet your digital skills as shown in the following screenshot.
Till now, our greeting intent has had its chance to run. Now greet intent will change the flow to check balance intent when we ask to get the account balance.
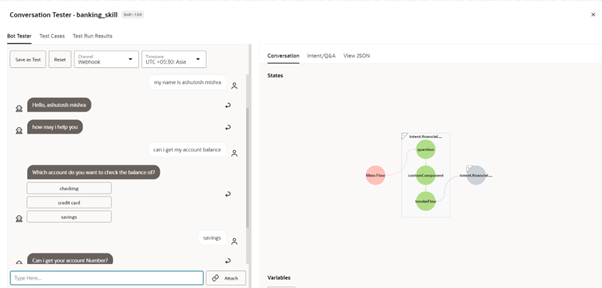
Here we have asked for the account balance and the bot responded with the type of account to choose. When we choose a saving bank account, it will ask account number for the same.
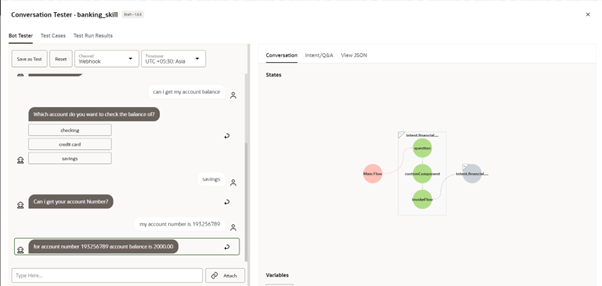
The response of the account balance is coming from the custom component we have created and have used on – premise database along with ORDS to get the account balance. Again, if the user put the wrong account number which is not available in database, then we will get another response which is shown in below screenshot. Here it is responding that there might be some problem with bank, please try later!
This response is also coming from the custom component. We will show it in the content below.
3. Custom Components
These are the custom components we have developed through nodejs. The first one is getBalance which fetches the user account balance. The other one is getMyDetails, which fetches the details of the user and the last one is getName is most simple one because it just populates the name from the backend side to the frontend.
Here is the next component that we thought would be better to show: this component shows the details of the person’s account details.
This is the most basic component which only shows the name of the user as per the response.
Attachment: Getmyname
This is the basics, and we have created a single custom component.
Please let us know your feedback in the comments section and get in touch with us at [email protected] to know more about Digital Assistants and how it can help your business.