In this blog, we’ll delve into the intricacies of VBCS and explore the primary method it offers for sending email notifications – the use of Business Objects. We’ll take you on a journey through the steps involved, highlighting how, based on the data entries within these objects, you can create rule sets that automate the triggering of email notifications.
Pre- Requisites
- OIC instance
- An VBCS Application
Once you Fulfil the above criteria you can follow the following steps –
Step 1: Create a Business Object
To initiate email triggers within your VBCS (Visual Builder Cloud Service) Application, the first essential step is to create a business object.
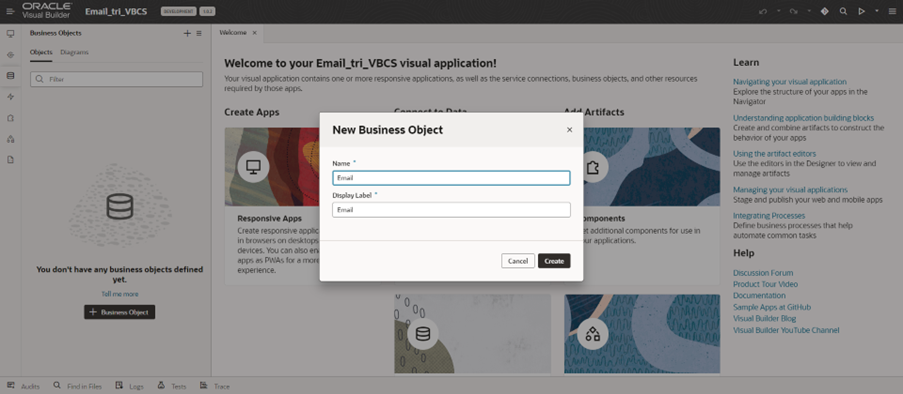
Step 2: Define the Business Object
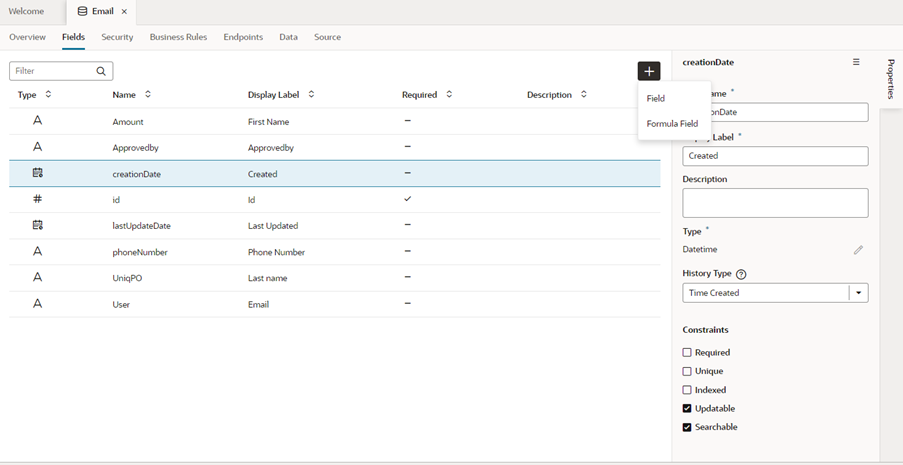
In this context, let’s name the business object ‘Email’ and proceed by adding relevant fields to it.
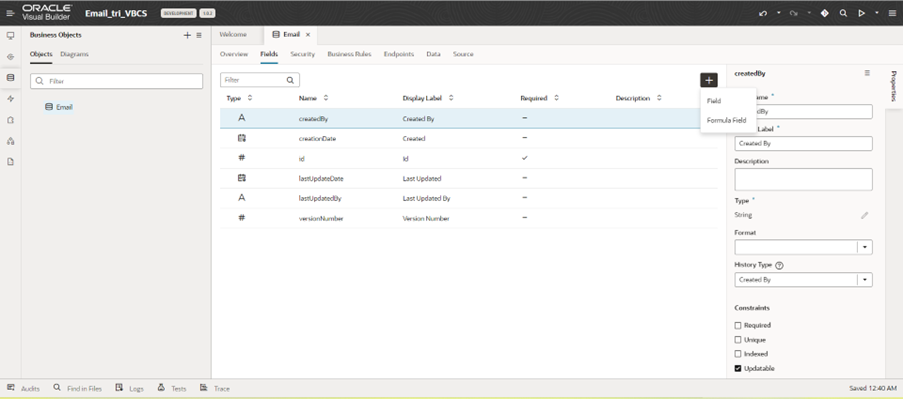
Step 3: Define Parameters for Business Rules
Based on the fields you’ve added to your business object, you can now establish parameters for your business rule sets.
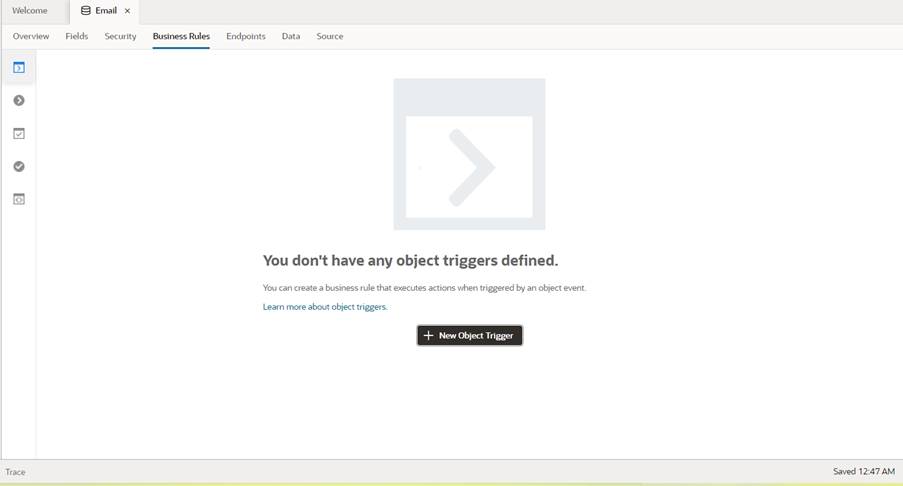
Step 4: Create a Business Rule Trigger
Now, create a business rule trigger by selecting the ‘New Object Trigger’ option.
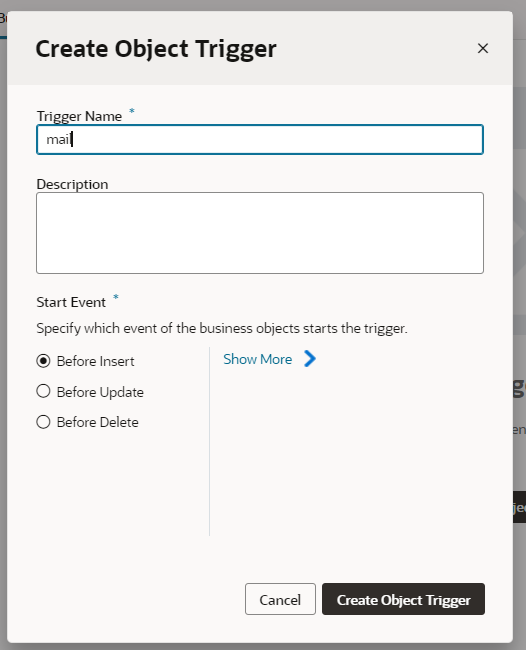
Step 5: Specify the Trigger Event
Specify the event that will trigger the email. For example, you can choose ‘Before Insert’ to trigger an email before data insertion.
Also Read: How to Create Editable Table in VBCS?
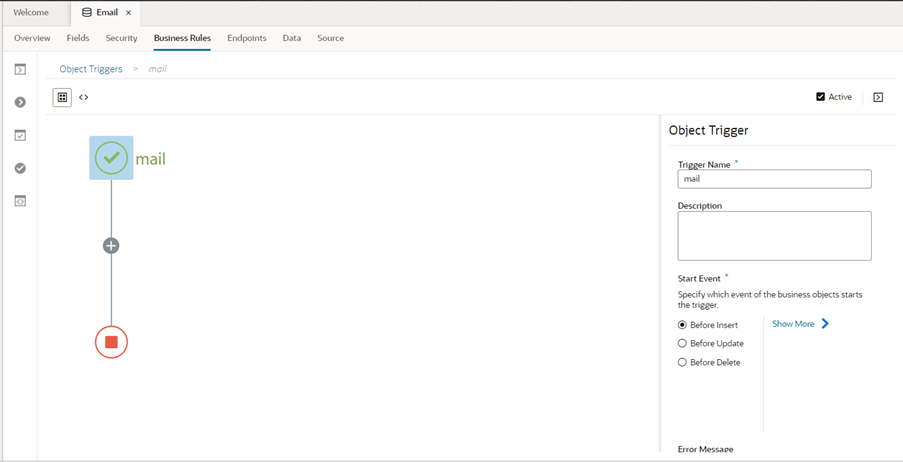
Step 6: Configure the Trigger Canvas
Upon creating the trigger, a canvas will be available for configuration.
Step 7: Add Conditions
By clicking the ‘+’ button, you can add conditions for your actions. In this case, let’s select ‘Always’ for simplicity.

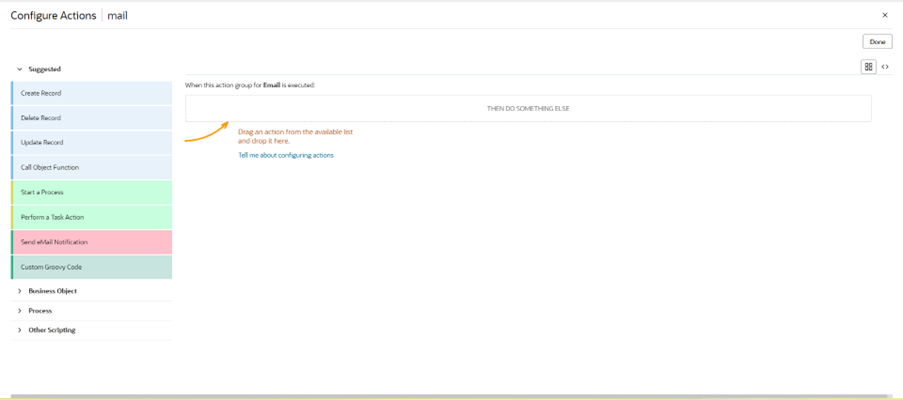
Step 8: Define Actions
After selecting a condition, you’ll need to add actions. Drag and drop the ‘Send Email Notification‘ action.
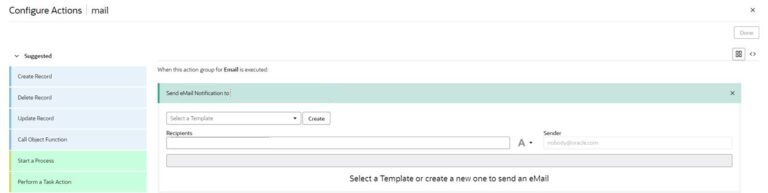
Step 9: Email Template Configuration
Once you’ve added the action, a configuration screen for the email template will appear.
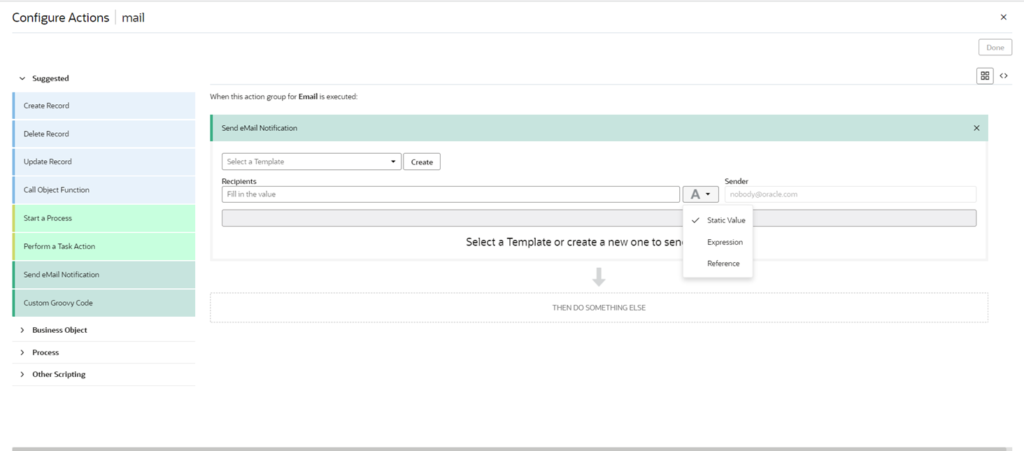
Step 10: Select Recipient
Choose ‘Recipient‘ as an expression to extract data from the business object entry.
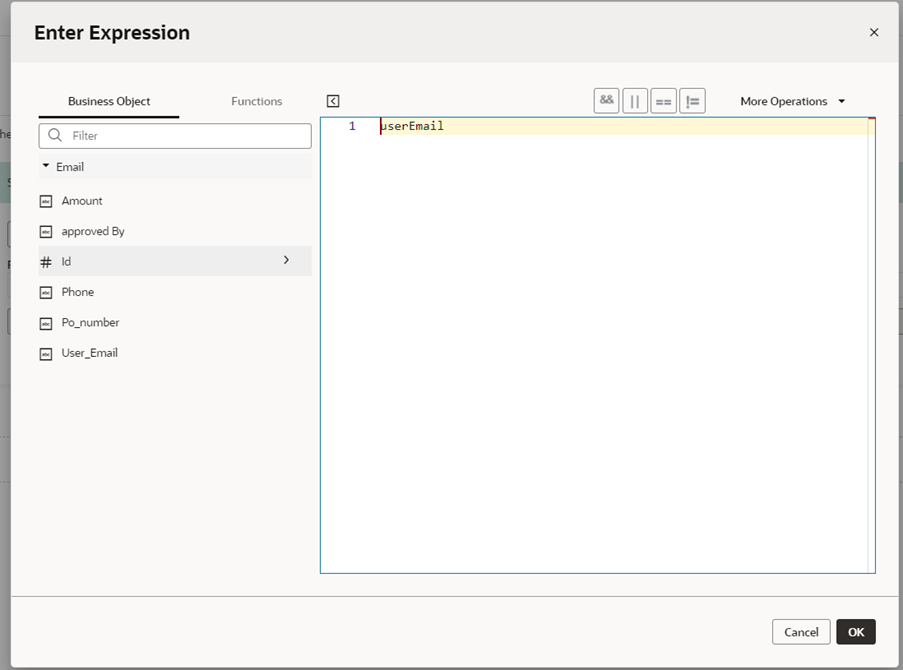
 Step 11: Map Recipient Email
Map the user’s email to the expression to ensure the email is sent to the specific address associated with the business object entry.
Step 12: Configure Email Body
Utilize the highlighted button to configure the email body. Add parameters to the body and map your data to populate the email content.
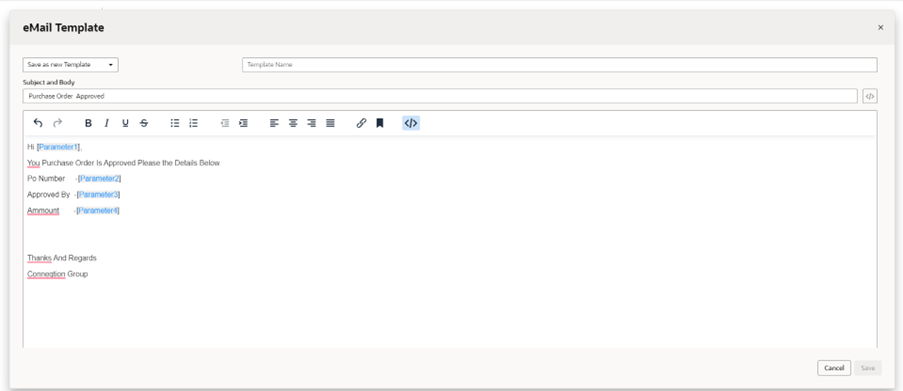
Step 13: Rename Parameters (Optional)
You can rename the parameters by double-clicking on them for clarity and organization.
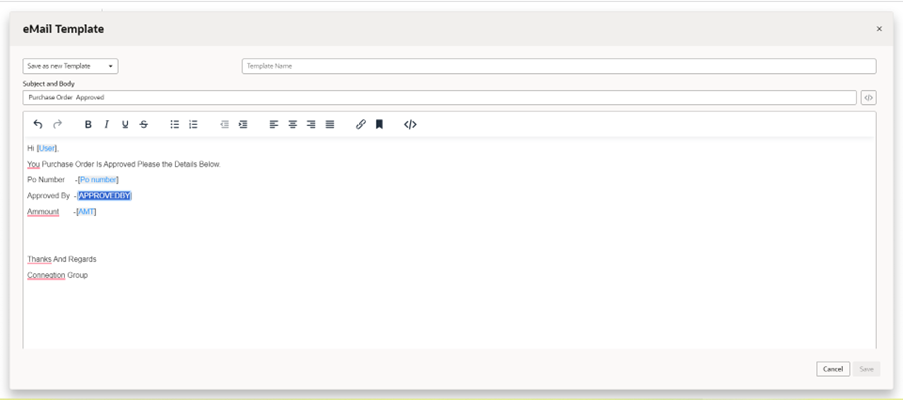
Step 14: Save the Email Template
Once you’ve configured the email template to your satisfaction, save it. You’ll then be directed back to the email notification action screen.
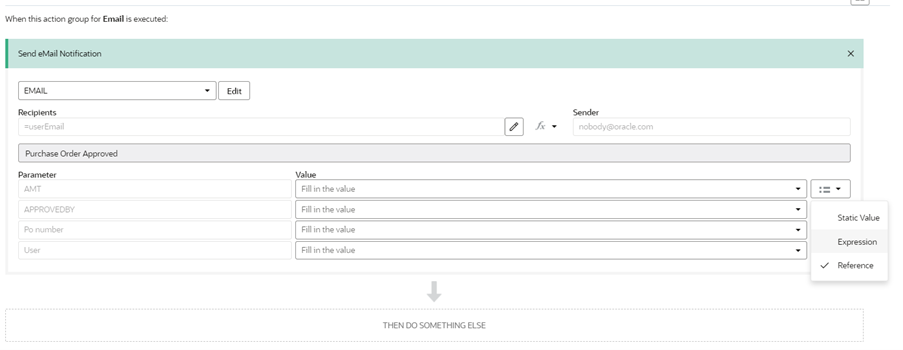
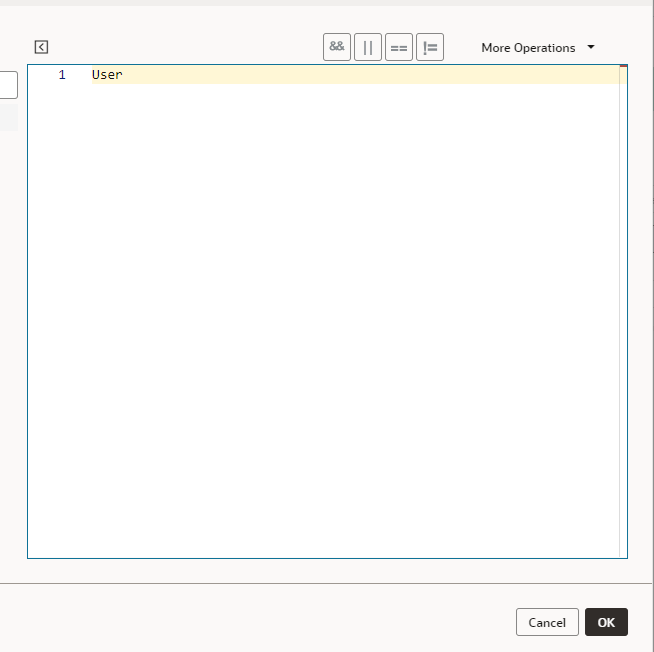
Step 15: Map Data
Map your data with the parameters to ensure it’s included in the email notification body.
Step 16: Test Your Rule Set
Upon completing the meticulous configuration and saving of all settings, your Business Object Rule Set will take shape as follows.
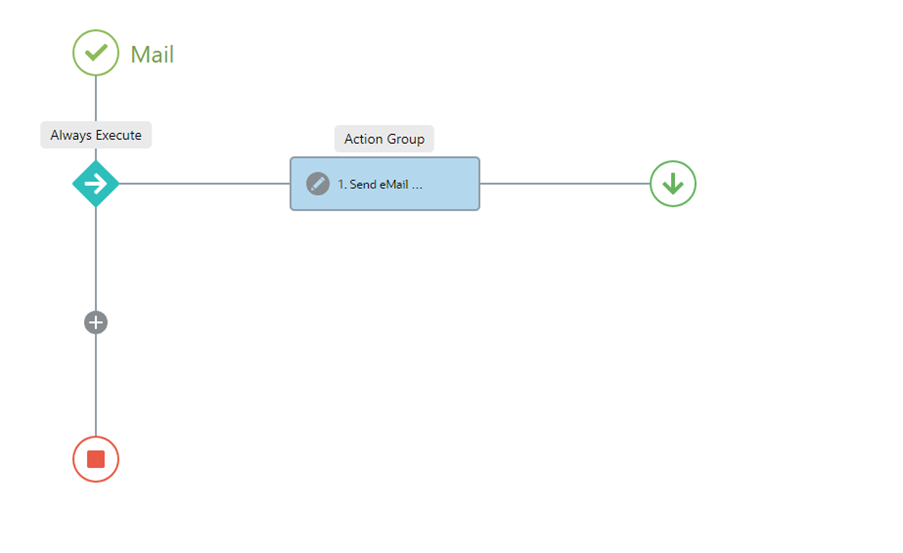
Finally, add data to your business object to test the functionality of your rule set.
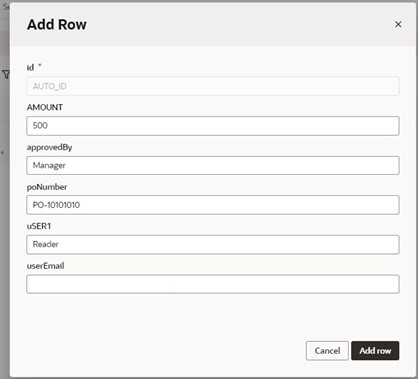
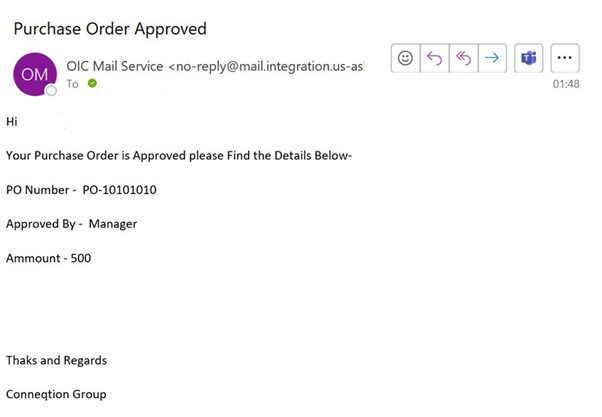
Result