In this blog, we will discuss how to seamlessly streamline data security with Oracle Cloud Infrastructure (OCI) Vault and Integration Cloud Services. So, let’s begin.
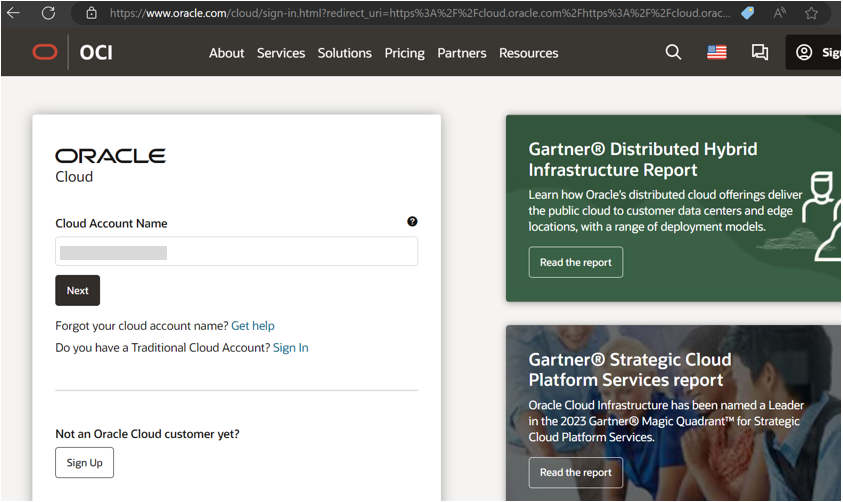
Step 1: Login to your Oracle Cloud account.
Step 2: Go to identity and security and click on ‘Vault’.

Step 3: Create ‘Vault’ and assign a name as shown in the image below.

Step 4: Once the Vault is created, generate encryption key.

Step 5: Create a key and assign a unique name, also we would require a few things before we start development in Oracle Integration Cloud (OIC) like:
- Cryptographic Endpoint
- OCID of encryption key

Step 6: Click on the key name that you have created for the vault and copy the OCID.

Step 7: Now, either you can start making the integration from scratch or use one of the recipes provided by OIC.
a) Login to OIC and on homepage, search in ‘Accelerators & Recipes’, click ‘Search All’.

b) We will configure this recipe which will be used to call the vault API, that we have created above.

c) Here is blog by Oracle to create connection for creating OCI Signature in Oracle Integration Rest Adapter for OCI Rest APIs . After this, let’s configure Oracle OCI Vault Connection.

d) Once the configuration is done as per the blog shared above, test the connection.

e) Now we need to configure the lookup Oracle_Encrypt_Decrypt_Data.

KeyId: Kindly share the OCID for the OCI Vault Encryption key that was previously copied following the creation of the OCI Encryption Key.
EmailTo & EmailFrom: Kindly provide the email address where you would like to receive notification emails in case of errors and provide the email address from which these notification emails should be sent.
Recommended Reading: Oracle Java Cloud Services (JCS) to WebLogic Server (WLS) on OCI
APIVersion: You can find the required API version in the OCI API documentation. For example, you can locate it in the Encrypt API documentation.
f) After configuring and saving the lookup, you’ll observe two integrations within this recipe: one for data encryption and the other for data decryption.

g) It is easy to activate both integrations by navigating to Design -> Integration. Now, it is possible to view and modify them if necessary. However, for your specific use case, these integrations meet all requirements perfectly, so no modifications are needed.
h) Now for encrypting data, we will test Oracle Encrypt Data integration:

i) Let’s decrypt the given integration by testing the Oracle Decrypt Data integration, we have copied the cypher text received after running the encrypt data integration:

Oracle Cloud Infrastructure offers a robust solution in the form of OCI Vault service, which adeptly manages keys and provides APIs tailored for this purpose. While there exist alternative methods, the simplicity and effectiveness of OCI Vault makes it a compelling choice for various use cases, notwithstanding the potential inefficiencies stemming from multiple API calls in certain scenarios.
It’s worth noting that the demonstration utilized Oracle Integration 2 for the screenshots. However, users leveraging Oracle Integration 3 can seamlessly replicate the outlined steps to achieve identical results.
If you have any questions or would like to know more on the topic, please let us know in the comments or get in touch with us on [email protected].