The Object Storage platform is a robust storage solution designed for internet-scale operations, delivering exceptional performance and cost-effectiveness while ensuring reliable data durability. With its capacity to accommodate an extensive range of unstructured data, including analytical data and media such as images and videos, the Object Storage service provides virtually limitless storage capabilities for various content types.
Advantages of using Oracle Object Storage
Seamless Data Management with Object Storage: Using Object Storage, you have the assurance of safely and securely storing or accessing data either directly from the internet or within the cloud platform. This service provides numerous management interfaces for efficient handling of storage at any scale. With its flexibility, you can initiate with minimal resources and effortlessly expand without compromising performance or reliability.
Flexibility and Accessibility of Object Storage: Object Storage operates as a regional service independent of specific compute instances. Whether you’re within or outside the Oracle Cloud Infrastructure, accessing data is feasible with internet connectivity and access to any of the Object Storage endpoints. Details regarding authorization and resource limits will be addressed later in this discussion.
Diverse Storage Tiers in Oracle Cloud Infrastructure: The Oracle Cloud Infrastructure provides various storage tiers to cater to diverse needs, offering both cost-effectiveness and performance options. By default, the standard storage tier is utilized for Object Storage buckets.
How to upload data into Oracle Object Storage?
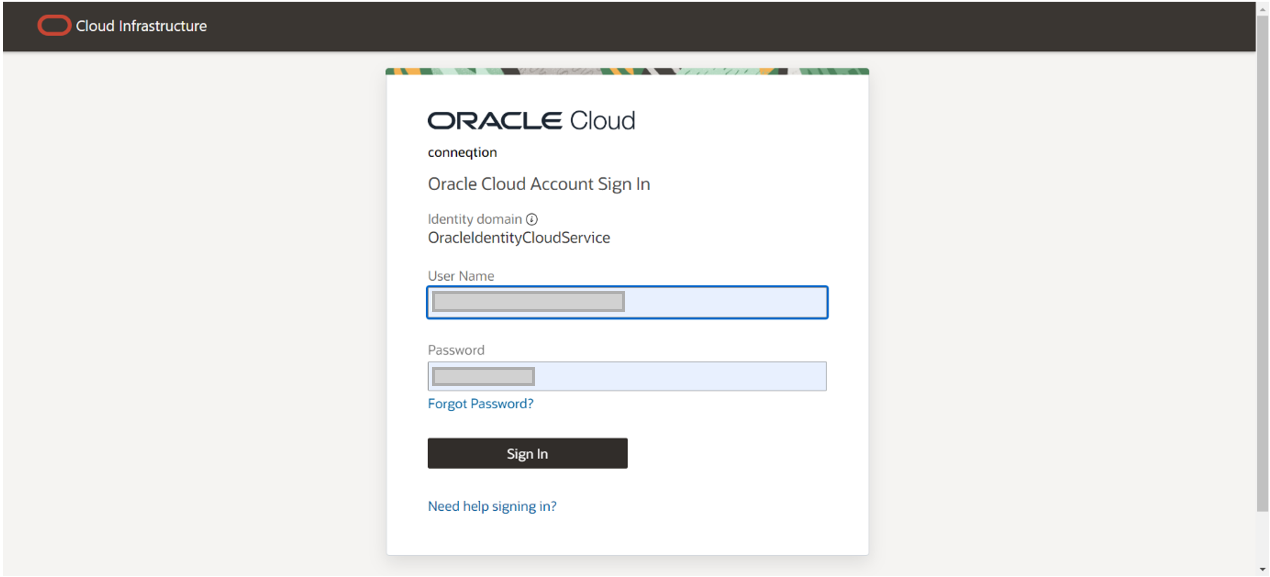
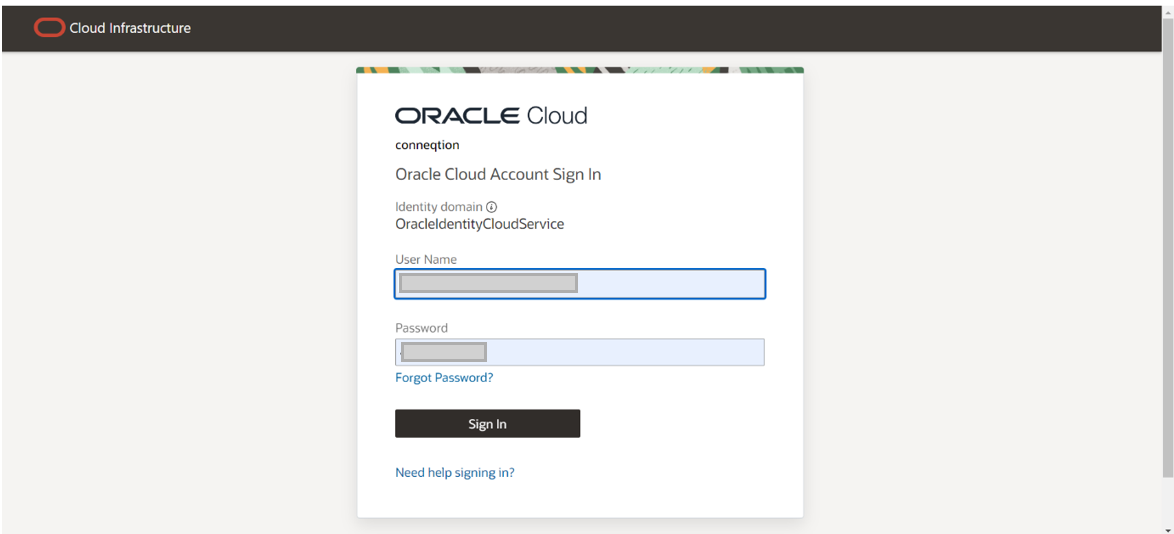
Step 1: Access the Oracle Cloud console.
Log in to your Oracle Cloud Infrastructure account using your credentials.
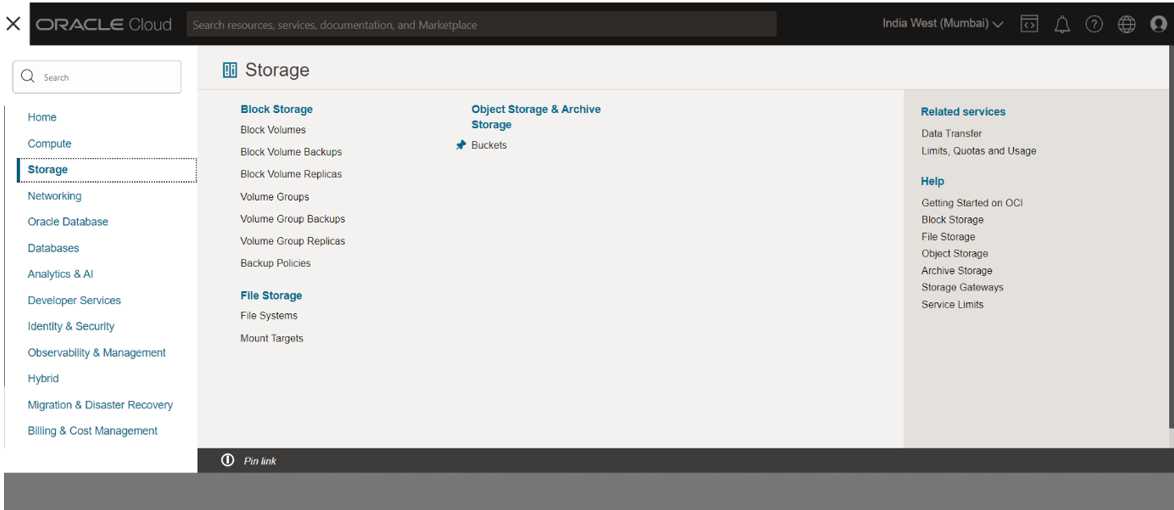
Step 2: Navigate to Object Storage
Once logged in, navigate to the Object Storage service in the Oracle Cloud Console. This service can typically be found under the “Storage” section.
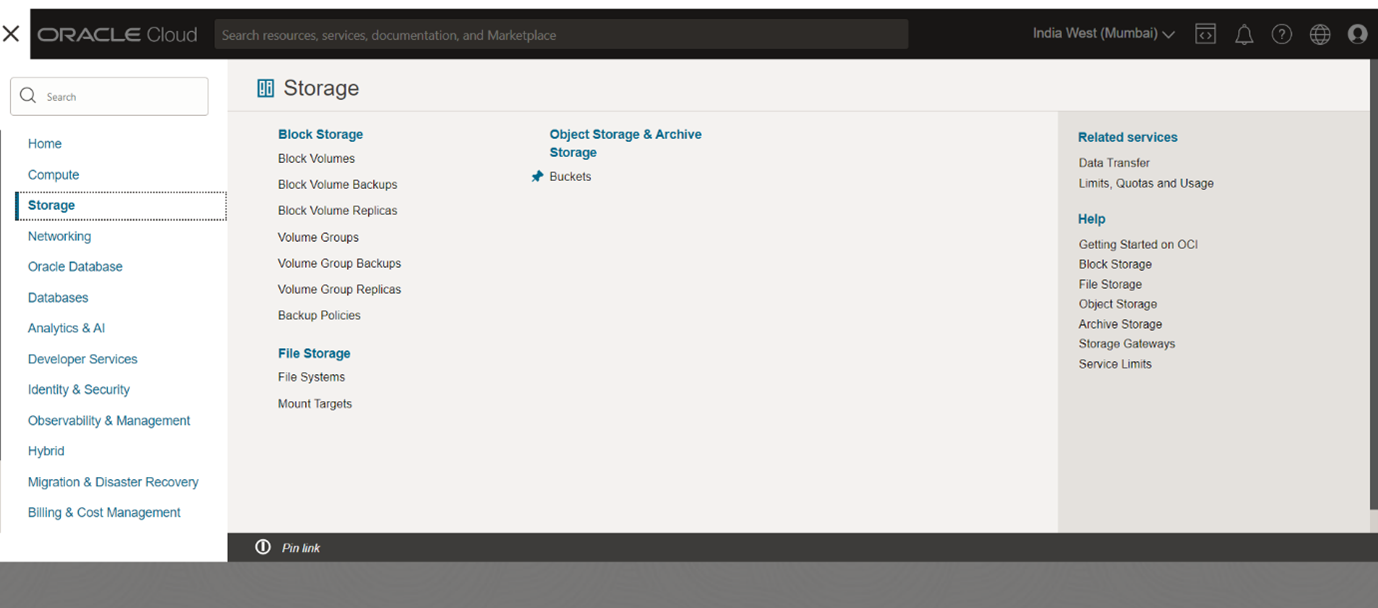
Step 3: Create a Bucket
If you haven’t already created a bucket to store your data, you’ll need to create one. Buckets act as containers for your files and objects.
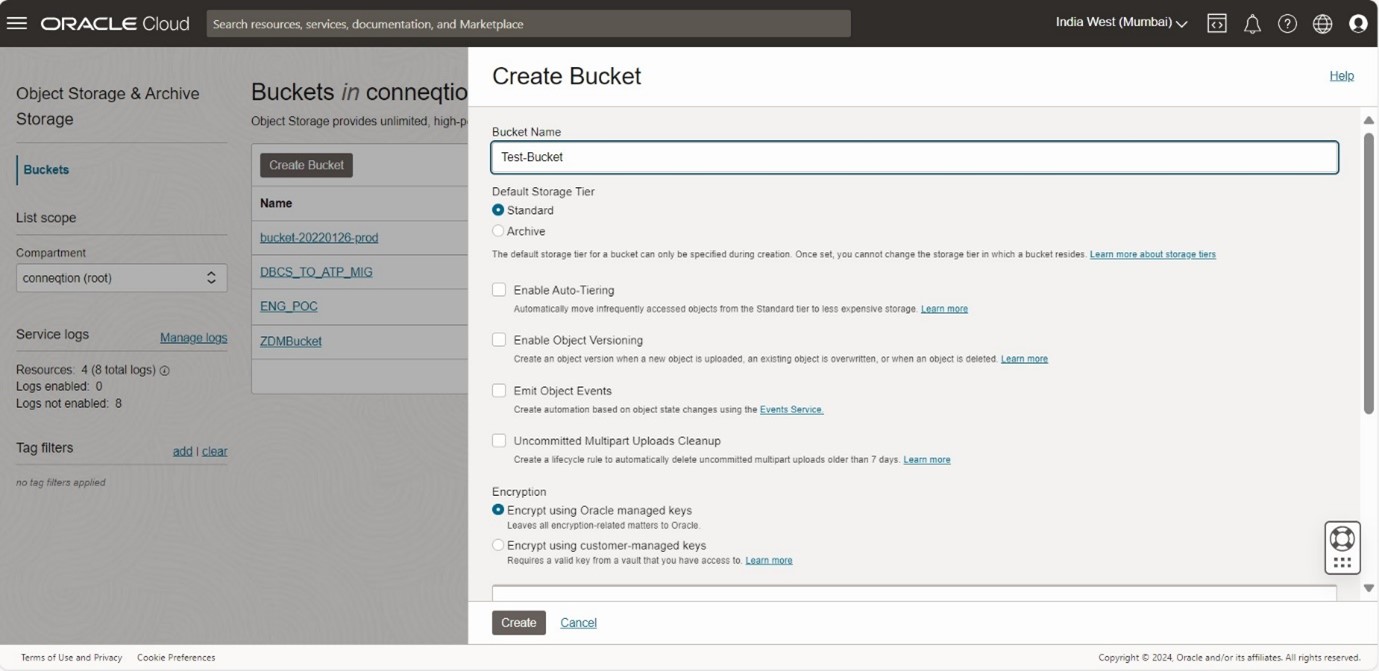
Step 4: Select or Create a Compartment
If required, choose, or create a compartment to organize your resources within Object Storage. A compartment is a logical container for organizing and controlling access to your cloud resources.
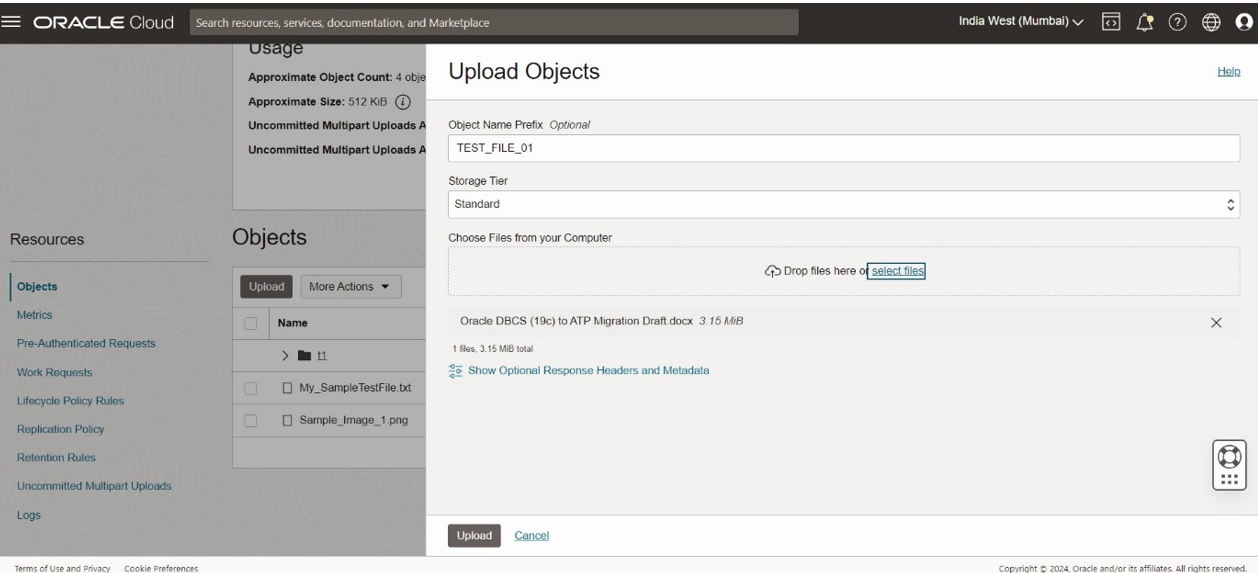
Step 5: Upload Data
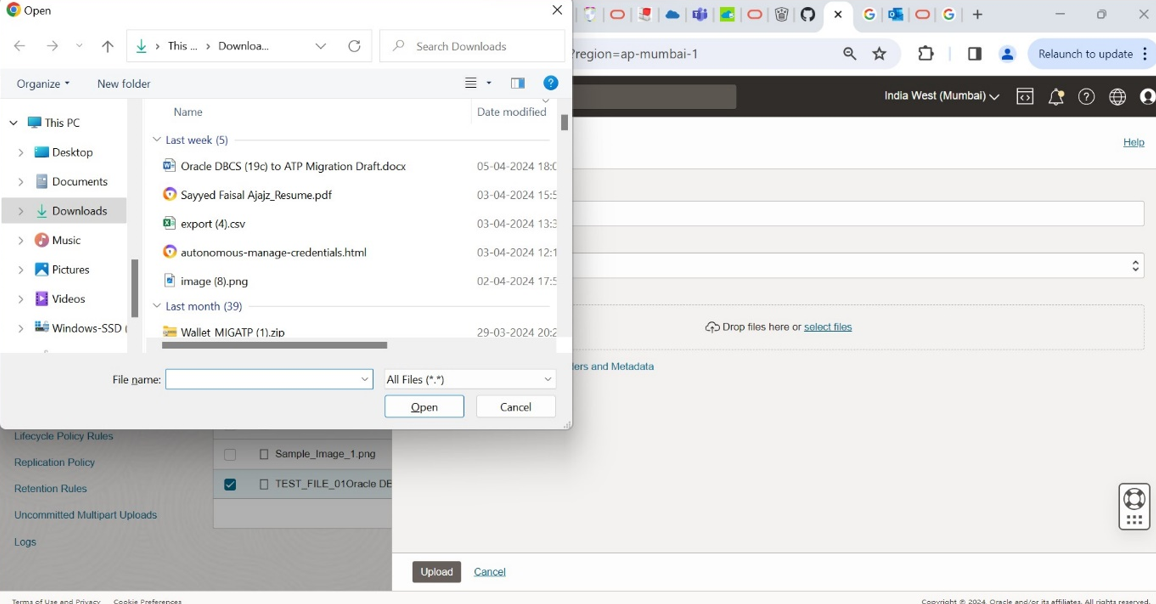
Once you’ve selected or created the appropriate compartment and bucket, you can upload your data. There are usually options to upload files or objects directly through the Oracle Cloud Console interface. You can typically drag and drop files or use the upload button to select files from your local system.
Step 6: Configure Access
Depending on your requirements, you may need to configure access controls for the uploaded data. This could involve setting permissions on the bucket or individual objects to control who can access or modify them.
Step 7: Monitor Upload Progress
During the upload process, you may be able to monitor the progress of the upload to ensure it completes successfully.
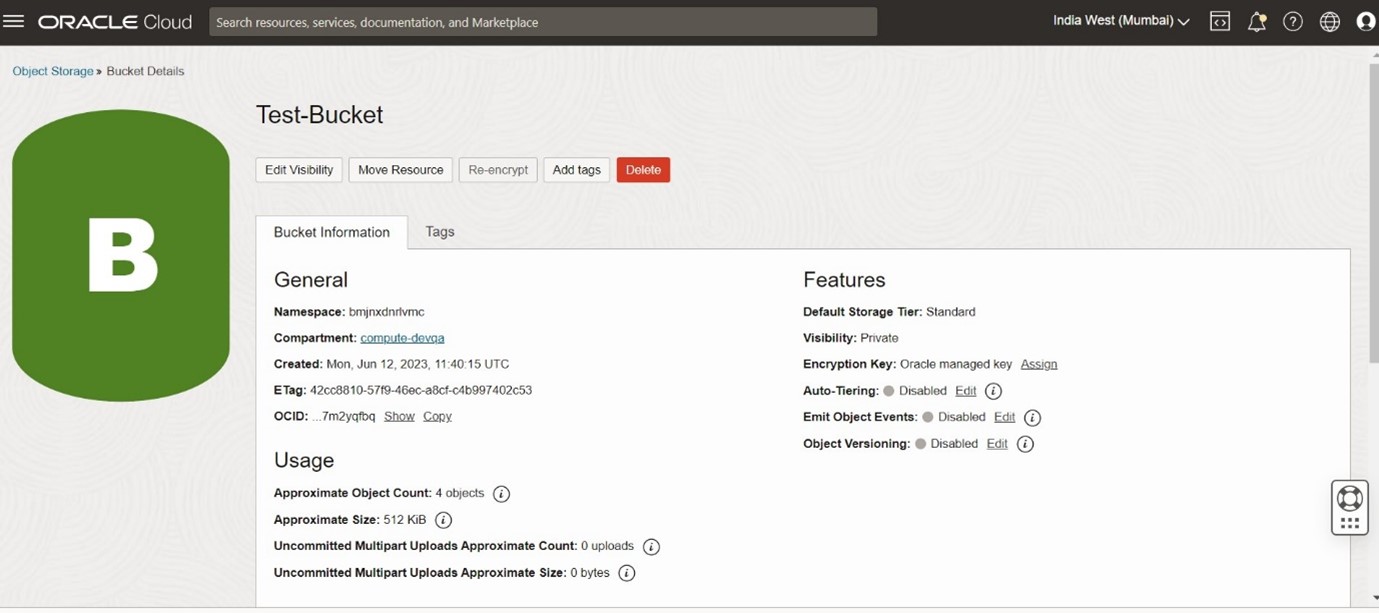
Step 8: Verify Upload
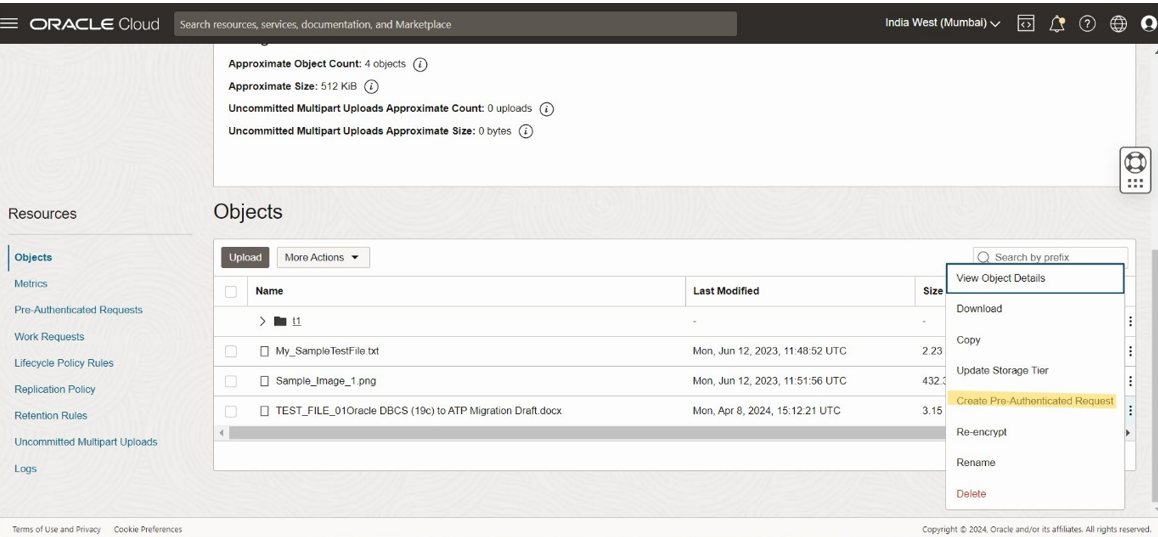
Once the upload is complete, you can verify that your data appears correctly in the Object Storage bucket.
Recommended for you: How to Migrate Database from MySQL to OracleDB?
How to download data from Oracle Object Storage?
Step 1: Access the Oracle Cloud Console
Log in to your Oracle Cloud Infrastructure account using your credentials.
Step 2: Navigate to Object Storage
Once logged in, navigate to the Object Storage service in the Oracle Cloud Console. This service can typically be found under the “Storage” section.
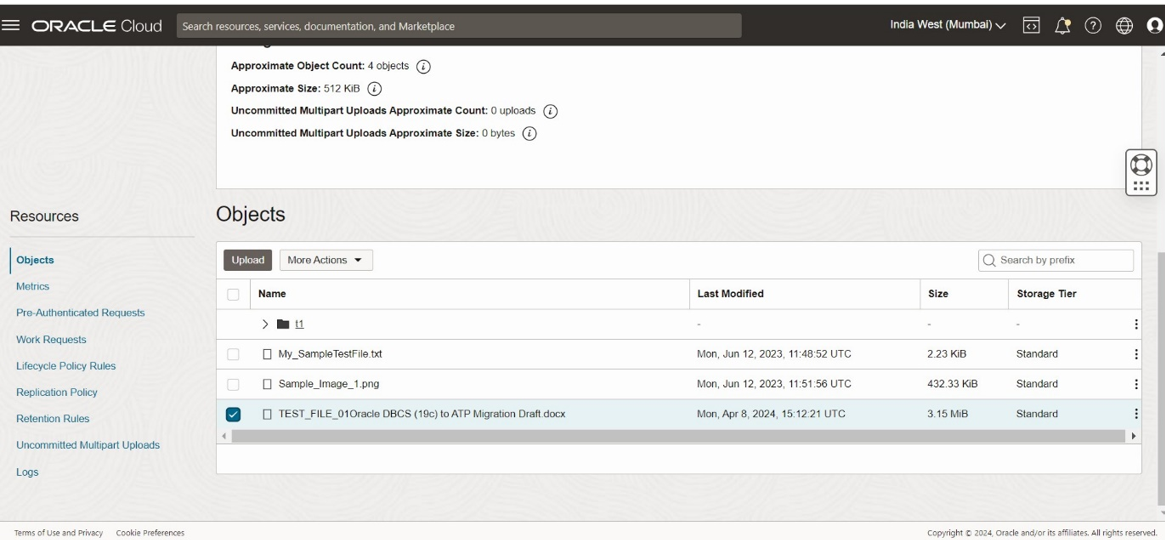
Step 3: Locate the Object
Within Object Storage, navigate to the bucket that contains the data you want to download. If necessary, you may need to select the appropriate compartment where the bucket resides.
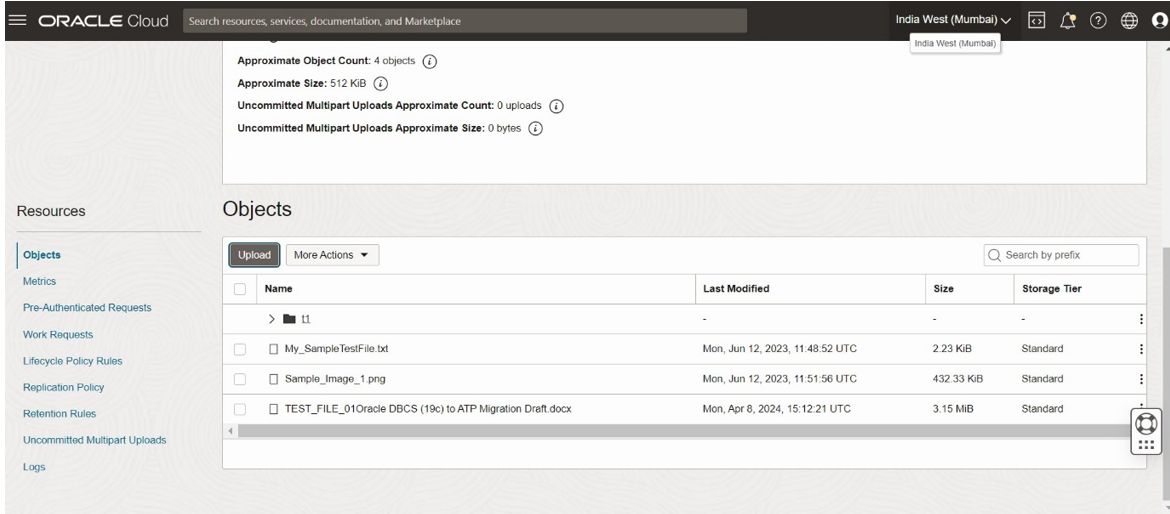
Step 4: Select the Object
Once you’ve located the object you want to download, select it by clicking on its name or icon. This should typically highlight the object and provide options for managing it.
Step 6: Choose Download Location
Depending on your web browser settings, you may be prompted to choose a location on your local system where you want to save the downloaded file. Alternatively, the file may be automatically downloaded to your default download location.
Step 7: Monitor Download Progress
During the download process, you may be able to monitor the progress to ensure it completes successfully.
Step 8: Verify Download
Once the download is complete, navigate to the location where you saved the file and verify that it has been downloaded correctly.
If you have any questions or would like to know more on the topic, please let us know in the comments or get in touch with us on [email protected].