
The Problem
In this blog, we will login to Okta instance and create Okta SSO federation with Oracle Fusion.
The Solution
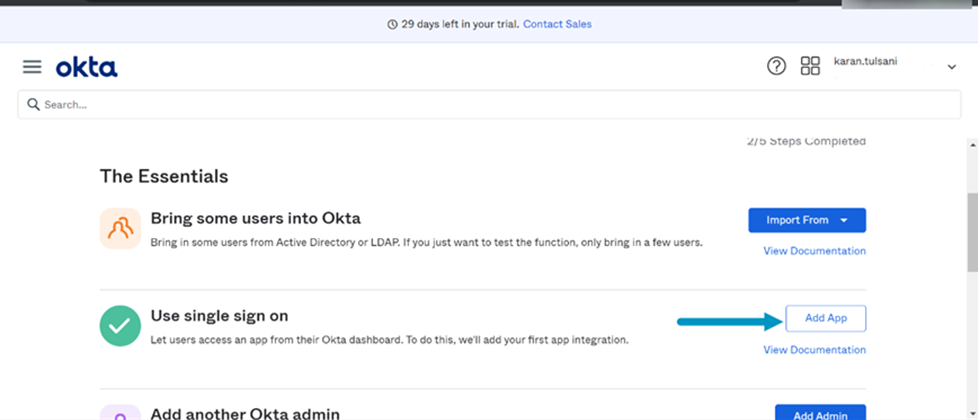
Step 1:Login to the Okta instance via the URL : https://login.okta.com/ and in the Admin console Navigate to Add an application displayed in the below screenshot.
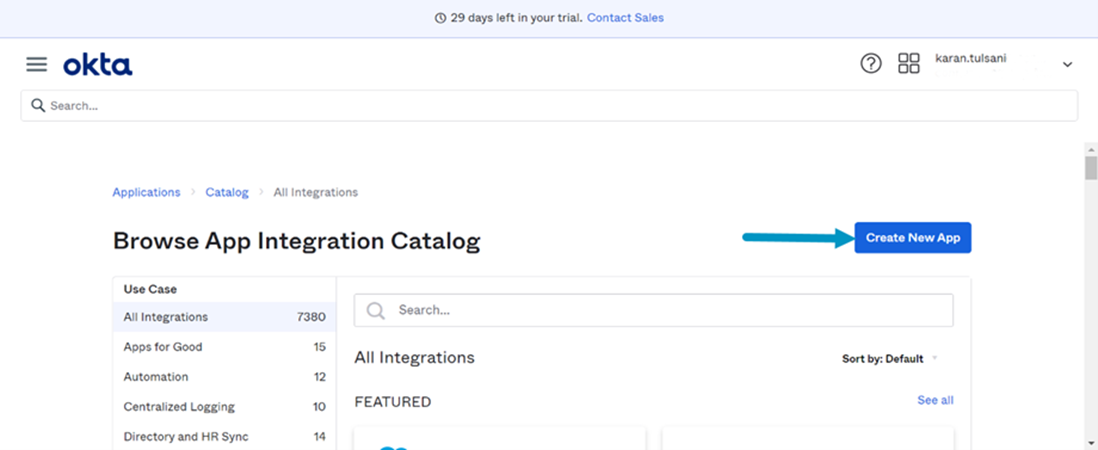
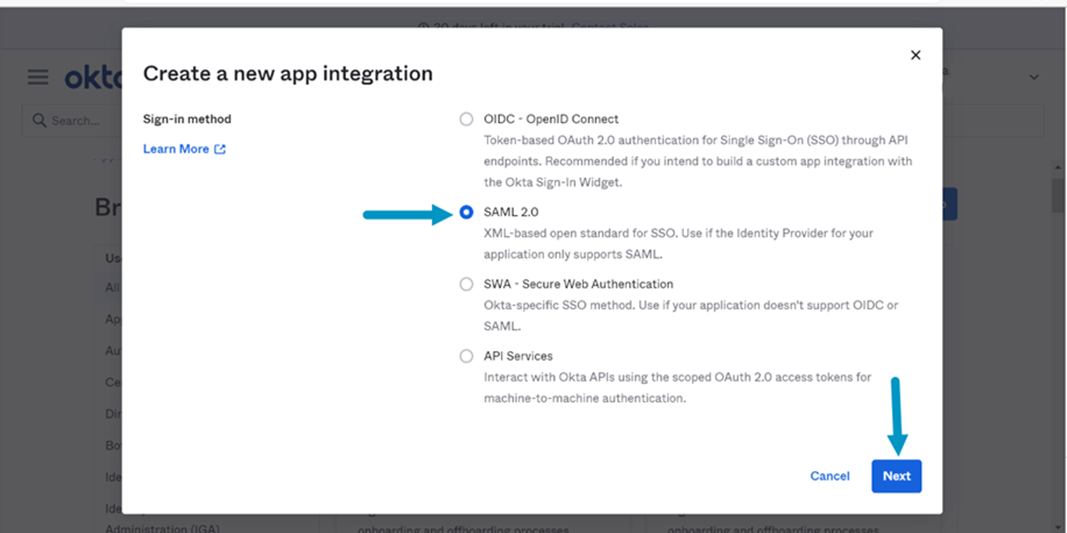
Step 2: Once on the Add App Page >Navigate to Create a new app and hence select SAML 2.0 as shown in the below screenshot.
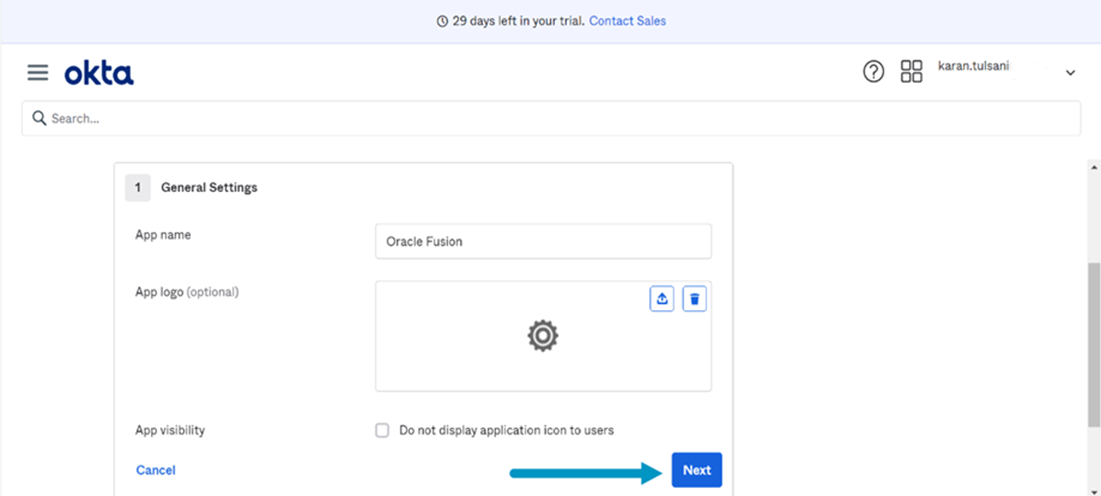
 Step 3: In the general settings tab enter the App Name and hence click on Next as shown in the below screenshot.
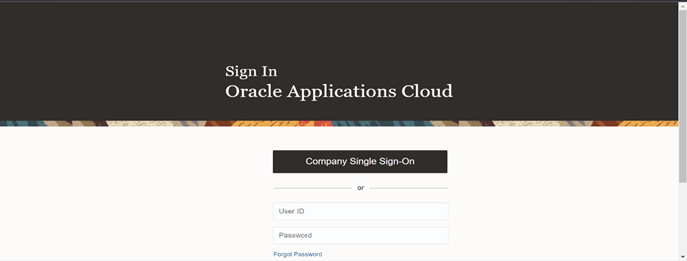
Step 4: Now, we need to enter the single sign on details which we will get from the Oracle Fusion application hence sign in to the oracle fusion application as shown in below screenshot.
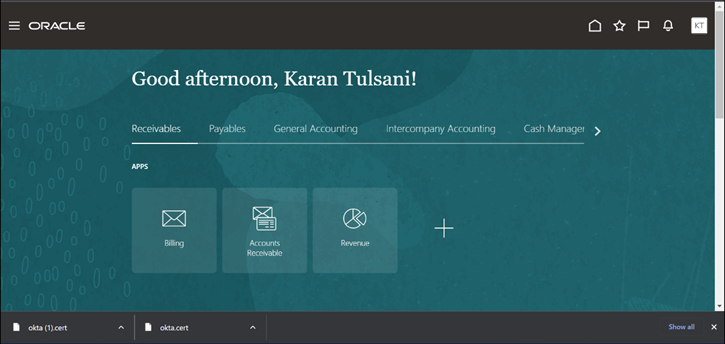
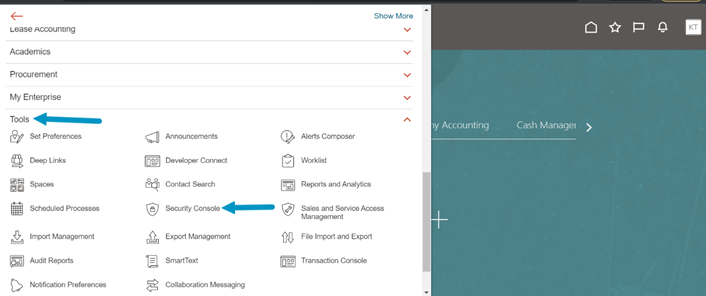
Step 5: The homepage will be displayed as shown in below screenshot hence Click on Hamburger icon and navigate to Tools>Security console.
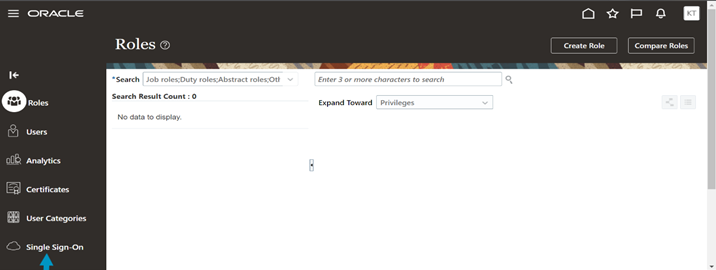
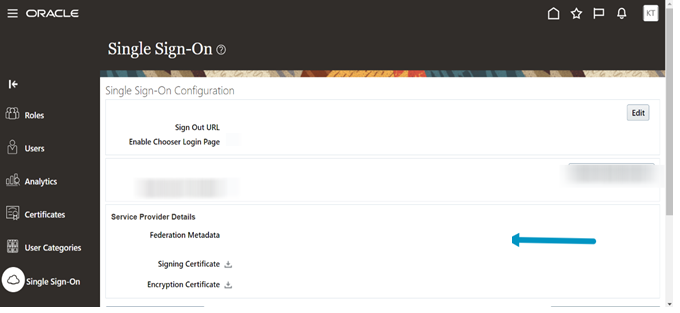
Step 6: Once on the Security Console page ,Navigate to the Single sign on page in the security console as displayed in the below screenshot.
Step 7: Once on the Single Sign on page Click on the service provider details to view the XML metadata file and take the values for the single sign on settings from the XML metadata file as displayed in the below screenshot.
Recommended for you: A Definitive Guide to Agent Installation and MYSQL Connection
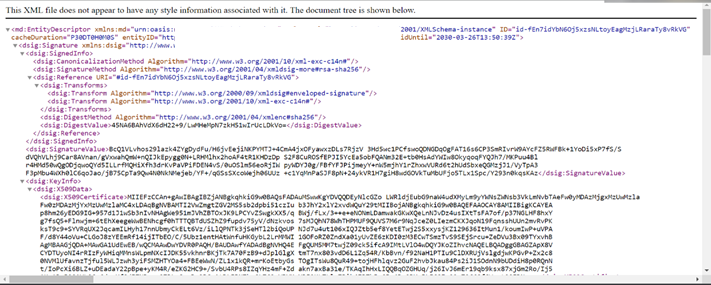
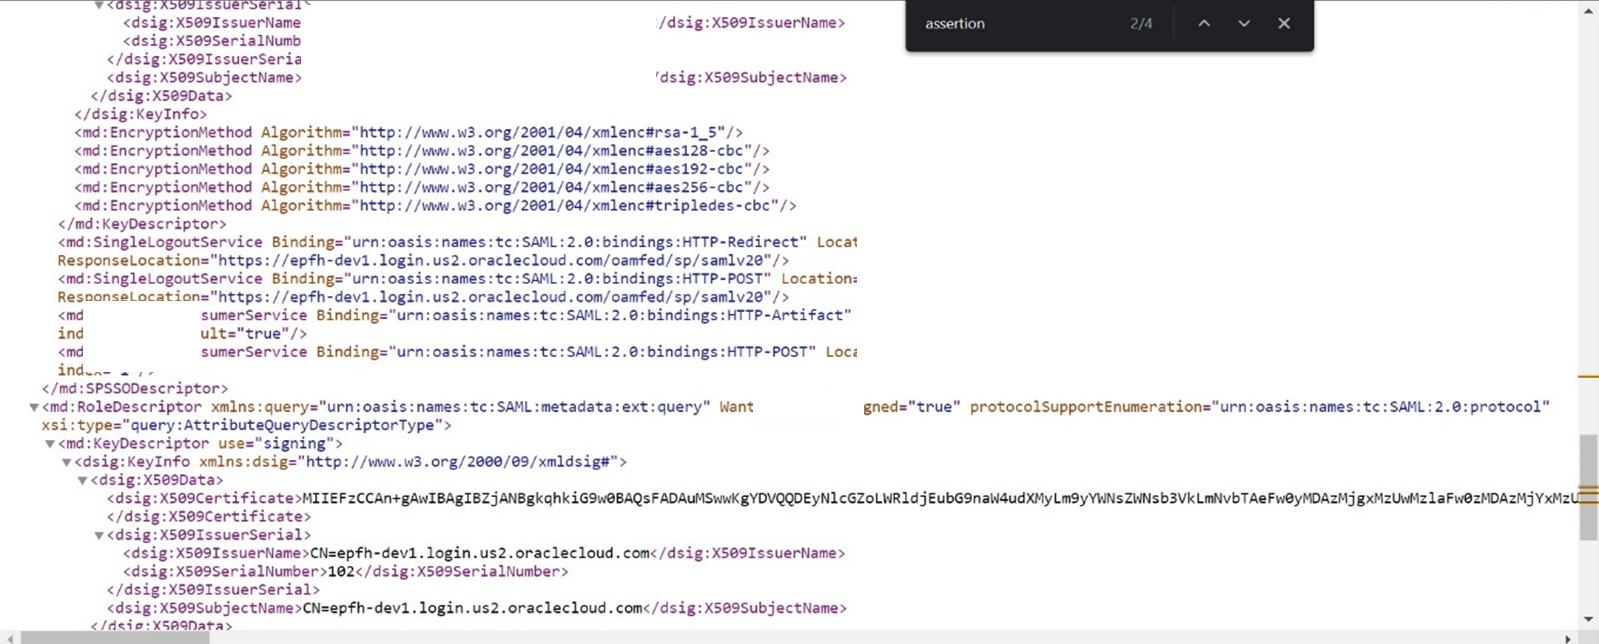
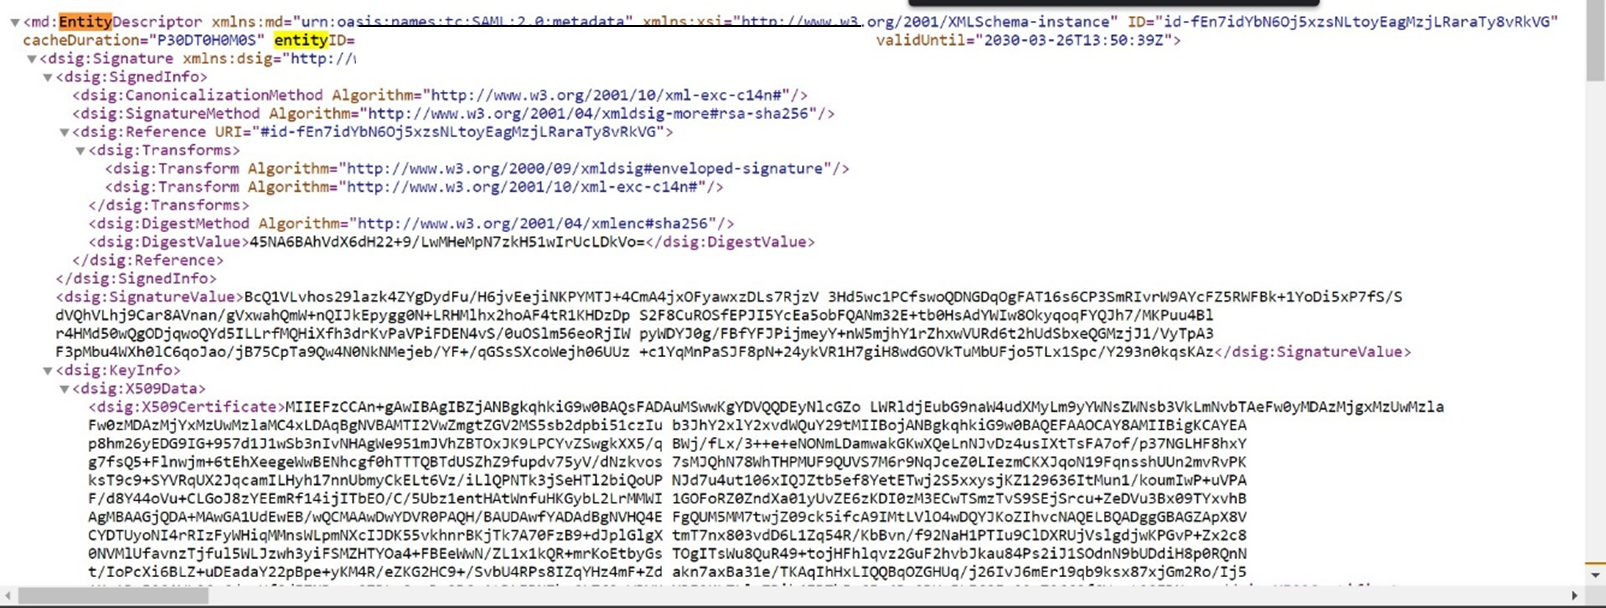
Step 8 : Now from the XML metadata file, take the values of assertion consumer which will be single sign on URL and entity id which will be the Audience URL as displayed in the screenshot below.
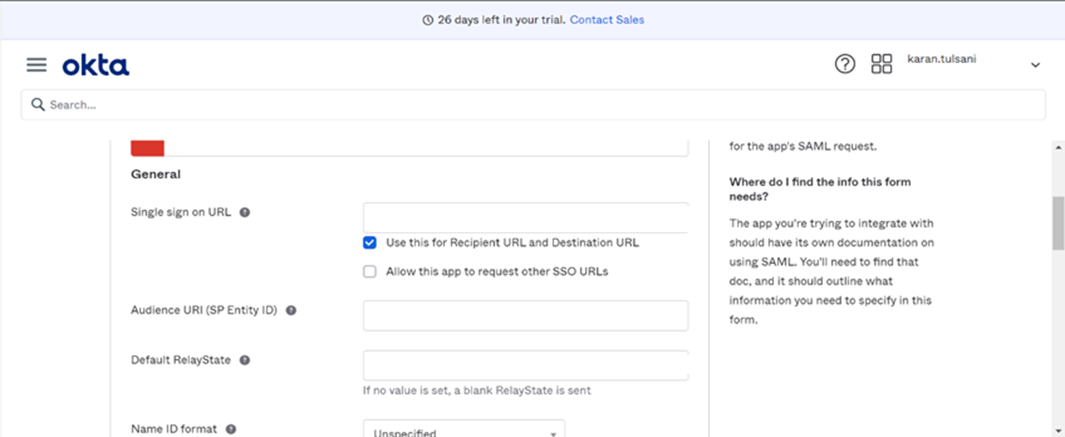
Step 9: Now, go back to Okta and enter these values in the Single sign on Setting in the App creation process as displayed in the below Screenshot.
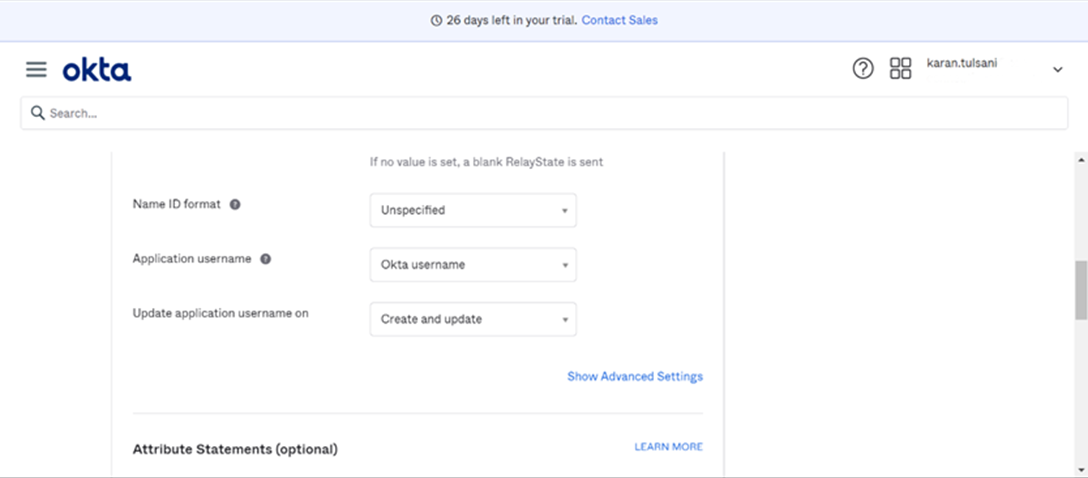
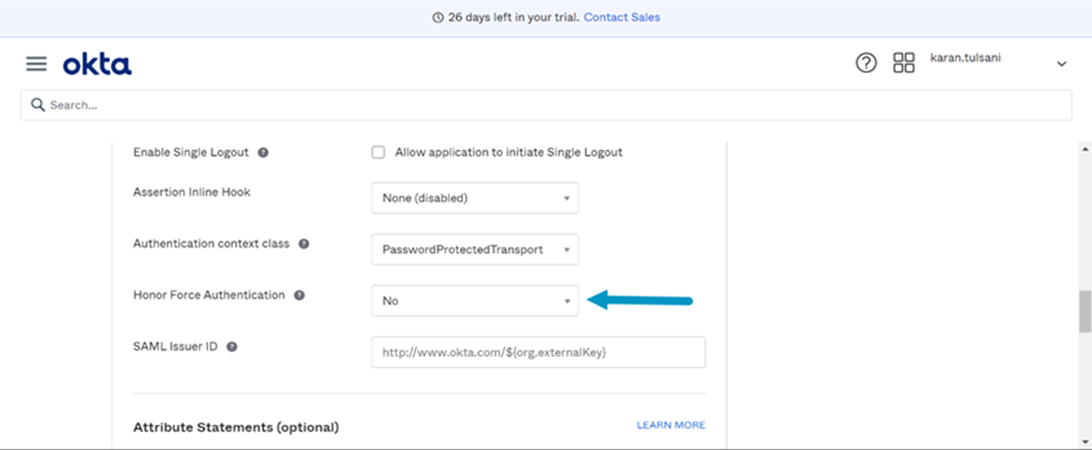
Step 10: Now Click on Show Advanced Settings in the Single sign on page and Select Honor Force Authentication as No as displayed in the Screenshot below and Click on Next.
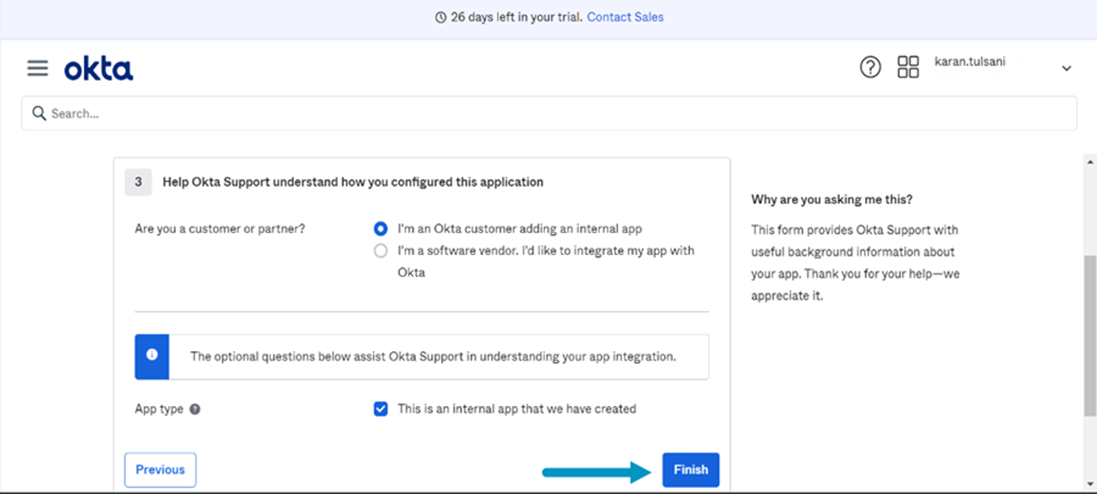
Step 11: Now on the next page Select I am an okta user creating the app internally and Click on Finish as displayed in the screenshot below.
Step 12: Hence Navigate to Applications >Oracle Fusion app and click on Assign to users to assign the app as shown below in the screenshot.

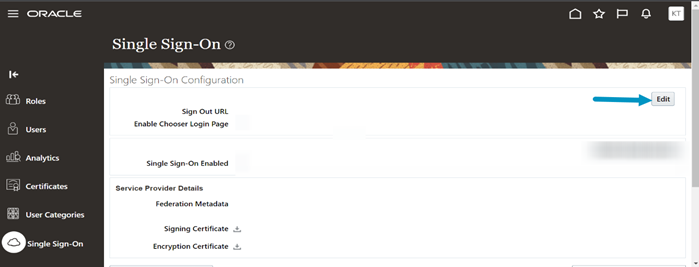
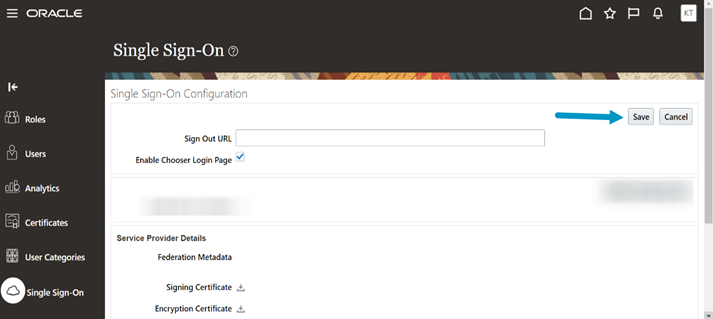
Step 13: Navigate back hence to the fusion application under single sign on in the security console hence Click on Edit and Enable the chooser login page and click on save as displayed in the below screenshot.
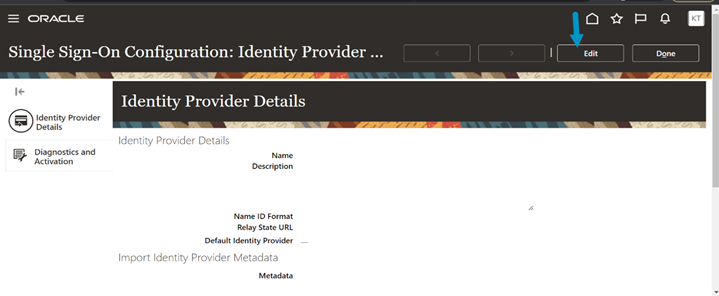
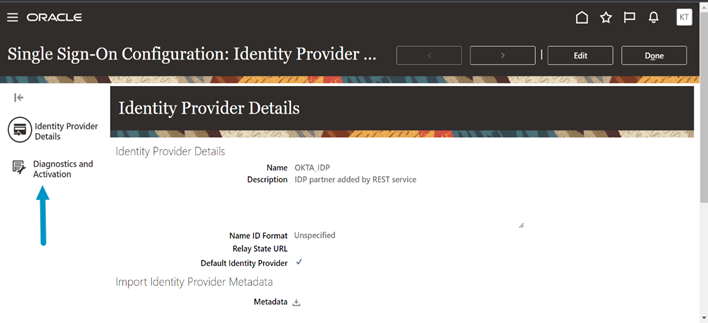
Step 14: In the single sign on page hence Click on Create Identity Provider and hence click on edit as displayed in the screenshot below.

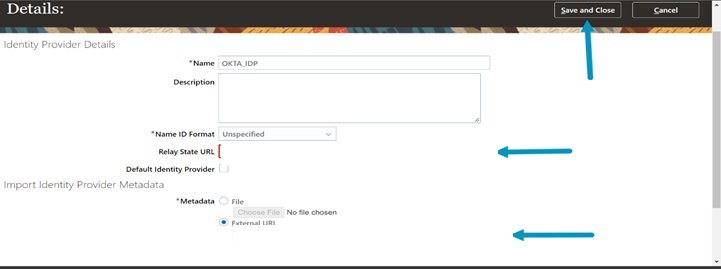
Step 15: Once on the edit page, enter the details as shown in the below screenshot and Click on Save and Close.
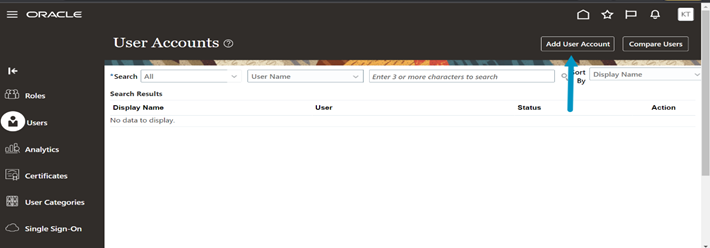
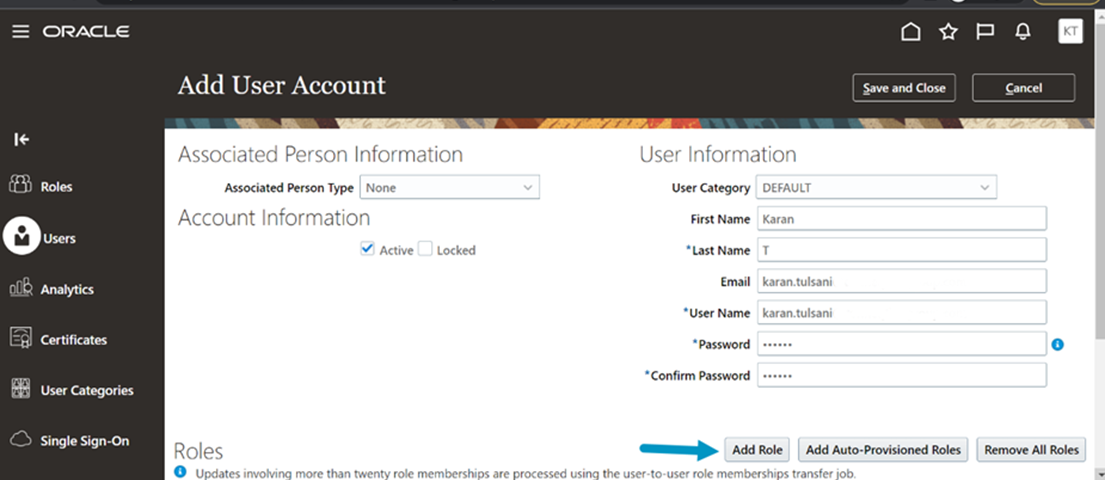
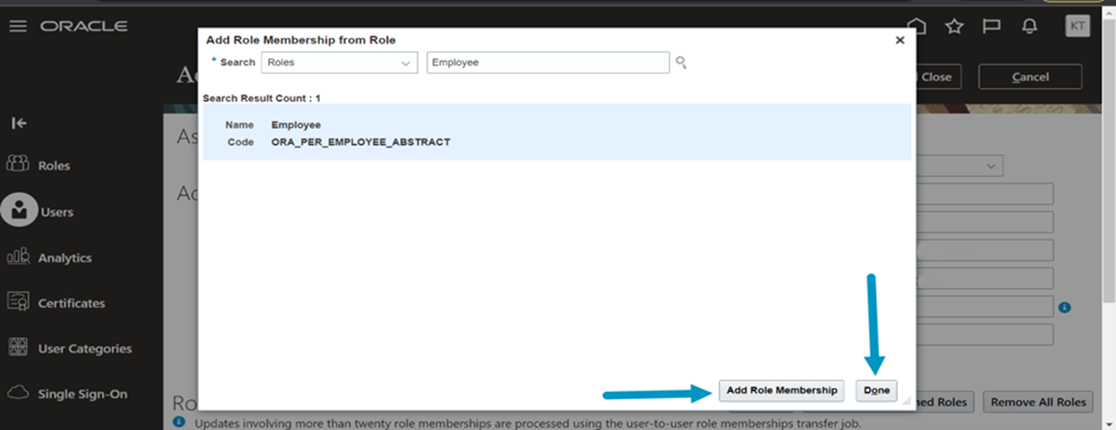
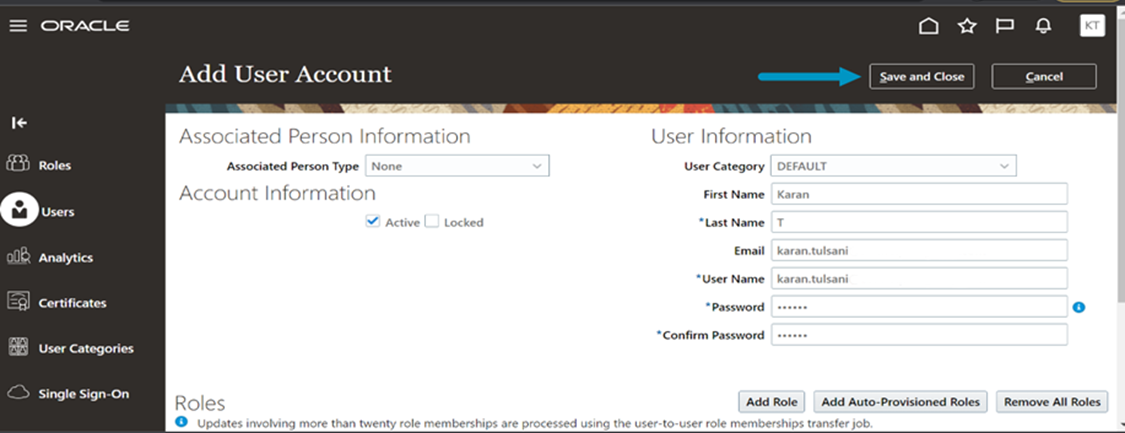
Step 16: Now ,Navigate to the Users page in the security console and add the user as displayed in the following screenshot. Note: The username should be the same as the one using in okta
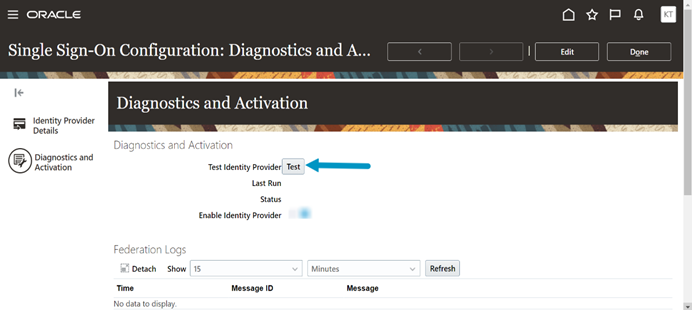
Step 17: Hence navigate to Single sign on in Security and click on the Okta IDP identity provider created and Click on the Diagnostics tab as displayed in the below screenshot.
Step 18: Once on the Diagnostics and Activation tab click on Test and hence test the functionality once it is successful the Enable Identity Provider option will be available hence enable the option and click on save as displayed in the below screenshot.
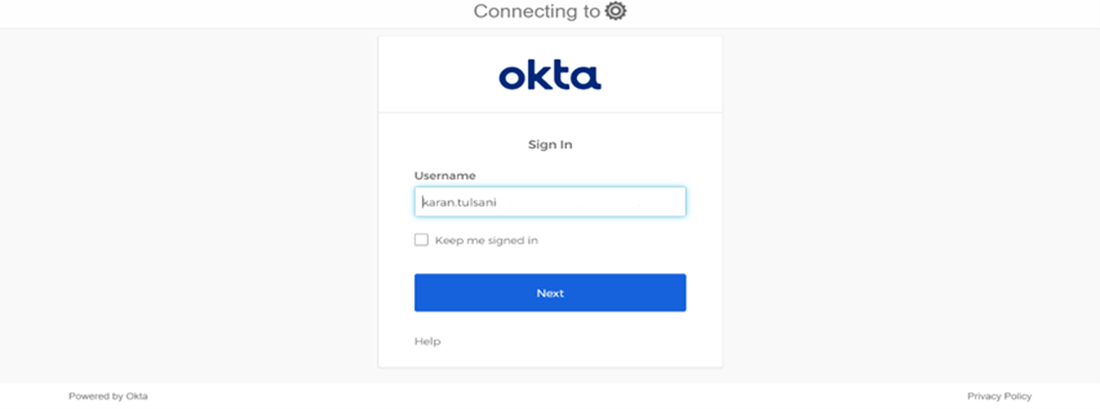
Step 19: After Clicking on Test new browser will open select the OKTA_IDP and click on Start SSO.

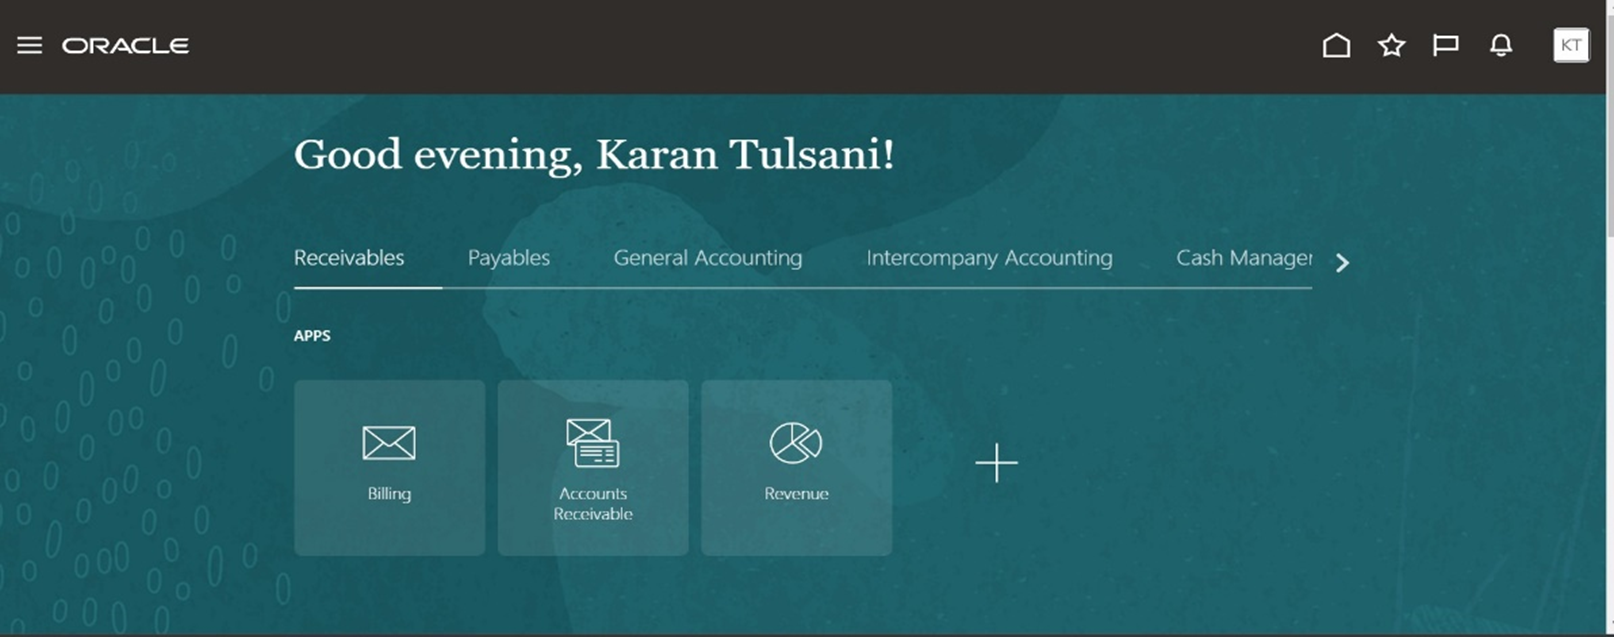
Step 20: Enter your okta credentials and hence the test will be successful and the following result will be displayed as shown in below screenshot.

Step 21: Now when Navigated to the Oracle Fusion Login page you will get the option of single sign on as displayed in below screenshot and can login with the okta credentials.

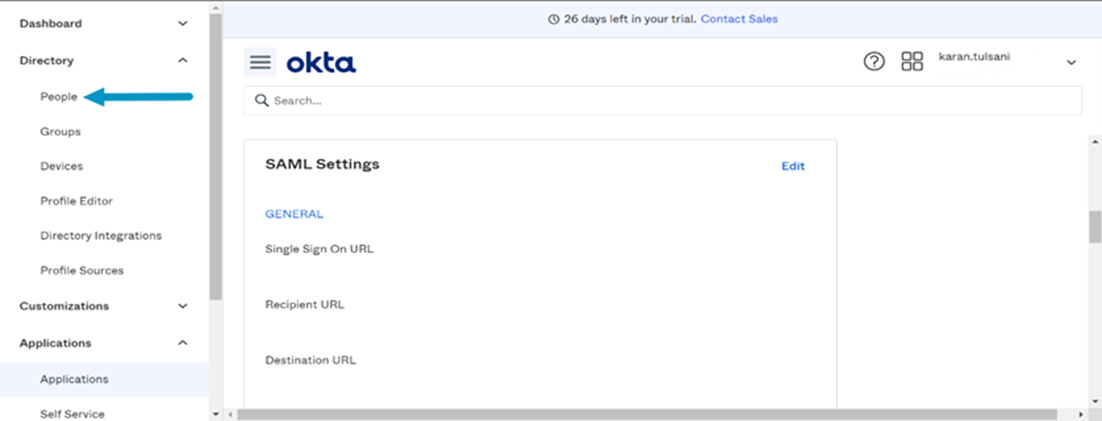
Note : HOW TO ADD USERS IN OKTA
Step 22: Once logged into okta ,navigate to hamburger icon>Directory>People.
Step 23: Hence click on Add new person and enter the details as displayed in screenshot below.
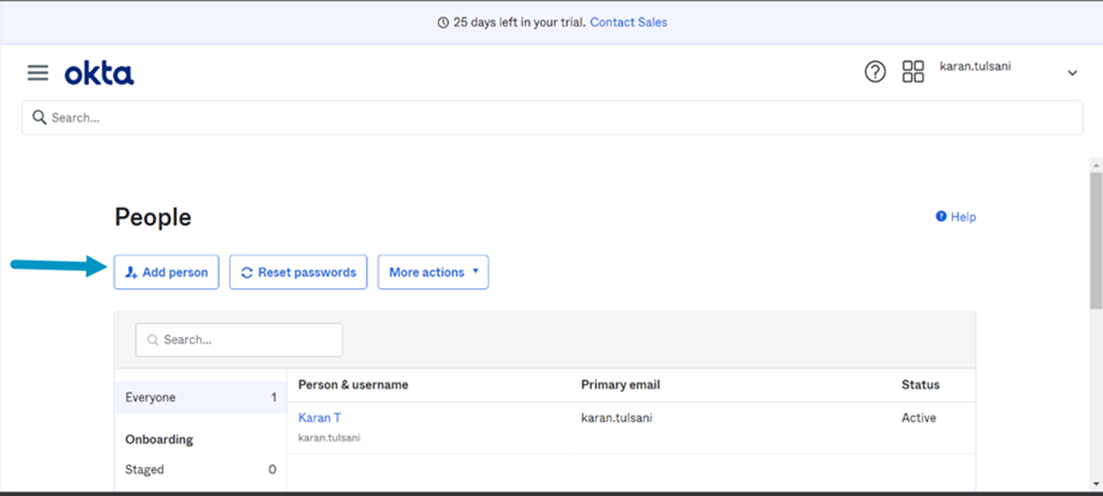
Step 24: Enter the details as shown below and click on Save and user will be created.

We hope this detailed guide will help you with OKTA SSO federation with Oracle Fusion. If you have any questions, or concern, please get in touch with us at [email protected] or share a comment below and we will get back to you.