What is OCI Object Storage?
The Oracle Cloud Infrastructure Object Storage service is a robust and scalable storage platform designed to deliver high performance and ensure reliable and cost-effective durability of your data.
Storage buckets serve as logical containers for object storage. Buckets can be created within a specific region as required. Each bucket is linked to a dedicated compartment, which defines policies governing the actions users can take on the bucket and all its contained objects.
Following are some use cases of OCI Object Storage Service:
- Backup of Oracle Database to Object Storage for data redundancy and durability.
- Storage Gateway file management operations for connecting on-premises applications with OCI.
- AI Services
- Fast and efficient upload of bulk data from VBCS to Oracle ATP DB.
In this blog, we will see an overview of uploading a file from VBCS to Storage bucket.
Pre-requisites:
- Visual Builder Cloud Service Instance
- OCI Storage Bucket
- Access to read and download objects from Bucket. You can refer to the following documentation for more information on required grants: common policies
Steps for implementation:
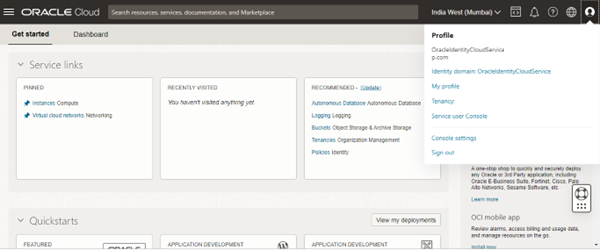
Step 1: Login to the OCI Console and navigate to My Profile Page.
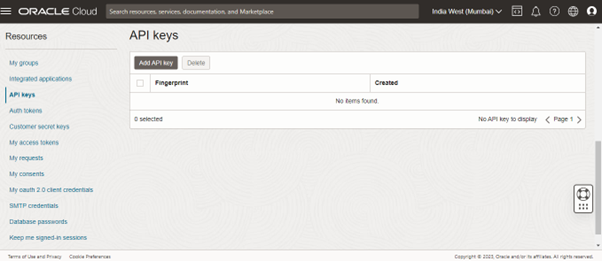
Step 2: Under API keys section, click Add API key.
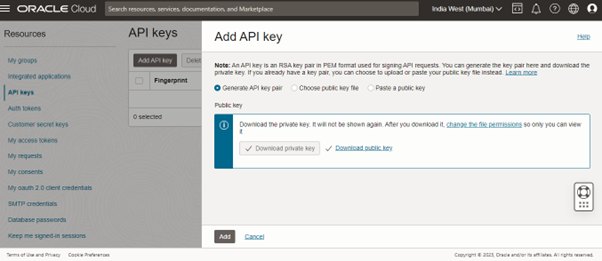
Download private and public key files and then click on Add.
Also Read: How to Trigger Email in Visual Builder Cloud Service?
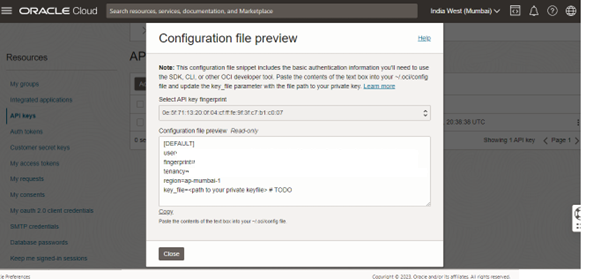
Copy and save the API key fingerprint and configuration file for later use before closing
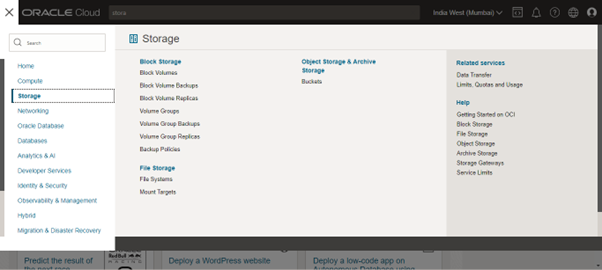
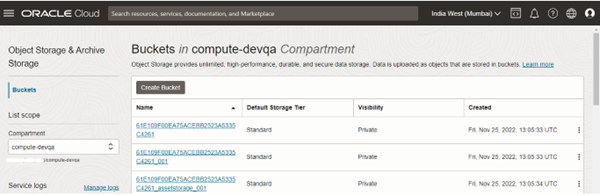
Step 3: Under Buckets, select the correct compartment and the bucket to be used.
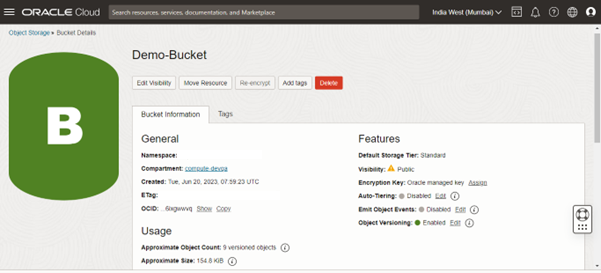
Step 4: Copy and save the namespace value to be used while creating service connection in Oracle VBCS.
Step 5: Get the PutObject OCI Storage API that will be utilized for creating service connection.
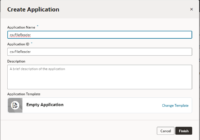
Step 6: Open your VBCS App. Create a new service connection using the endpoint flow with the following details:
URL – https://[OCI Regional Host]/[version]//n/<namespaceName>/b/{bucketName}/o/{objectName}
Method – PUT
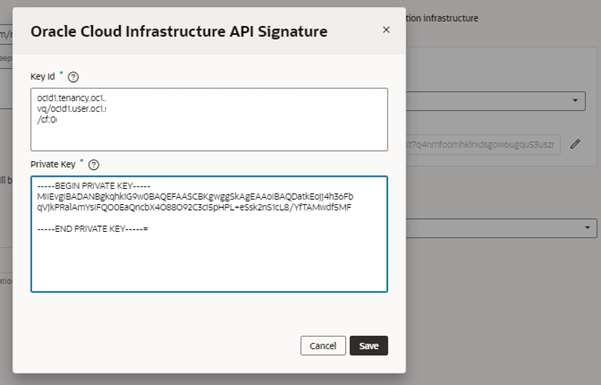
Authentication – OCI API Signature 1.0.
Key Id : Using the configuration file that we saved in step 3, create the Key Id as follows: <tenancy>/<user>/<fingerprint>
Private Key : Paste the contents of Private Key file.
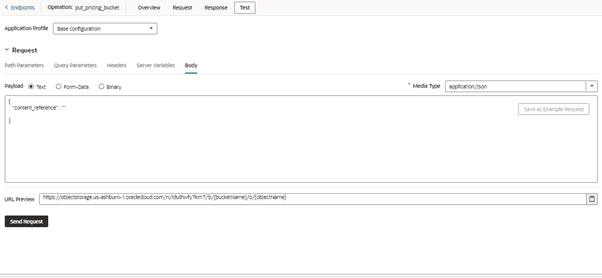
Media Type – application/Json
Response – none
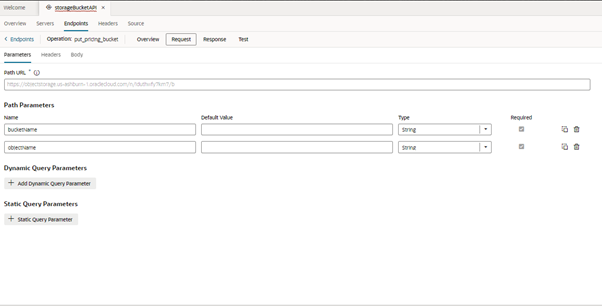
Add bucketName and objectName path parameters.
Add the request payload and create endpoint.
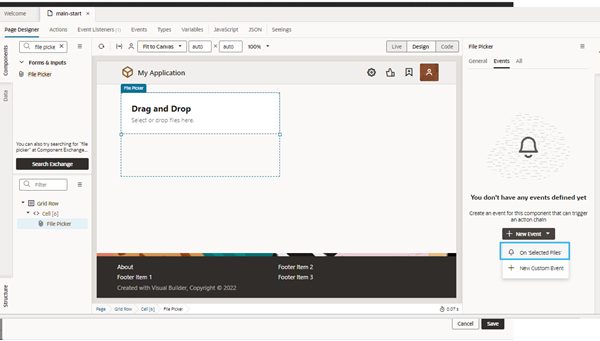
Step 7: In your webApp, drag and drop the File picker component onto the page. In the properties tab of the File Picker component, use Selection mode as Single.
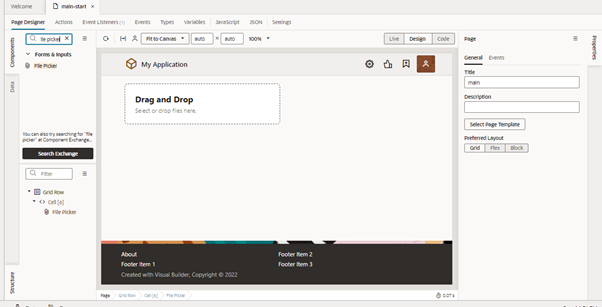
Also, create a page variable called file of type Any.
Step 8: Click the events tab, select Selected File event and create an action chain for this event.
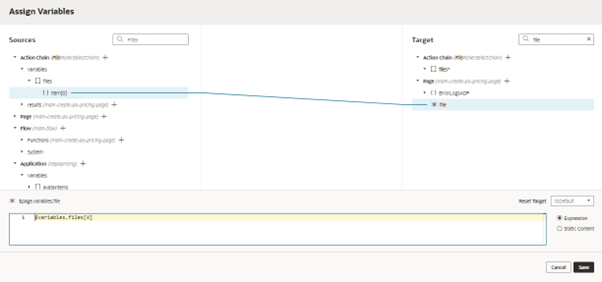
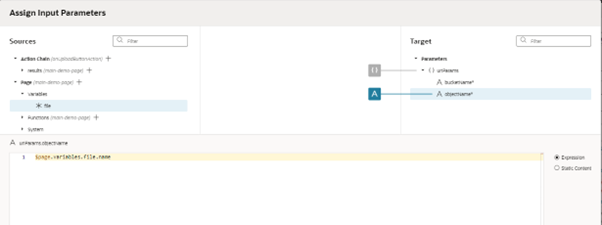
Within the action chain, add an Assign variables action and assign the file variable to input parameter files[0].
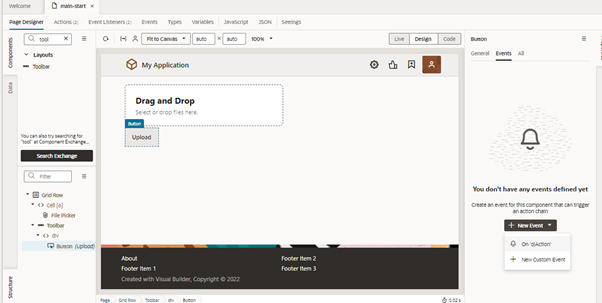
Step 9: Finally, add a button to the page and put label text as Upload. Click the events tab, select ojAction event and create an action chain.
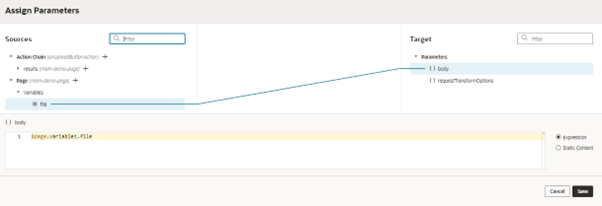
Within the action chain, add the Call Rest action and select the endpoint of the PutObject service connection.
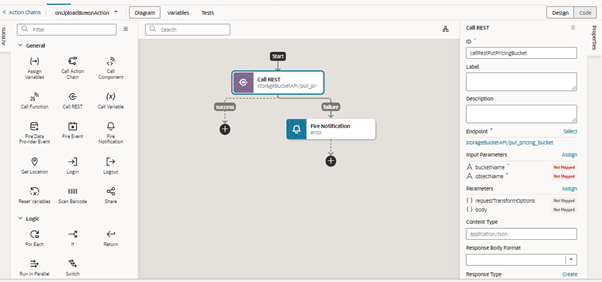
Map the input parameters bucketName & objectName and the body.

Additionally, we can add an If action to check if the rest call returned a response. No response means the file was uploaded successfully, and the user can be notified success otherwise we can throw error using Fire Notification action.
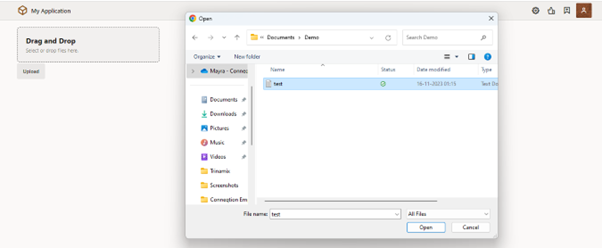
Result:
Select the file you want to upload and click Upload.
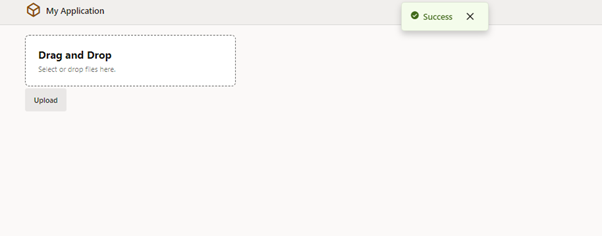
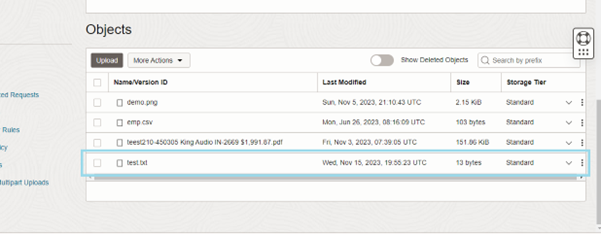
Log into OCI and navigate to your bucket to find the uploaded file.
If you have any questions or concern, kindly leave a comment below or contact us on [email protected].