In this blog, we will show you how to read CSV file from VBCS without OIC. So, let’s begin.
First, open Visual Builder and click on New on the right side of the window.

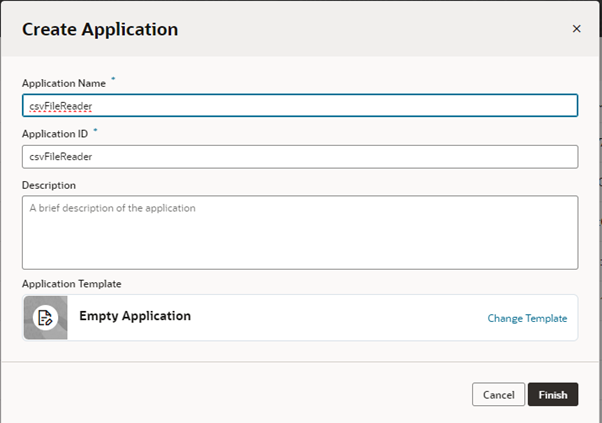
Give the name of the Application as csvFileReader.
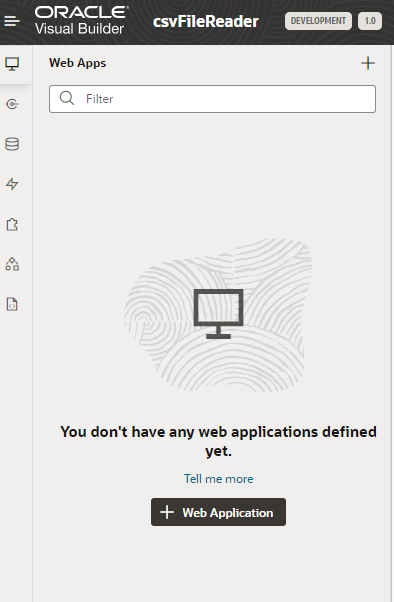
After this, a new window of visual builder will open. Now click on the leftmost PC icon to create a new webapp. Click on + web application.
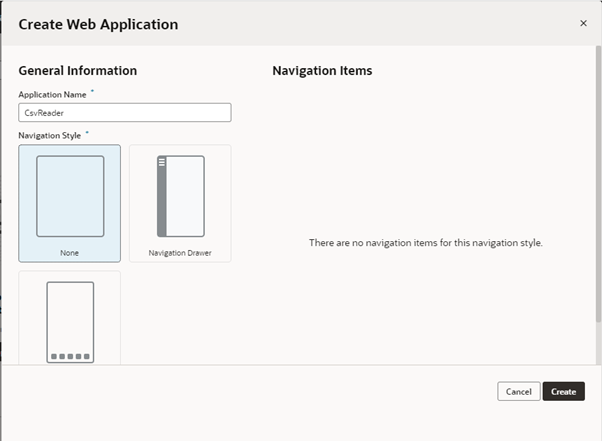
This dialog box would open after that. Now, give a name to your application as csvReader and choose Navigation style none. Click on Create.
Also Read: How to Replace Connections in OIC?
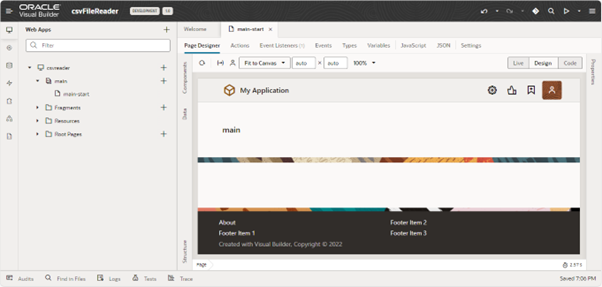
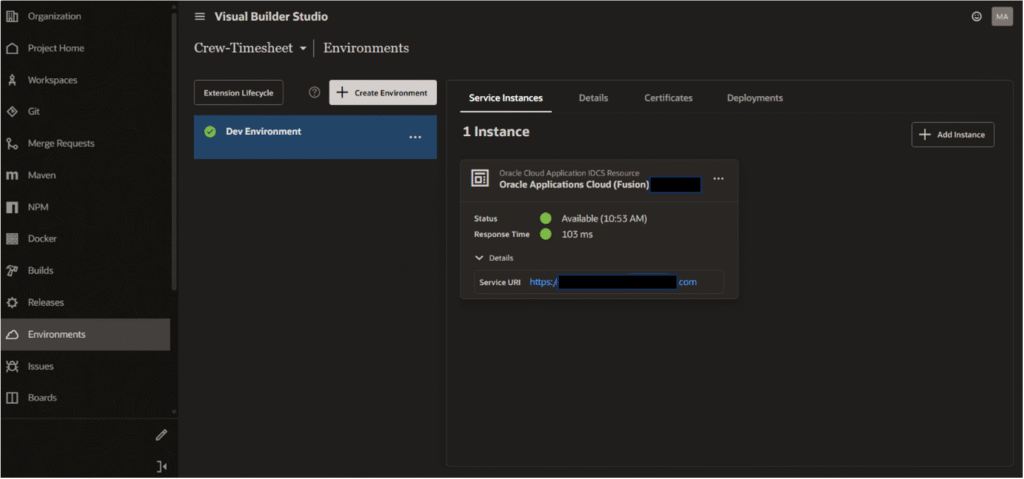
Now, in Main flow, create a page and choose a name. In this example, we have taken main start.
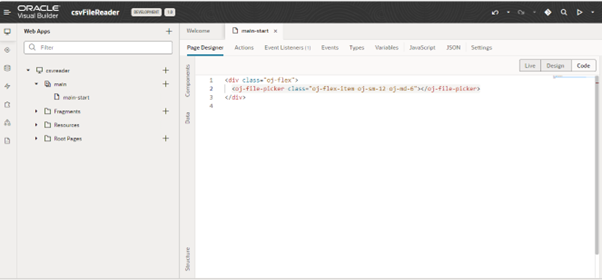
In page designer, choose code view and then remove all the prebuilt html from there. Now, you have to drop a file-picker component for that you must follow these instructions:
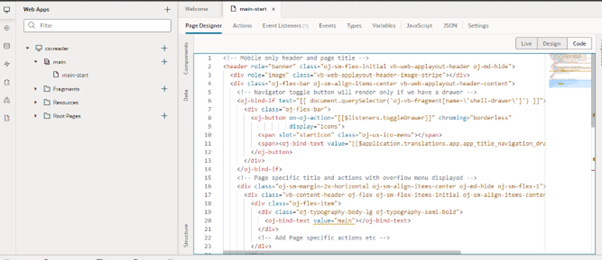
After removing all prebuilt code your page will look something like this
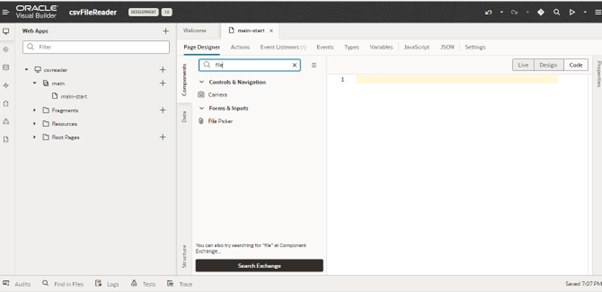
Now, from the components you have to choose file-picker component and drop on the page. Just follow below instructions for the same.
Now, some code would be added in the editor just like below.
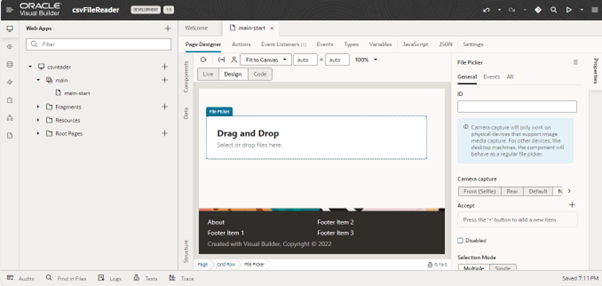
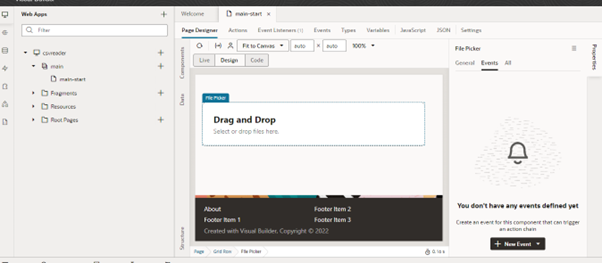
Go into design mode and click on the picker and open the properties of this component. You need not to do anything with general tabs, just go for events in the properties.
Then, a page would open similar to the one shown below, click on new Even
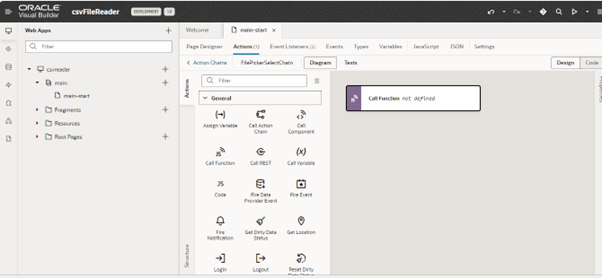
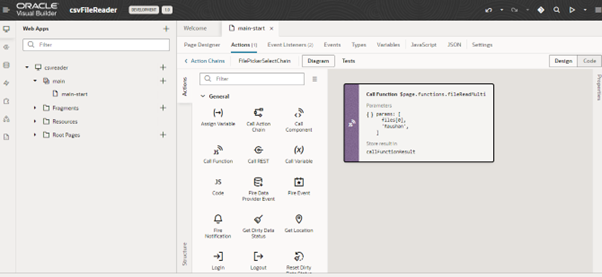
You will be directed to register action chain for this component, now drag and drop call function action just like below screenshot.
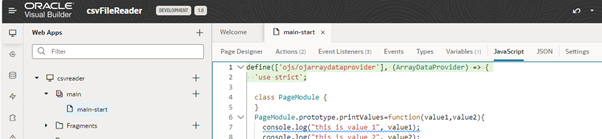
After this click on JavaScript and you will be directed to scripts of the page. You have to extend a prototype function in the pageModule. Next, we are going to write a function fileReadMulti which is going to read csv file and print the output in the console.
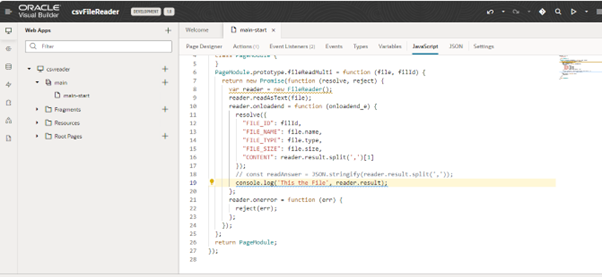
In the function, we are returning a promise which resolve the file properties and content. Here at line 8 we are taking an instance of FileReader object which will be used to read the file.
At line 9 we are reading the file as text by the readAsText function of reader instance. Reader has various event handler as well, we have used onloadend event, we can use onload event also.
Then, we have resolved an object which contains fileId , which you can specify , file name, file size which we can calculate if required, and content.
Also, we are not using this resolved object anywhere, so for checking purpose we print the content just by stringifying it at line 19.
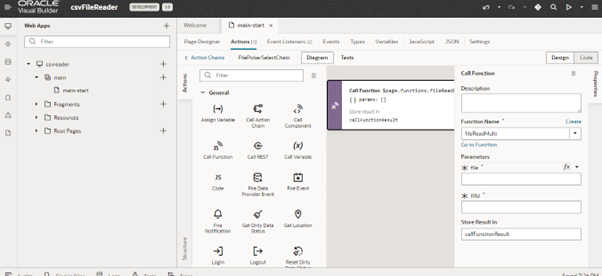
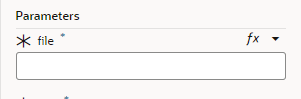
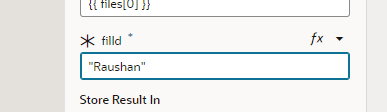
Now we have completed the function, we have to pass parameter to that function. So, at file parameter we have to supply a single file. We can see Fx tag at the file dialog, just click on that.
Map it through File item[0].
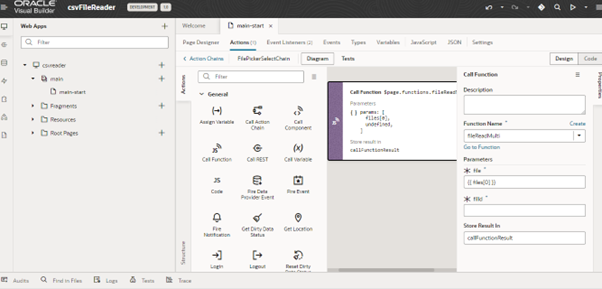
We can give any name to fileId.
Now the function is completed.
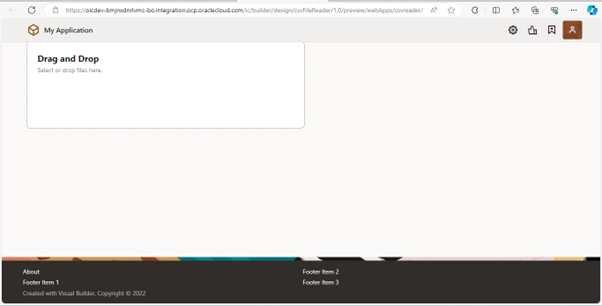
Let’s start testing now. Play the webapp for testing.
It will navigate you to the below page.
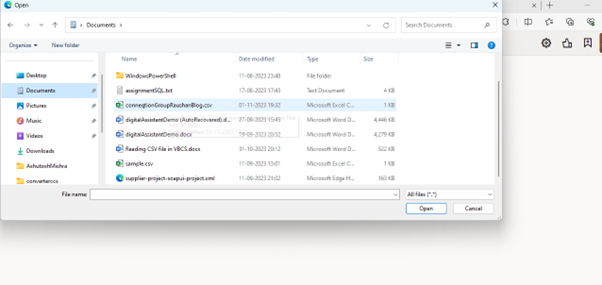
Click on the file-picker. You would get an option to choose the csv file. We have attached a csv file in this blog but you can choose your own.
We have chosen ConneqtionGroupRaushanBlog.csv file, this file has very little content although.

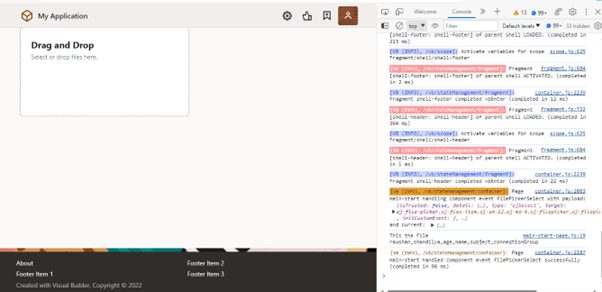
Open the inspect in google chrome, here in console the output will be printed just after choosing the file.
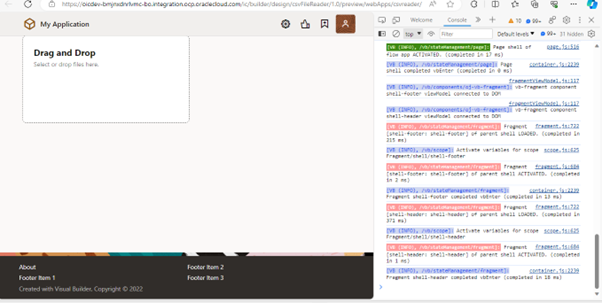
Here we can see the output is printed in console. If we want to do anything with that output we can do any type of Transformation.

Now, we can do any thing with data. But here we are going to show that how can we show the csv data to a table after reading the file.
Here is the whole Process:
First of all we have to make the data into array format and then we will push whole array into an ADP and then we will populate the data into a table.
You can see in below screenshot:
Just drag and drop a table component in the page.
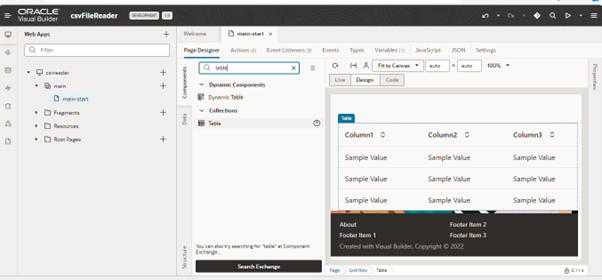

Open the code editor and assign an id to the table as we have given “table1”.
The above code is like this:
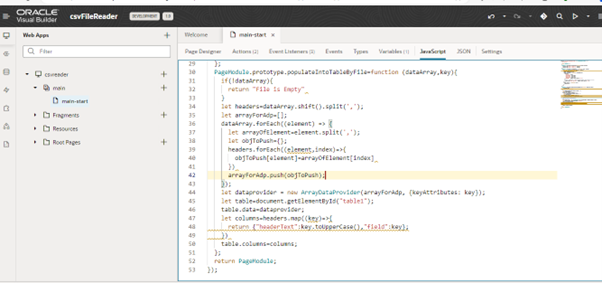
This function accepts two parameter first one is array of lines of file in the form of strings that means the array is of string type. Second parameter is key, unique key to be passed to ADP.
Now, it will take line 1 of the file and create a header array in the form of strings.
We are creating array of objects.
Then we would need a library just like shown in below screenshot. Now we have constructor of ArrayDataProvider.
We can create new ArrayDataProvider, and we have created with name dataprovider and we are passing array of objects and key of the data.
Then we are querying the table on the basis of table id (which I have assigned as “table1”). Then we will assign data and columns to the table. This way we will be able to see the table and file content on the table.
Attachement – PageModule.prototype.
If you have any questions or concern, kindly leave a comment below or contact us on [email protected].