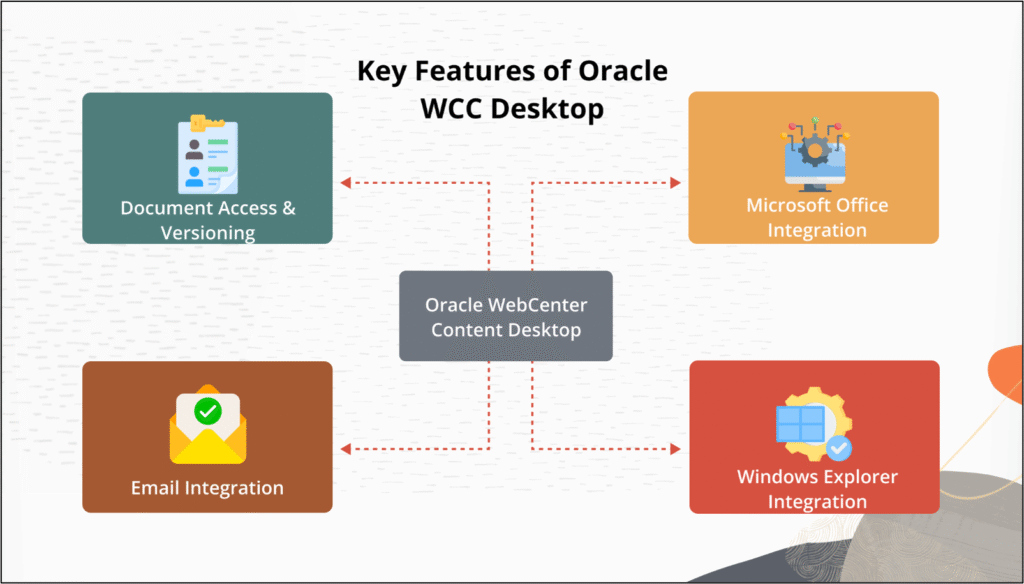
In Part 2 of our series on Oracle WebCenter Content Desktop Integration Suite (DIS), we’ll move beyond installation. In this blog, you will discover practical ways to harness the power of DIS for your everyday workflows from document check-in and metadata management to collaboration across Microsoft Office and Windows Explorer. We’ll also explore how to optimize DIS in enterprise environments, making your content management smoother and more efficient. So, let’s begin.
Step 1: Creating a new folder
- Open WCC Desktop.
- Navigate to your WCC server and double-click.
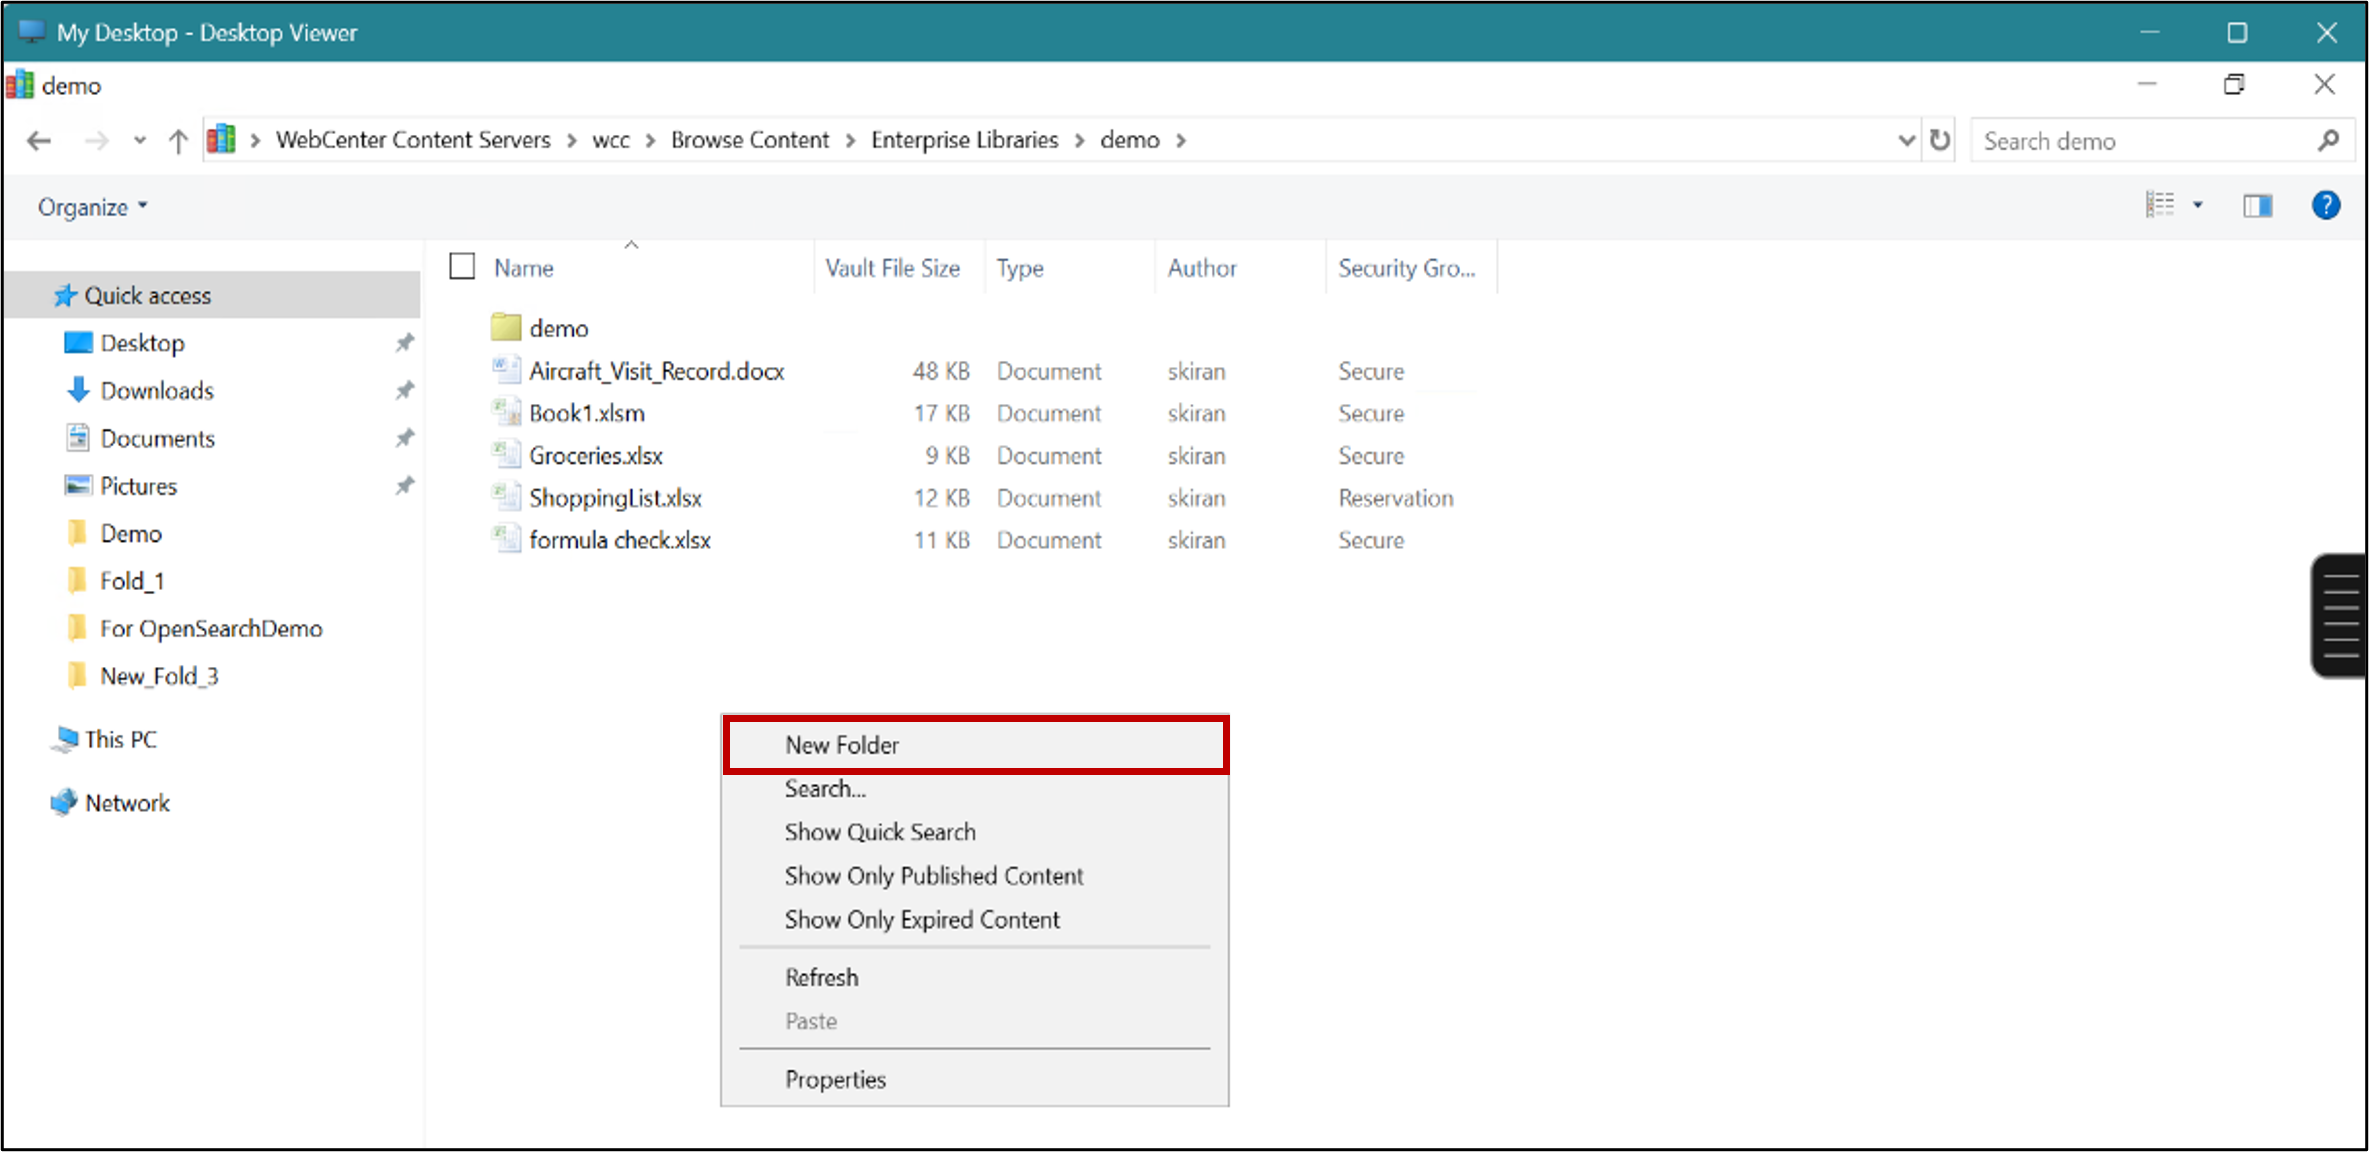
- Browse the parent folder where you want to create a new folder and right click to create a new folder.
- Assign a name the Folder and hit Enter.
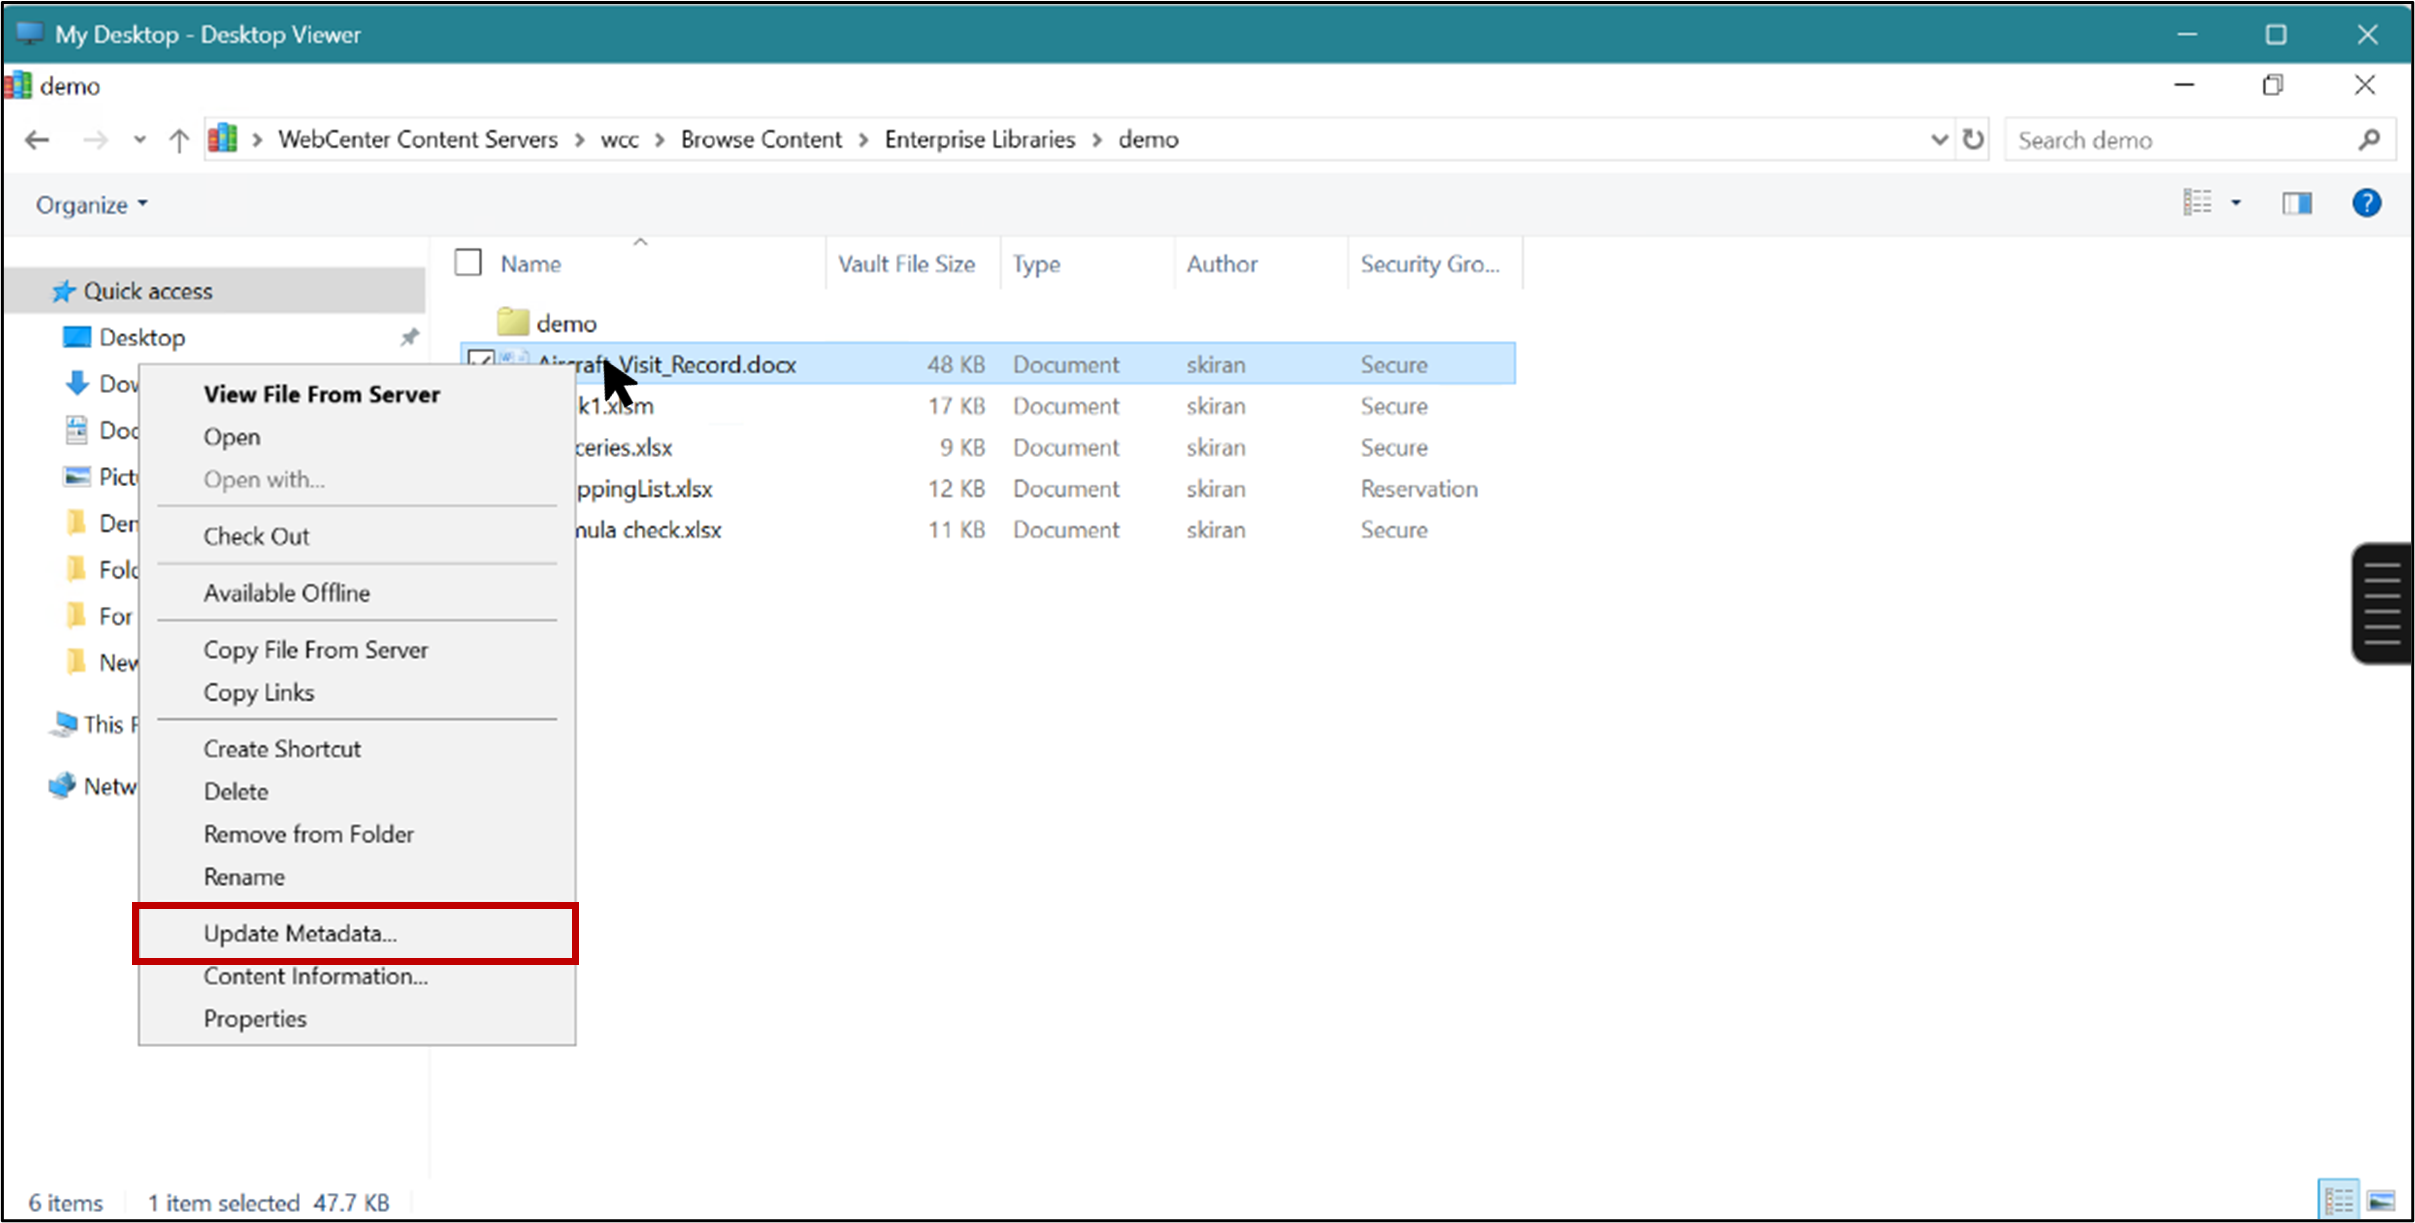
Step 2: Updating the security group
- Right click on the file and select “Update Metadata”.
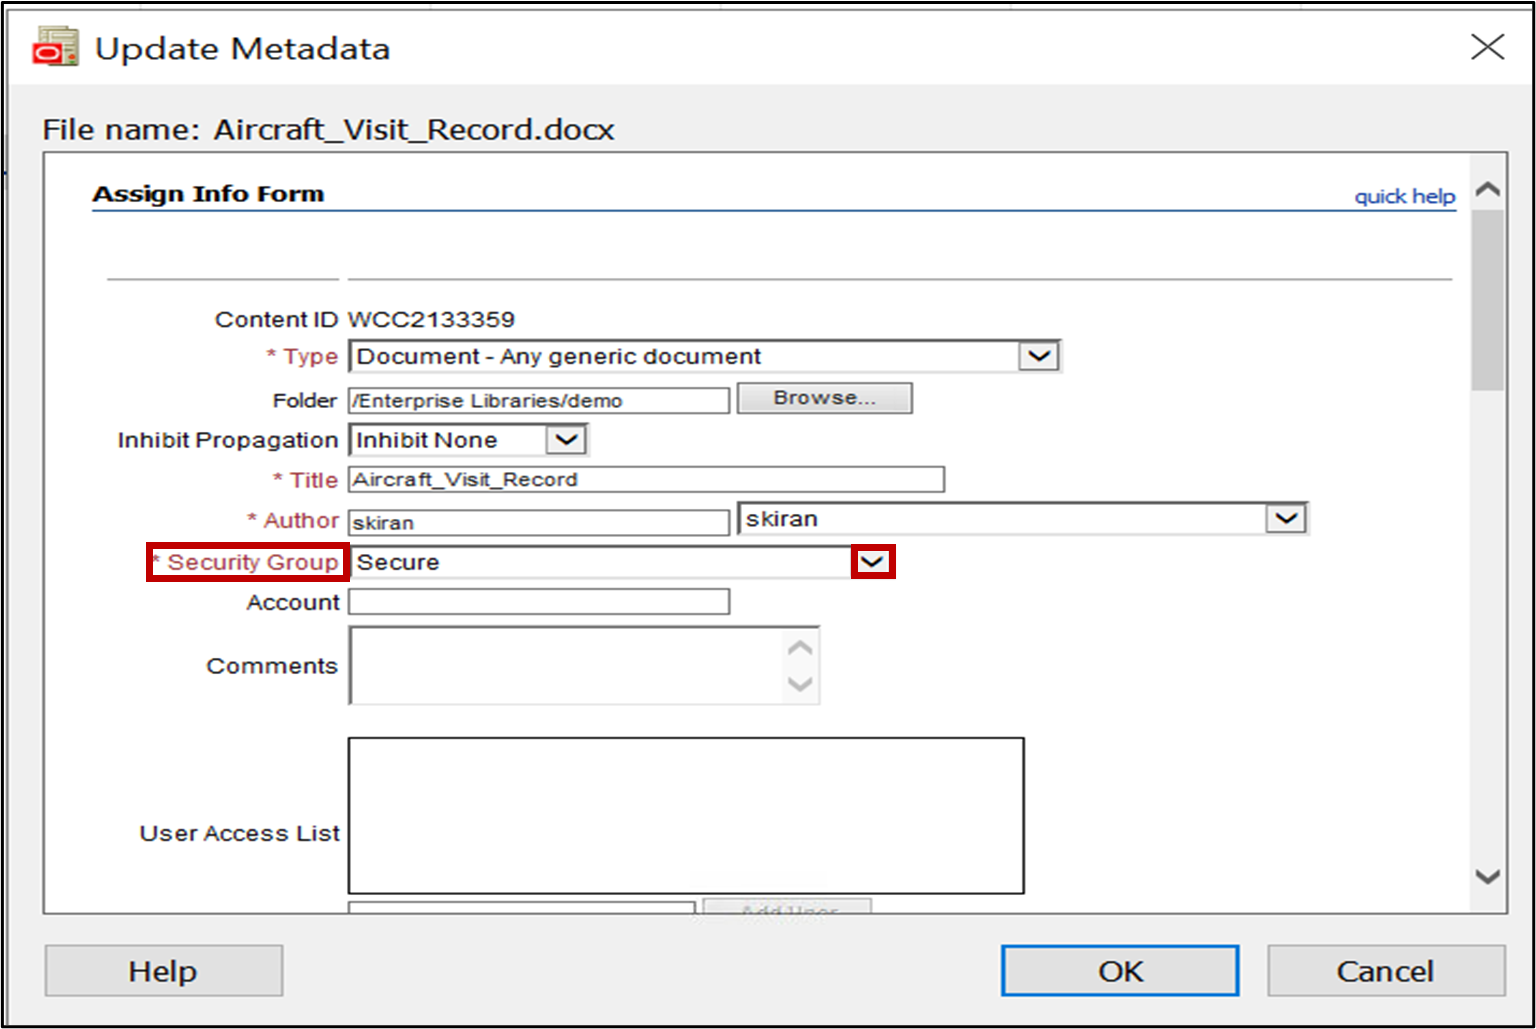
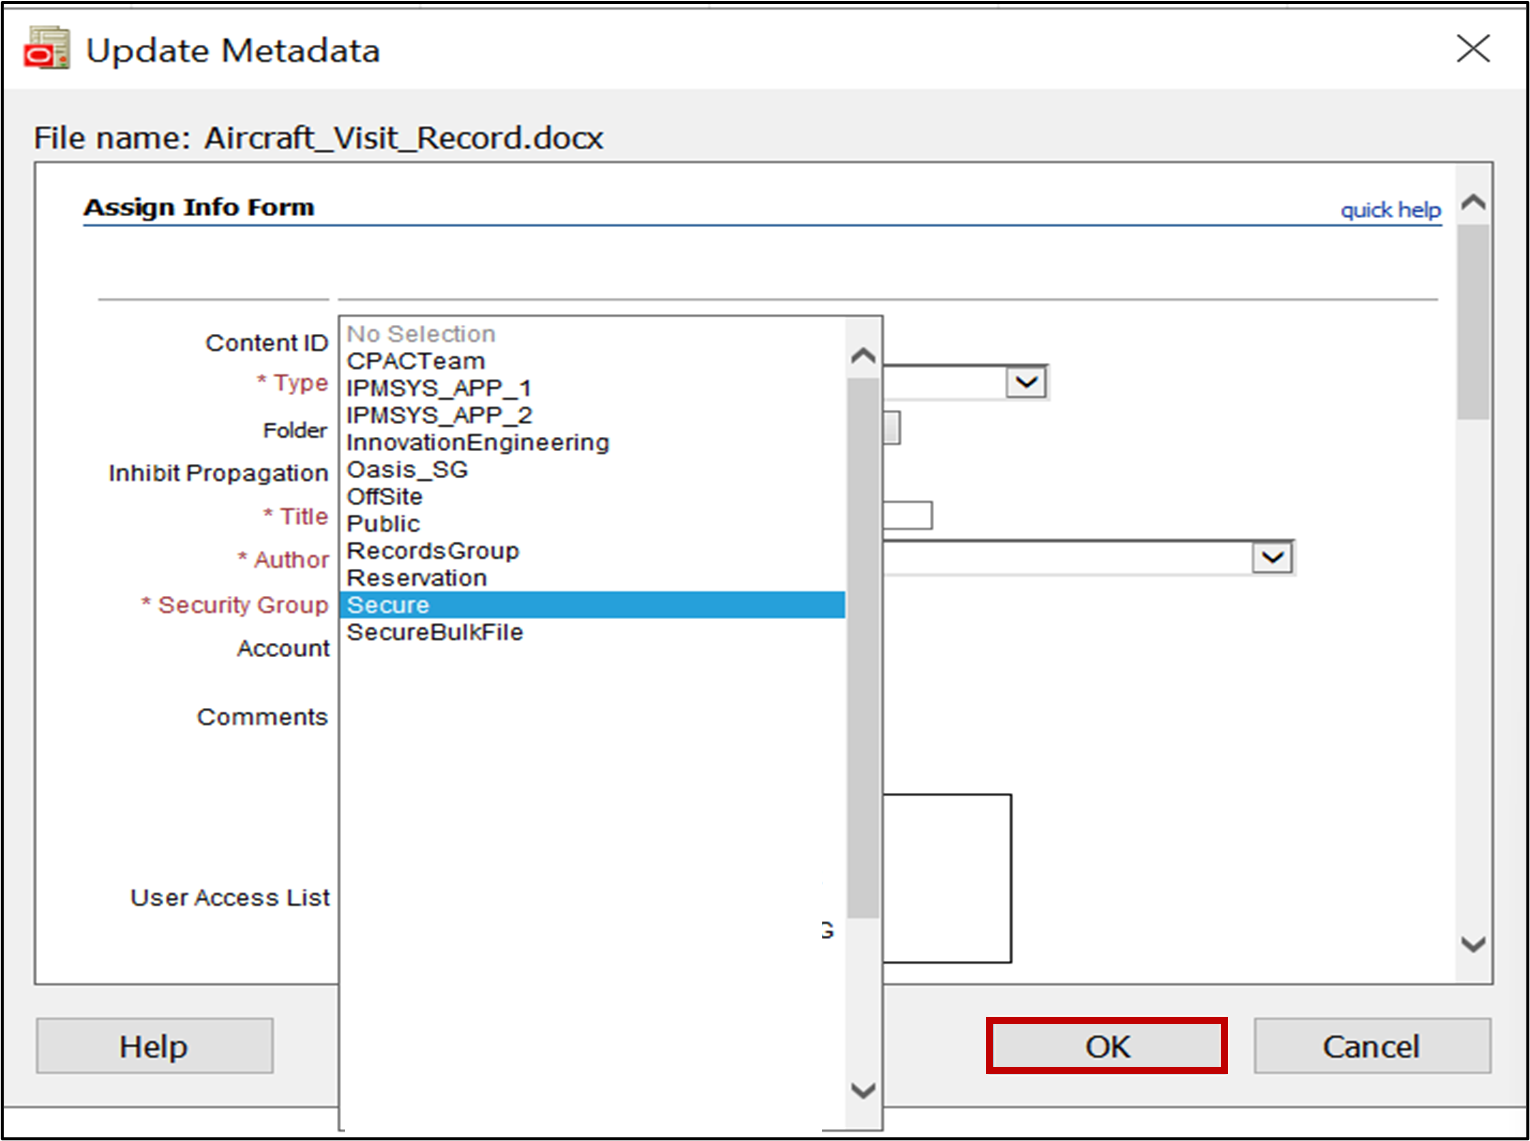
- Select the security group and choose your desired security group and click ok.
Step 3: Check Out and Check In
| Term | Meaning |
|---|---|
| Check-Out | Locks a document for editing so only you can modify it. Others can view but not edit. |
| Check-In | Uploads the updated version back to WCC and unlocks it for others. Creates a new revision. |
Note: Any modifications to a file can be made only after it has been checked out from the server.
- Right Click on the file and select “Check Out”.
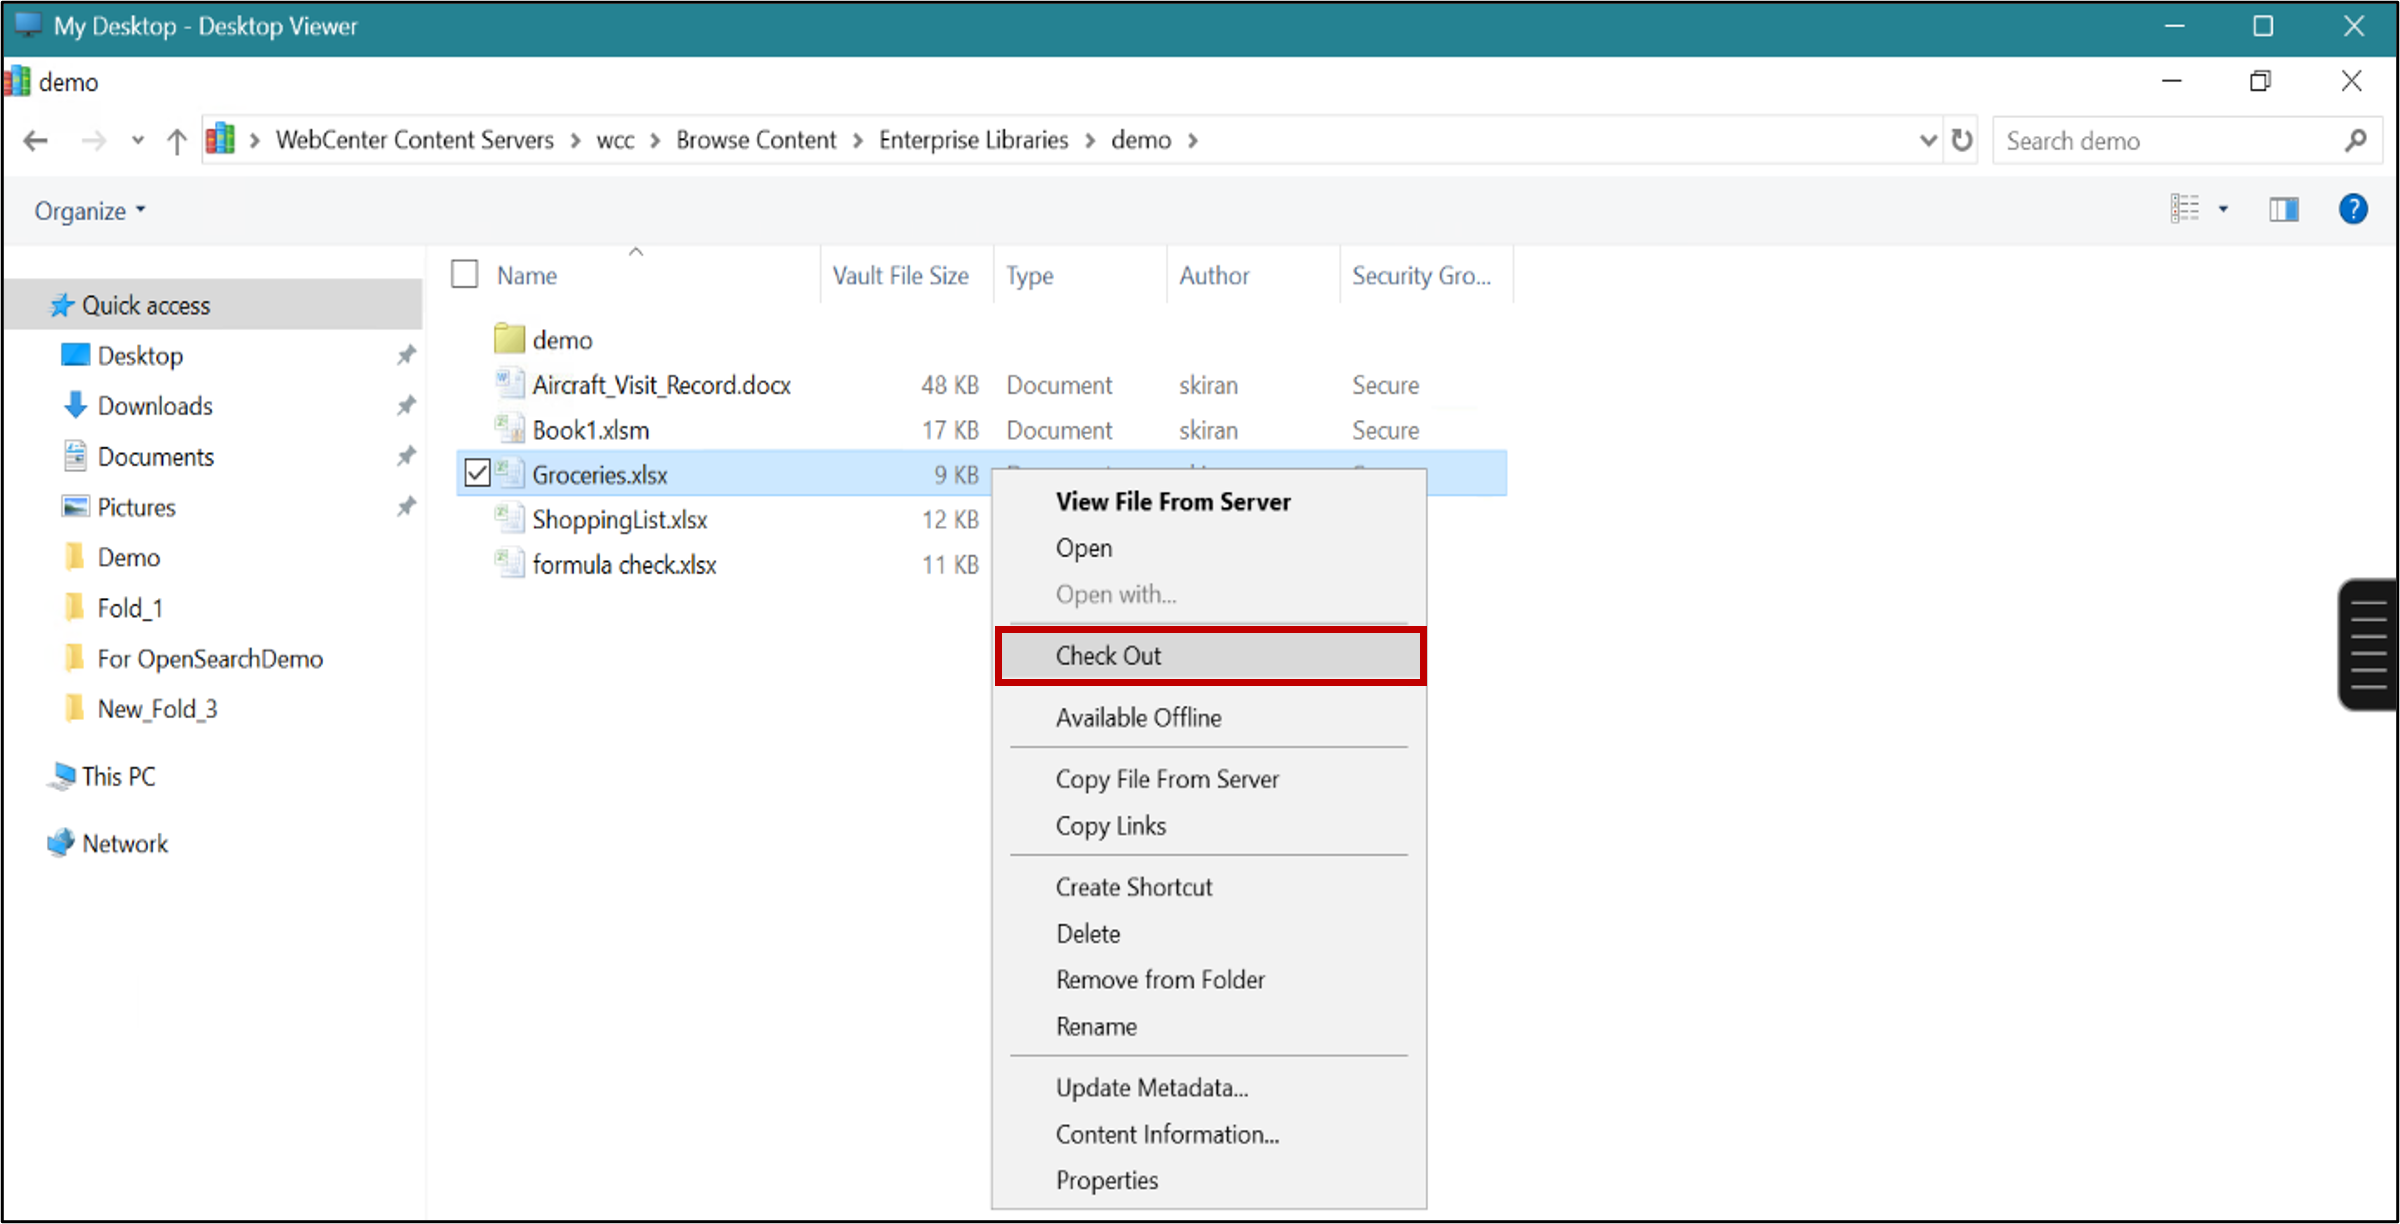
- When the Document is checked out, a green tick is visible on the checked-out file as shown below.

- After you make the desired changes, if you want to sync the changes in the WCC server, right click on the file and select “Check In”.
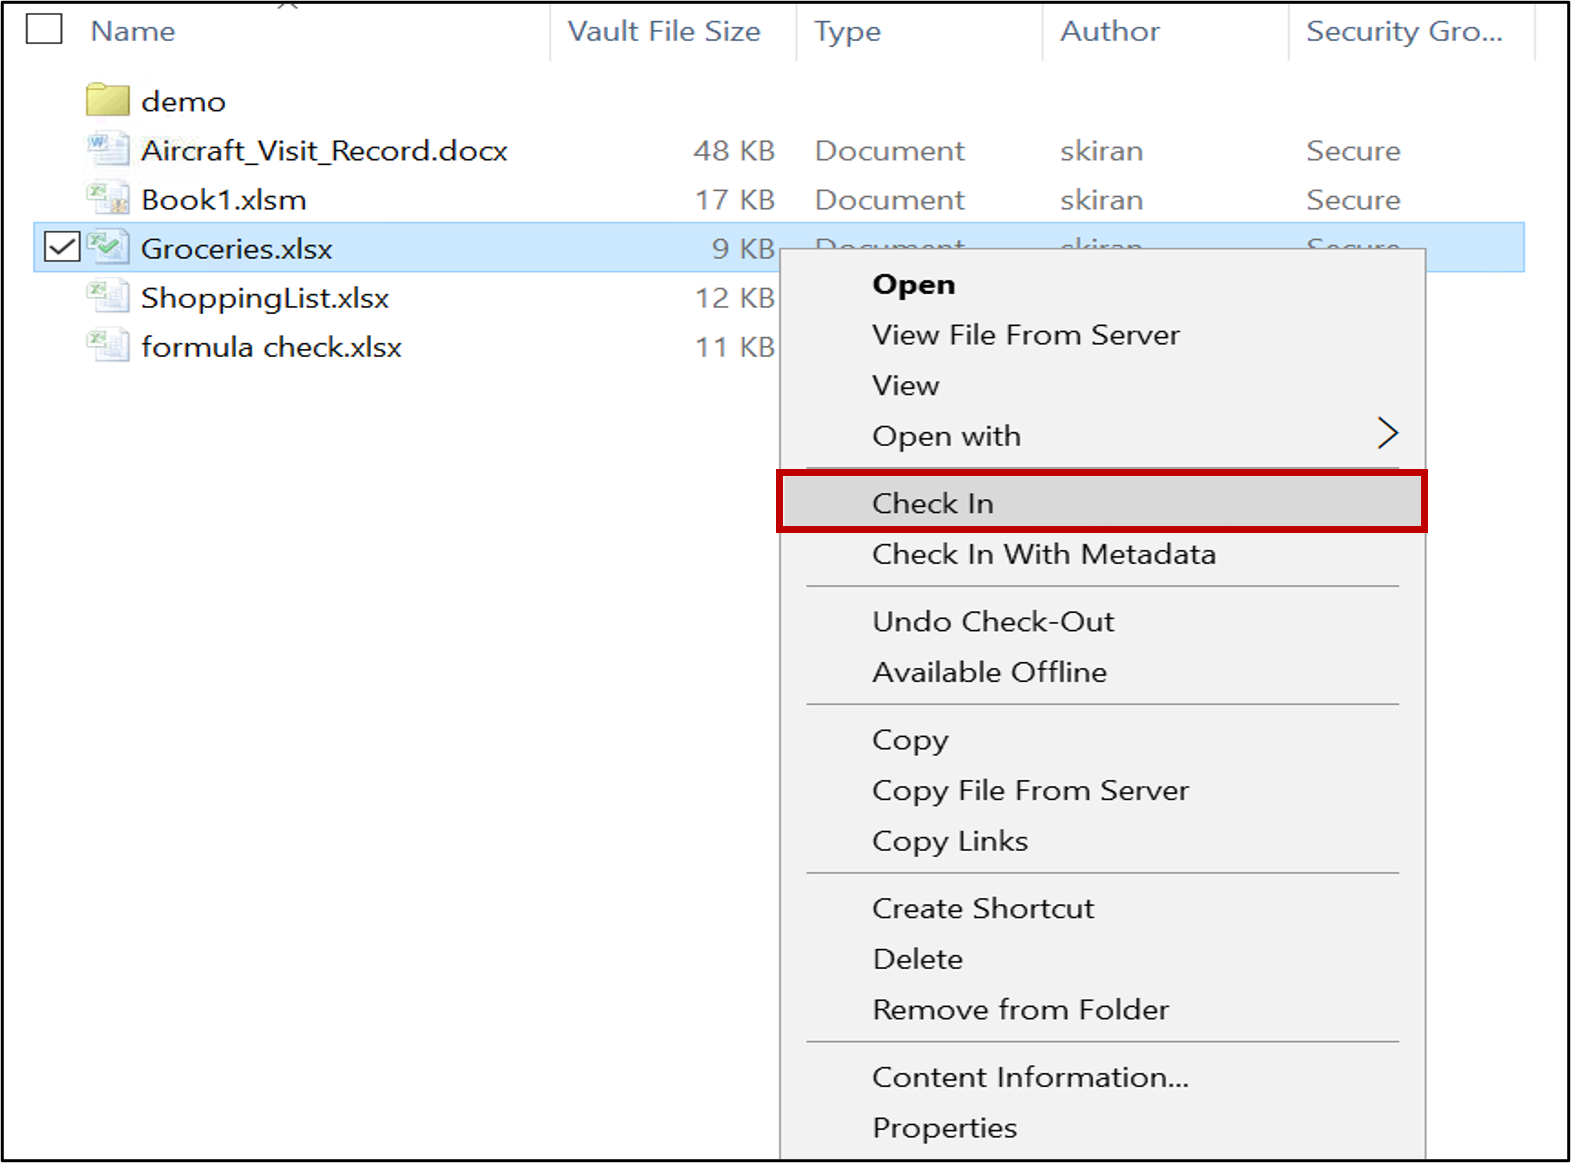
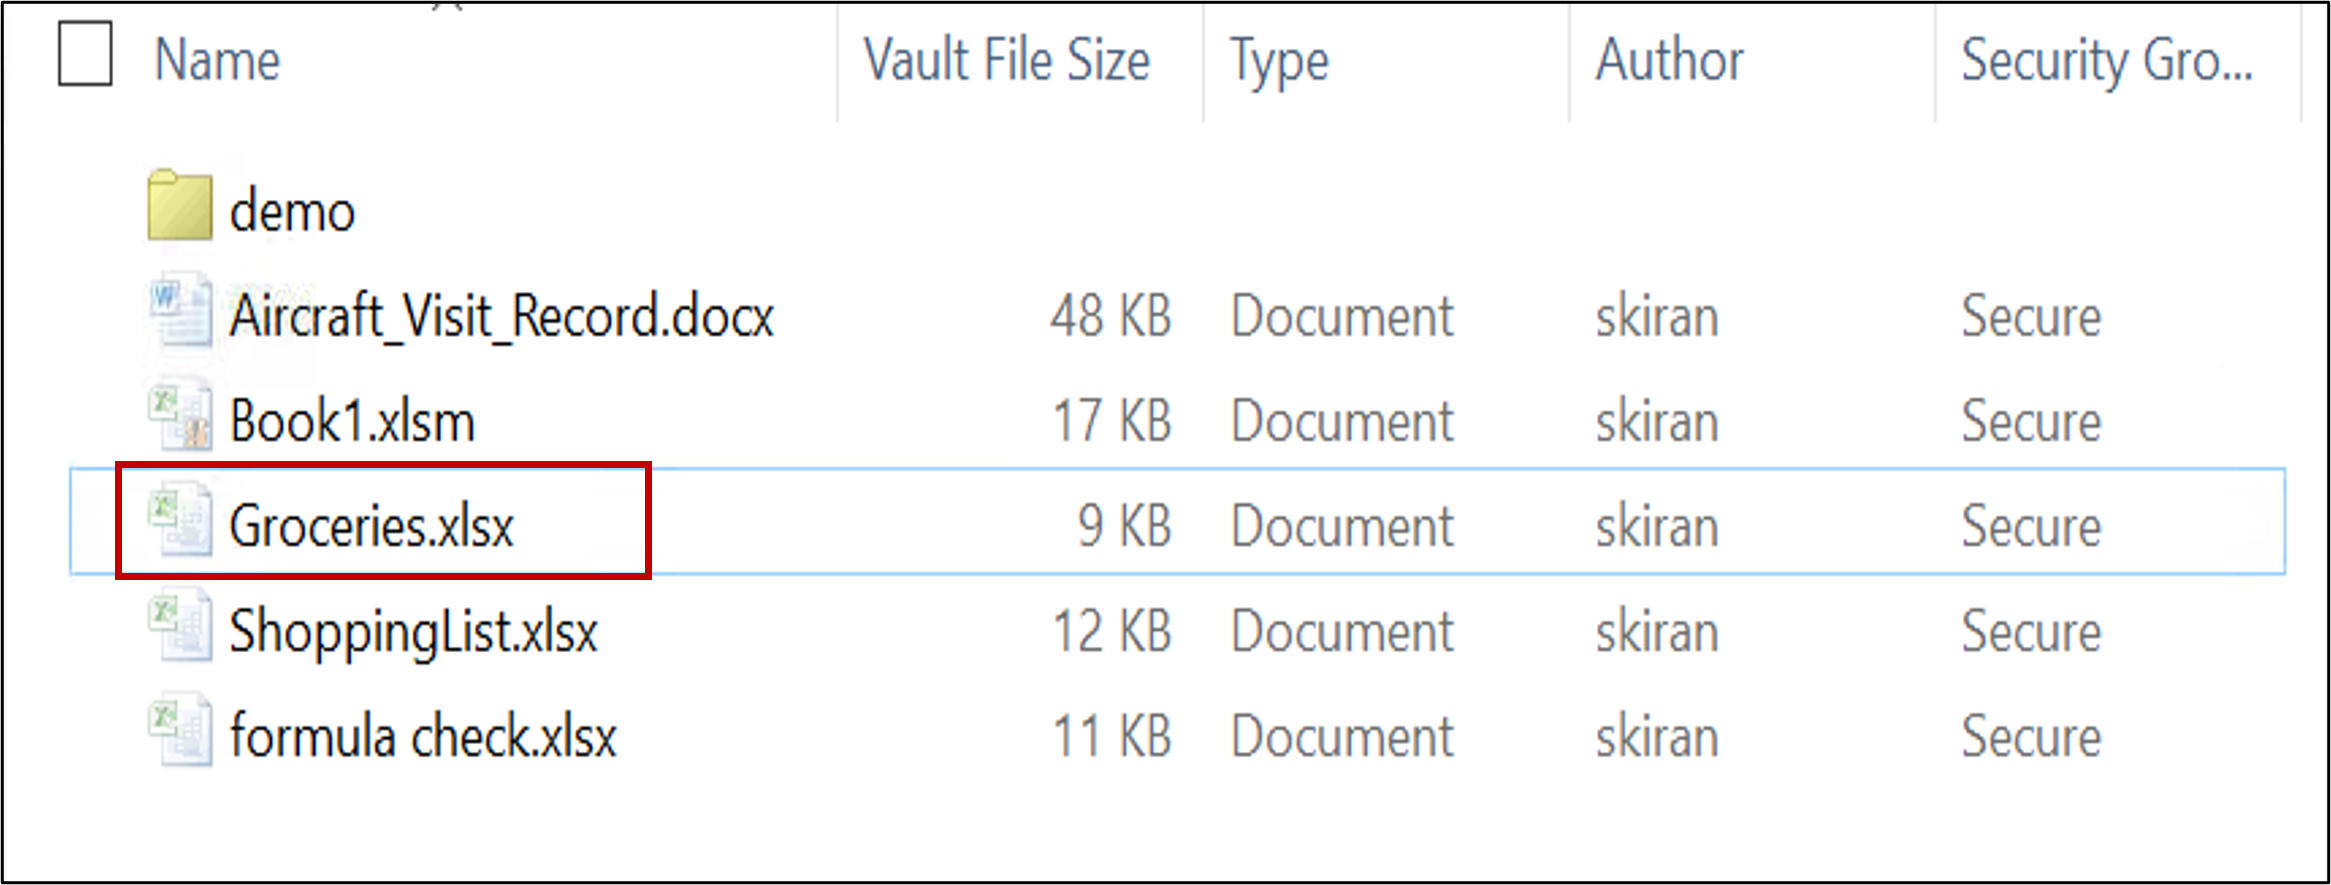
- Post Check-In, the green tick on the file will not be visible, which means the file has been synced successfully with the server.
Step 4: Offline and Online Mode
| Mode | Description |
|---|---|
| Online Mode | You are connected to the WCC server. All actions (check-in/check-out, metadata updates, folder access) happen live on the server. |
| Offline Mode | You can now open and edit the files as needed, even without a network connection, but only the files which are saved offline manually or saved in the DIS keeps track of your changes in a local cache. |
- First open the DIS and right click on your server. Then select “Work offline”.
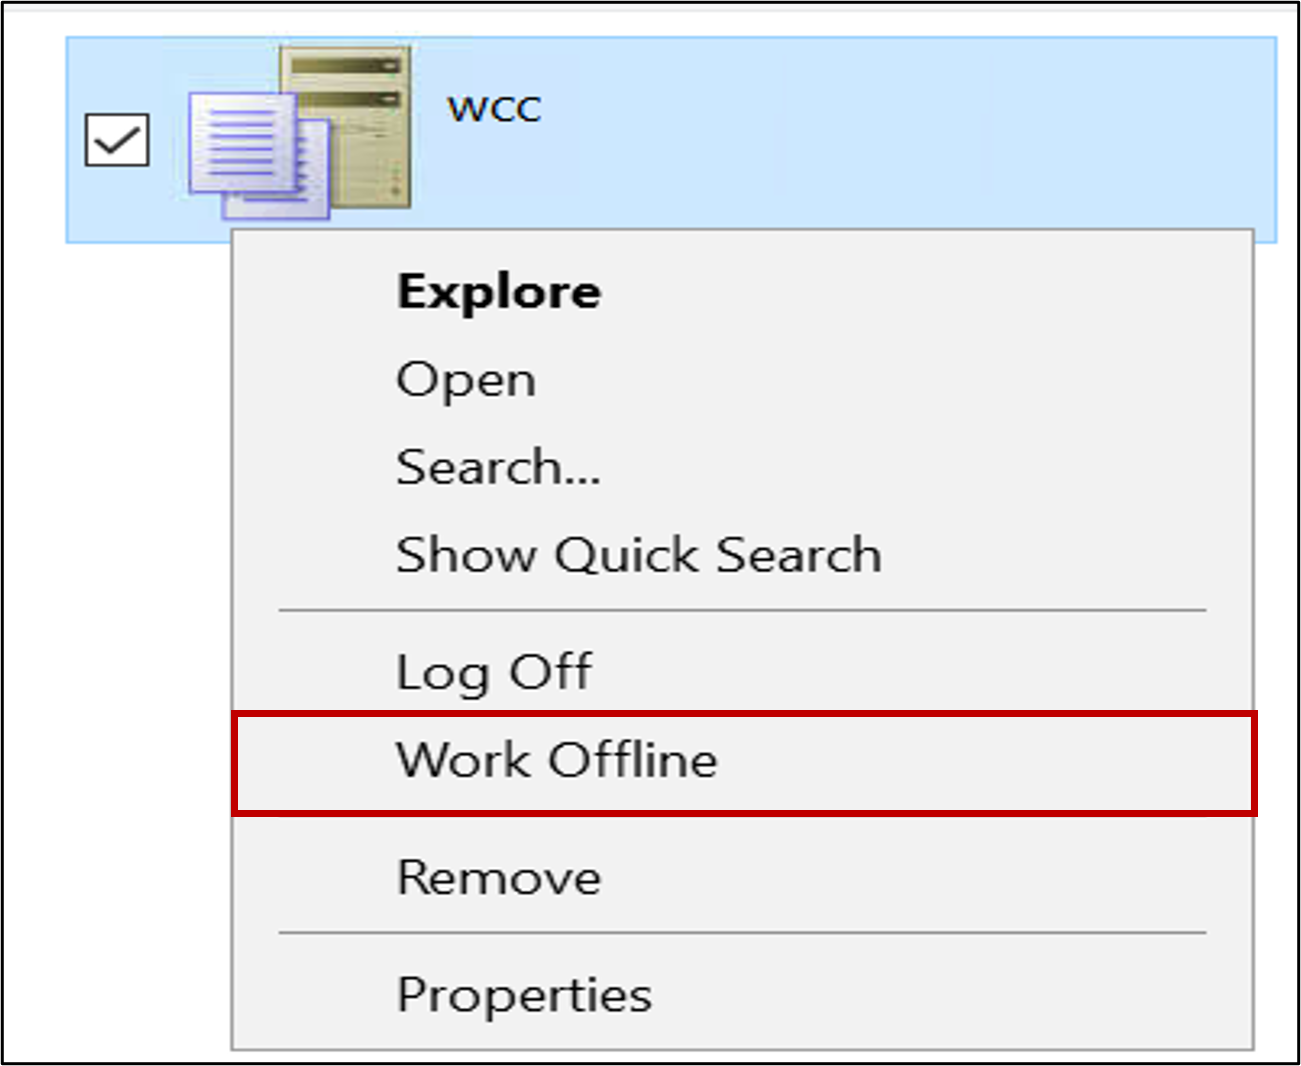
- Next, you will notice that the server has a new red symbol, which means the DIS is now disconnected from the internet.
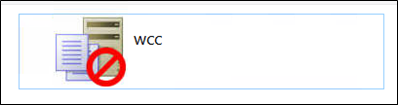
- If you want to reconnect it to the Online Server, click on the server and select “Work Offline”.
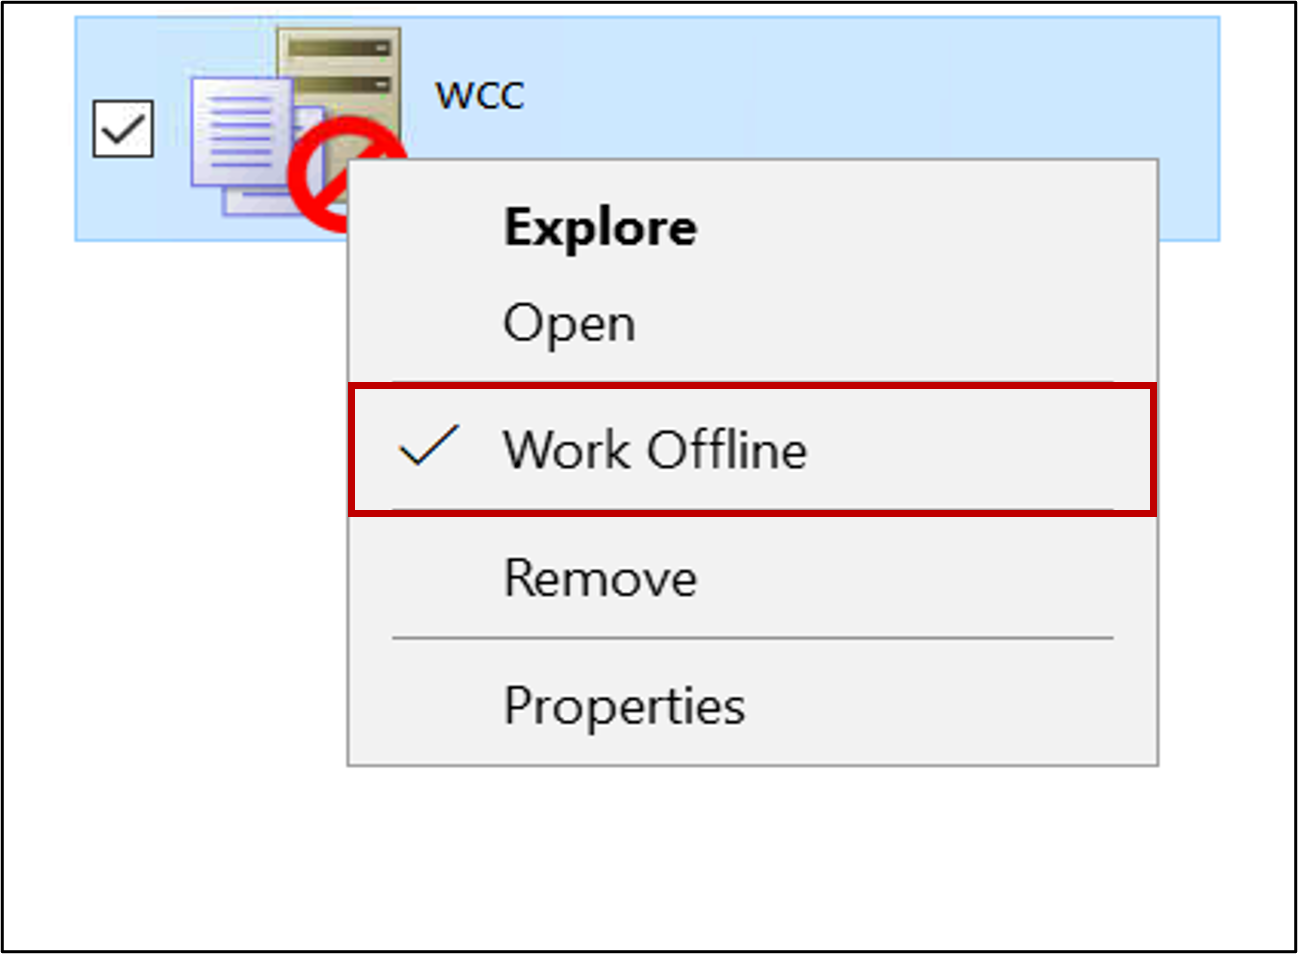
- Now the Online server will look similar to the image below.

Step 5: MS Office Integration
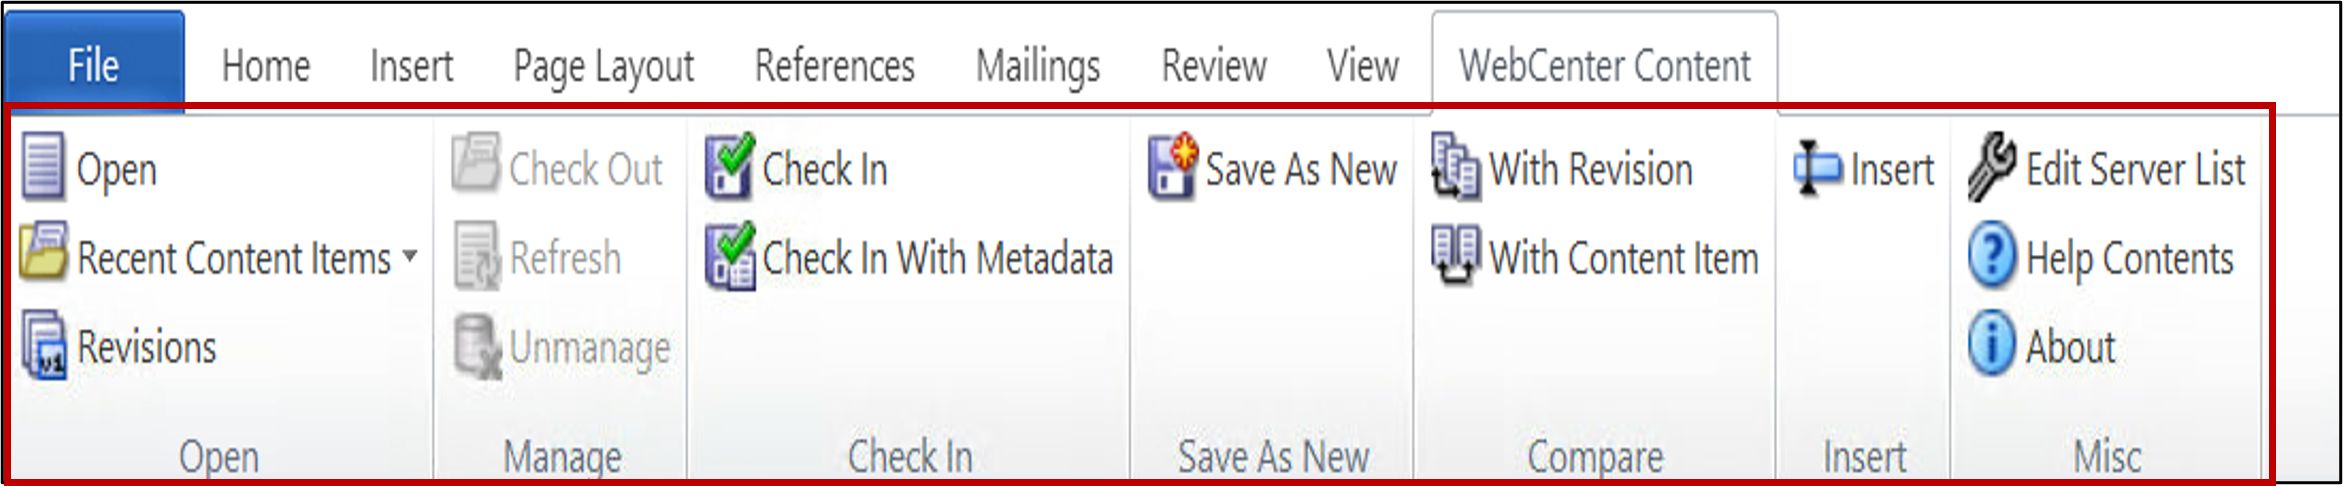
- Select WebCenter Content from the ribbons tabs to access the WCC server.
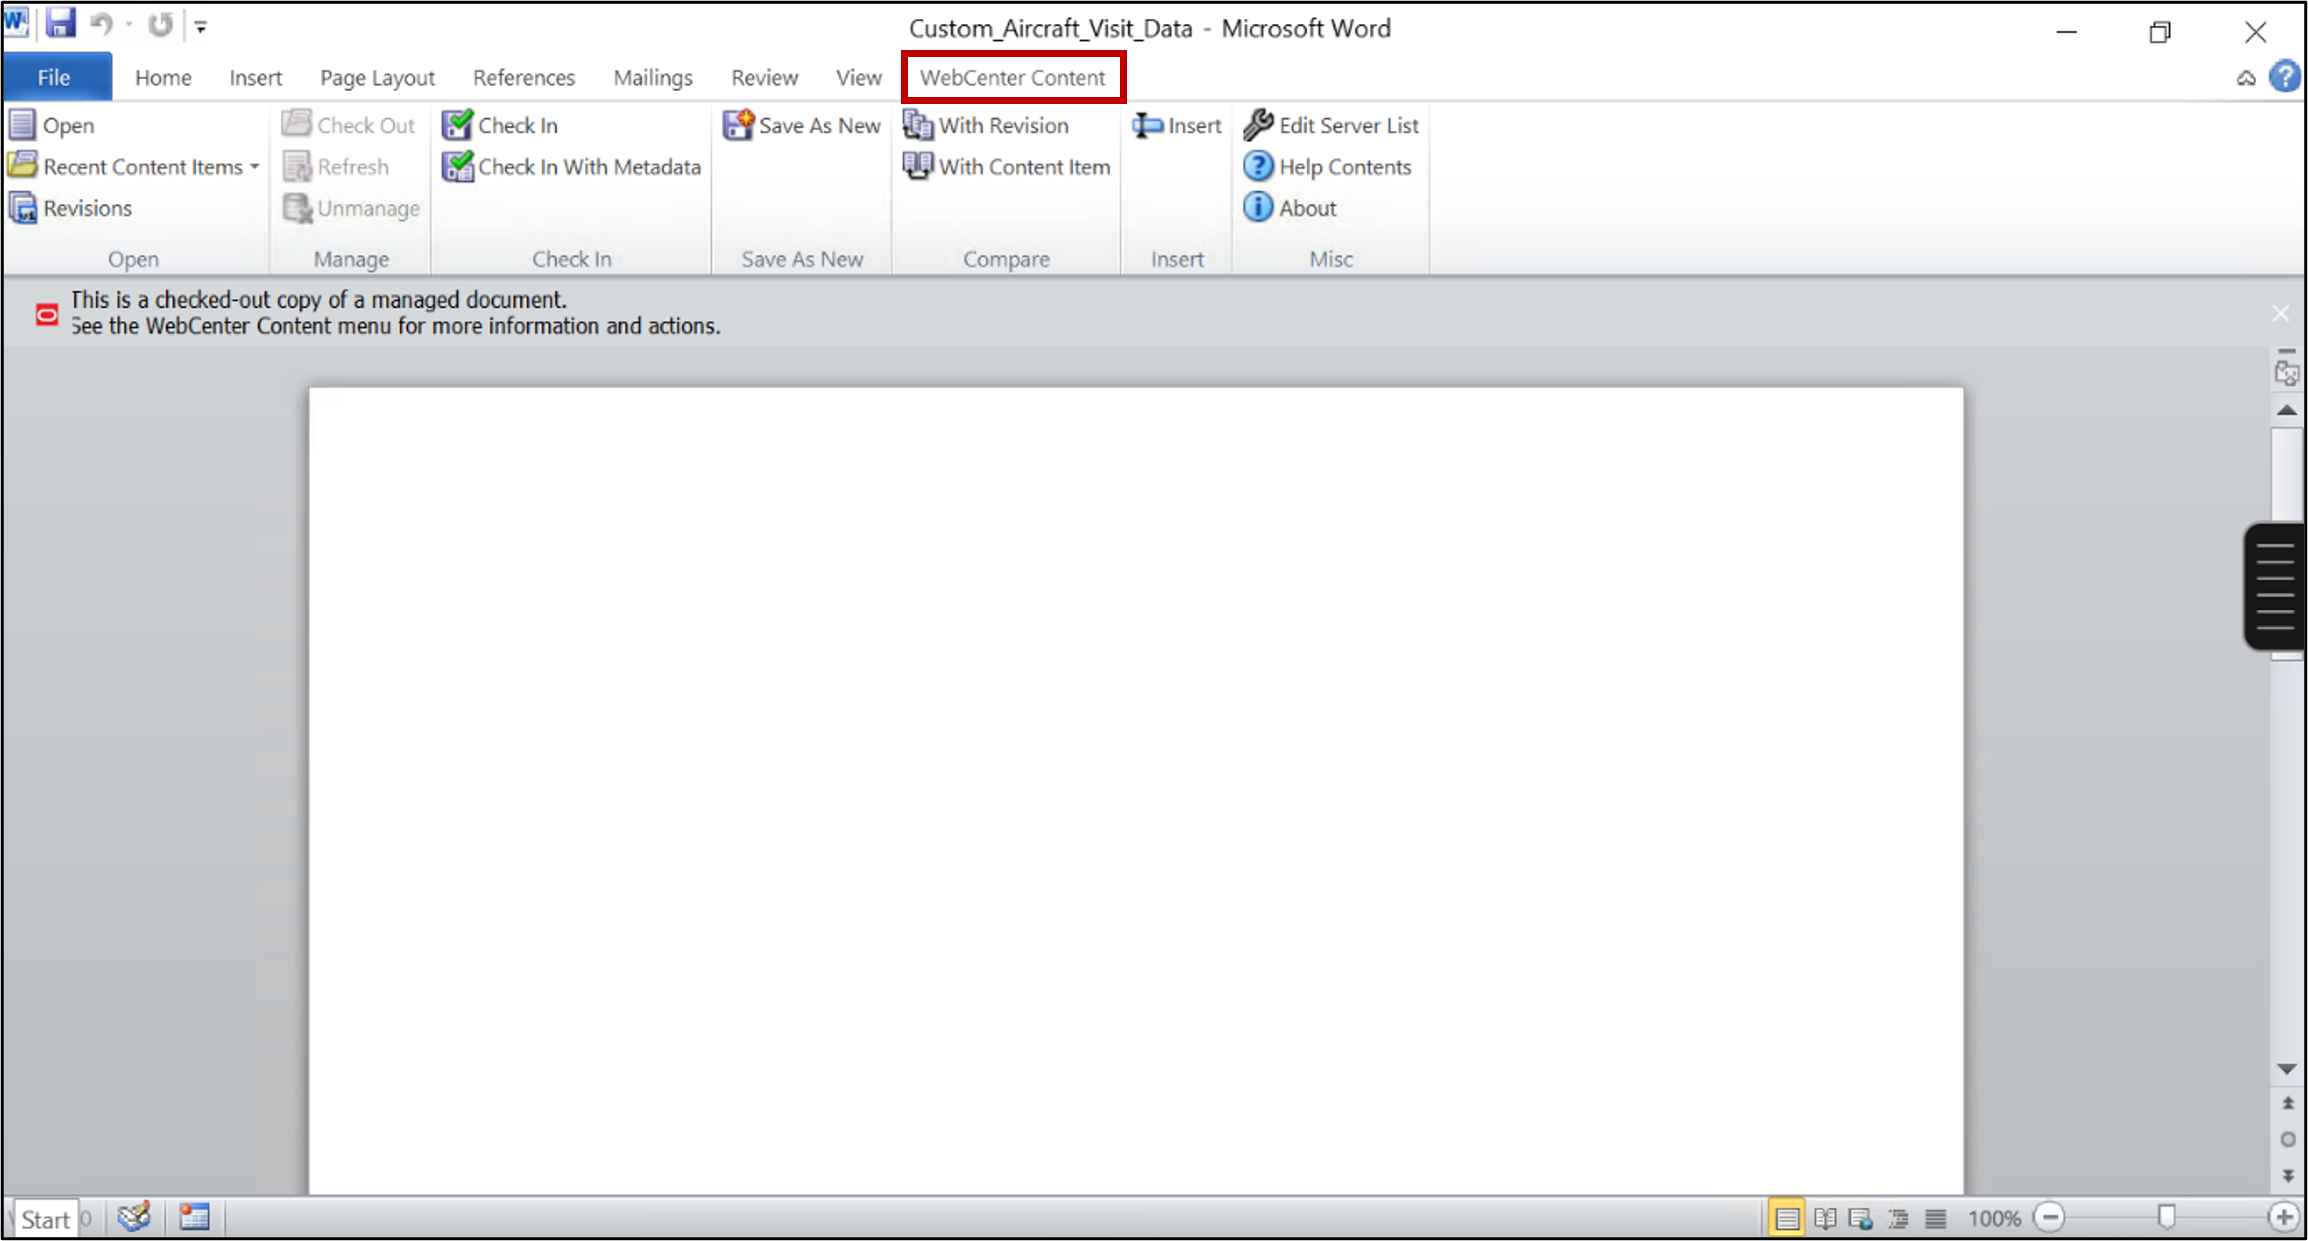
- In the Ribbon, all available options are explained below.
- Open: Opens a dialog to locate and open a file from the content server in Office. The file is checked out automatically for editing.
- Recent Content Items: Displays a list of recently opened content server documents in the Office. Easily reopen them with one click.
- Revisions: Opens a dialog to select and open a specific revision of a managed document. Useful for reviewing document history.
- Check Out: Checks out the currently open read-only document for editing. Enables check-in after changes.
- Refresh: Updates the open document with the latest version from the content server. Keeps content in sync.
- Unmanage: Converts a managed document to an unmanaged one. It will no longer be linked to the server.
- Check In: Submits the edited document back to the server as a new revision. Uses existing metadata.
- Check In with Metadata: Allows editing metadata before checking in the document. Useful for updating document details.
- Save As New: Saves the current document as a new content item on the server. Opens a dialog to enter metadata.
- Compare With Revision: Compares the current Word document with another revision of itself. Helpful for tracking changes.
- Compare With Content Item: Compares the current Word document with a completely different document on the server.
- Insert: Lets you insert links, contents, or images from server files into your Office document at the cursor position.
- Edit Server List: Manage server connections—add, edit, or remove content server instances.
- Help Contents: Opens the desktop client’s help documentation in your web browser.
- About: Displays version and build information for the Oracle WCC Desktop client.
Step 6: File Search
- You can use the search bar to search for files.
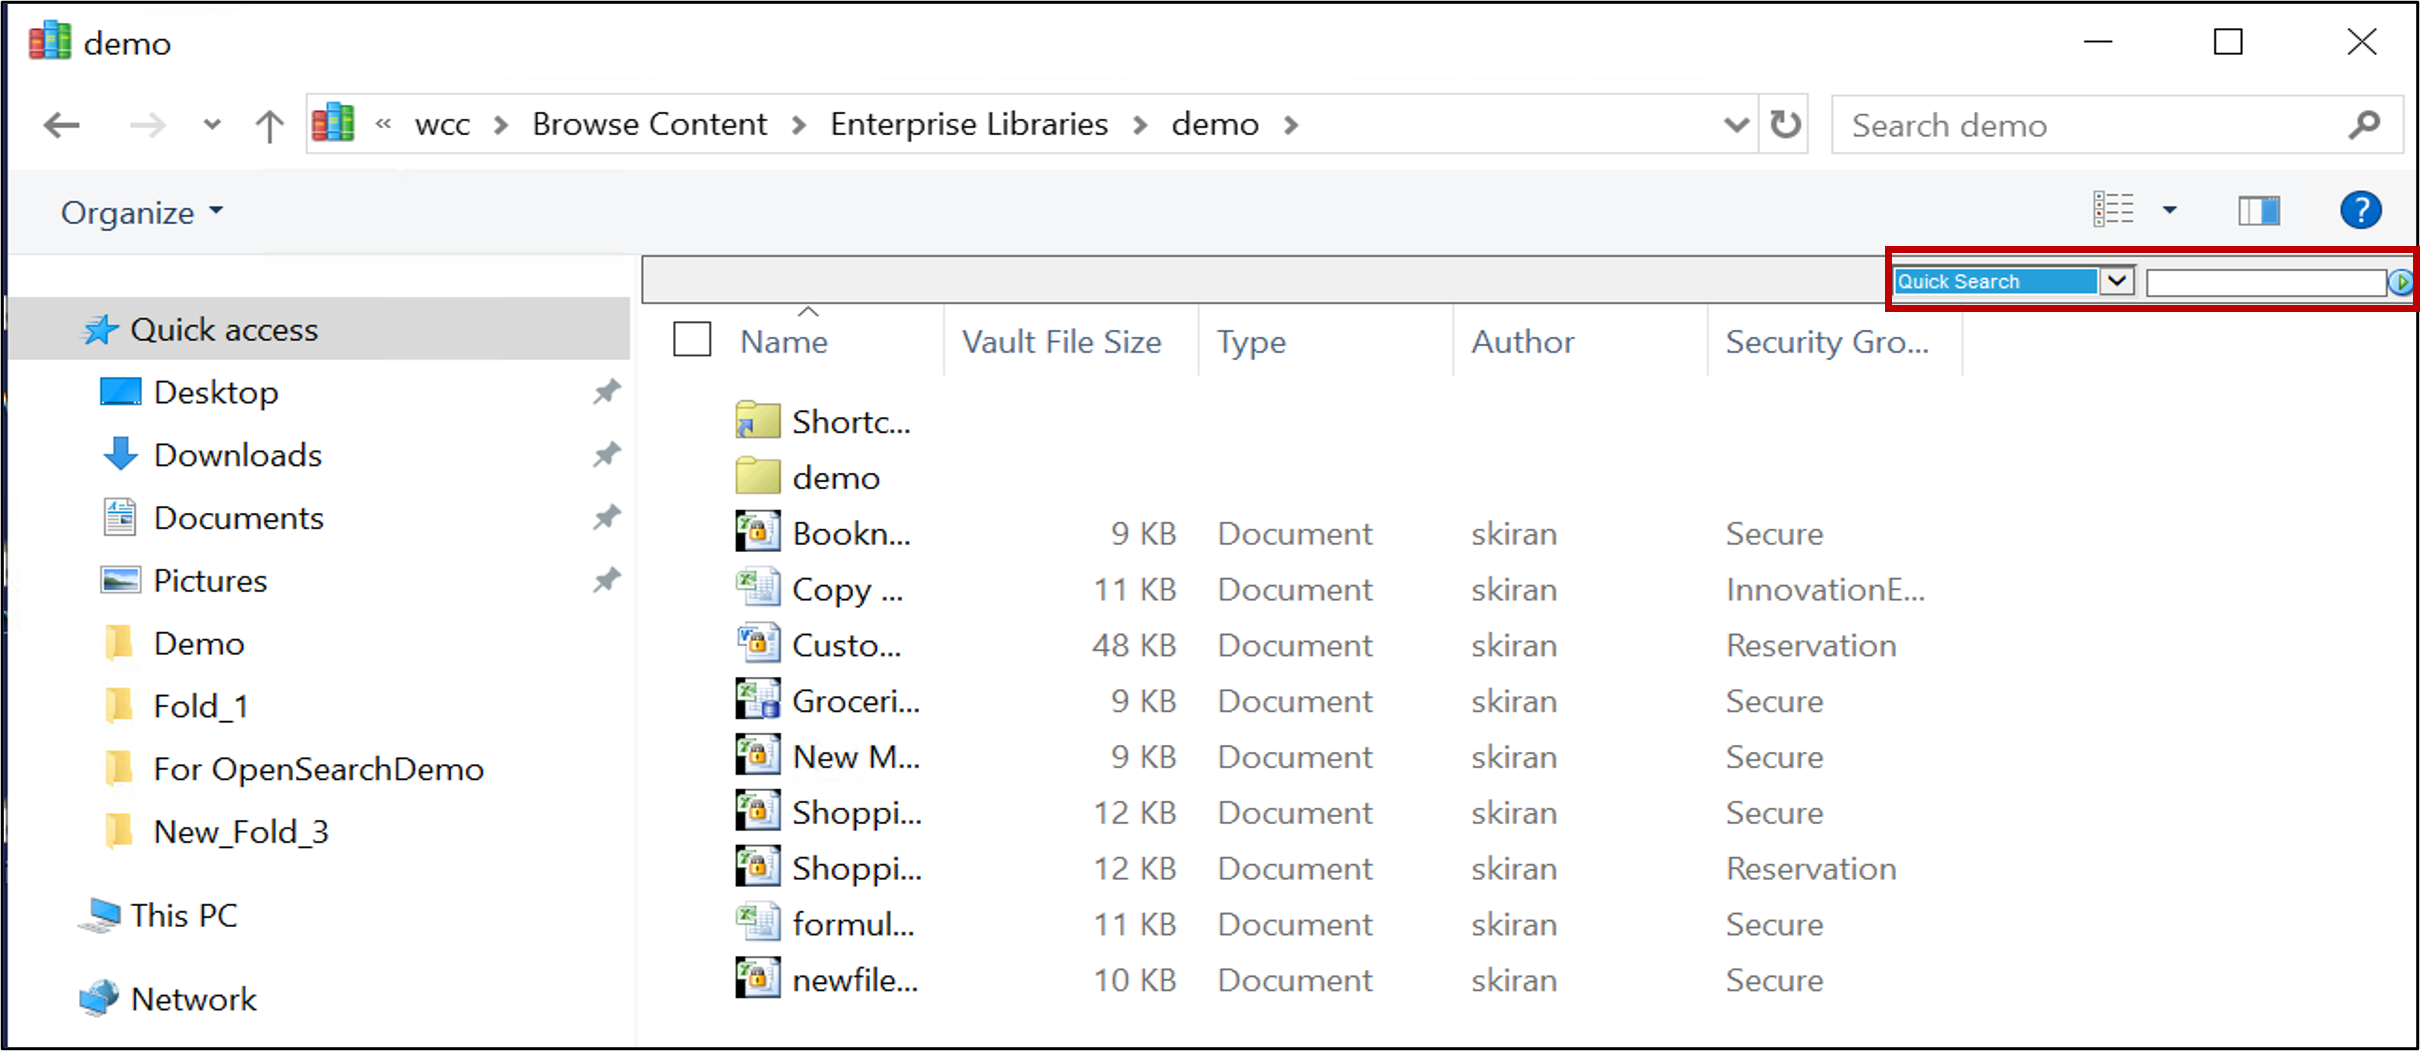
- Toggle the Drop down to search for specific metadata.

Step 7: File and Folder options
- When clicking a folder, you get these below options:
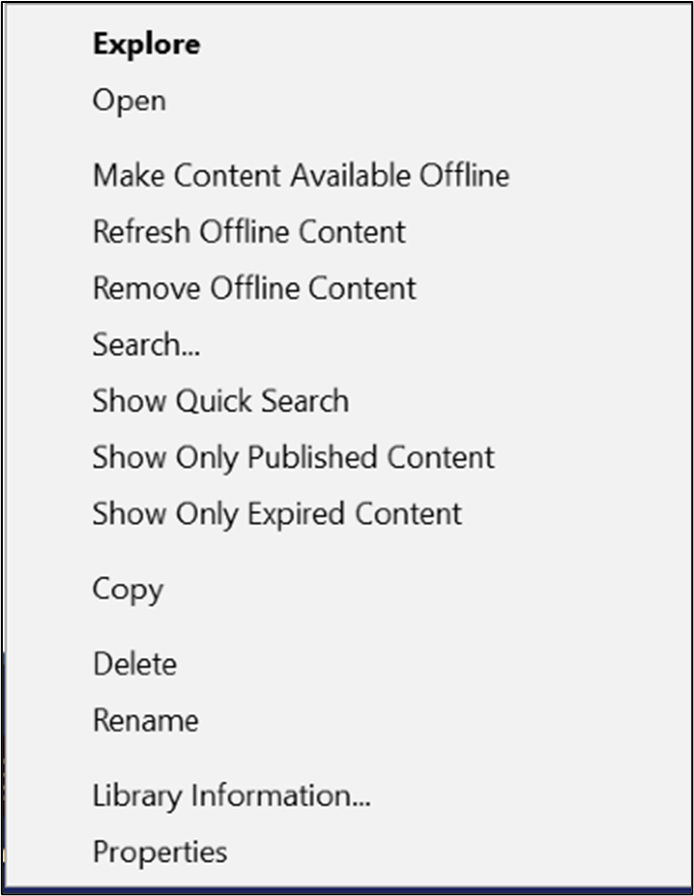
- Open – Opens the selected folder in Windows Explorer.
- Make Content Available Offline – Downloads content so it can be accessed without an internet connection.
- Refresh Offline Content – Updates offline files to match the latest server versions.
- Remove Offline Content – Deletes locally cached offline content for the selected folder.
- Search – Opens a search dialog to find content within the folder or repository.
- Show Quick Search – Displays the quick search pane for faster filtering.
- Show Only Published Content – Filters view to show only published (non-draft) items.
- Show Only Expired Content – Filters to show content that has passed its expiration date.
- Copy – Copies the selected folder to clipboard for pasting elsewhere.
- Delete – Deletes the folder or marks it for removal (based on permissions).
- Rename – Allows you to rename the folder.
- Library Information… – Displays metadata and settings for the selected folder.
- Properties – Opens file system-level properties for the folder.
- When you right click a file, you get these options:
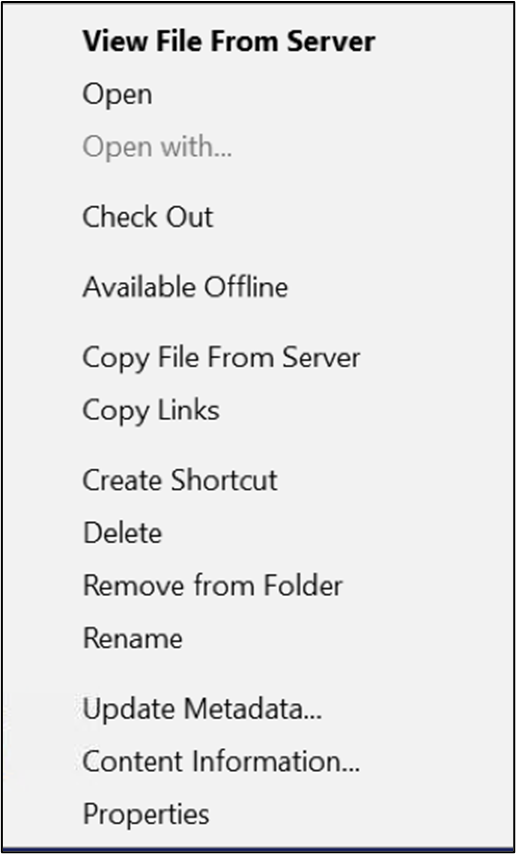
- View File from Server – Opens the file in read-only mode directly from the server without checking it out.
- Open – Opens and checks out the file for editing in the default application.
- Open with – Lets you choose an application to open the file (if enabled).
- Check Out – Locks the file and downloads it for editing; prevents others from editing.
- Available Offline – Saves the file locally so it can be used without internet access.
- Copy File from Server – Downloads a separate copy of the file to your system without locking it.
- Copy Links – Copies the file’s web or content server link to your clipboard.
- Create Shortcut – Creates a desktop shortcut pointing to the file in the content server.
- Delete – Deletes the file from the content server (if you have permission).
- Remove from Folder – Removes the file only from the current folder, not from the server.
- Rename – Renames the file’s display name in the folder (not necessarily the physical file name).
- Update Metadata… – Opens a form to modify the file’s metadata (e.g., title, author, security).
- Content Information… – Shows detailed metadata and file properties from the server.
- Properties – Opens the local Windows properties dialog for the file.
Step 8: Macro Compatibility
This is how Macros Work in DIS-Managed Documents.
- Macros Are Retained:
- When you open a macro-enabled file (e.g., .xlsm, .docm) from WCC, macros remain functional.
- The file behaves like any regular Office document with macros enabled.
- Check-In/Check-Out Flow:
- When you check out a macro-enabled document from WCC, you can run and edit macros.
- When you check it back in, the macros are saved with the file and versioned.
- Editing Macros:
- You can edit VBA code (via the Developer tab) in checked-out documents.
- After editing, check the document back in for others to access the updated macros.
- Offline Files with Macros:
- If a document is made Available Offline, macros can still be executed locally.
- Changes to macros will sync back upon check-in.
Step 9: Saved Search
- This option allows you to save your most frequently used search queries.
- First search for anything that you want.
- Right-click the Search Results folder and choose Save Query.
- Enter a name for the query and click OK(or press Enter) to save it to My Saved Queries under My Content Server.
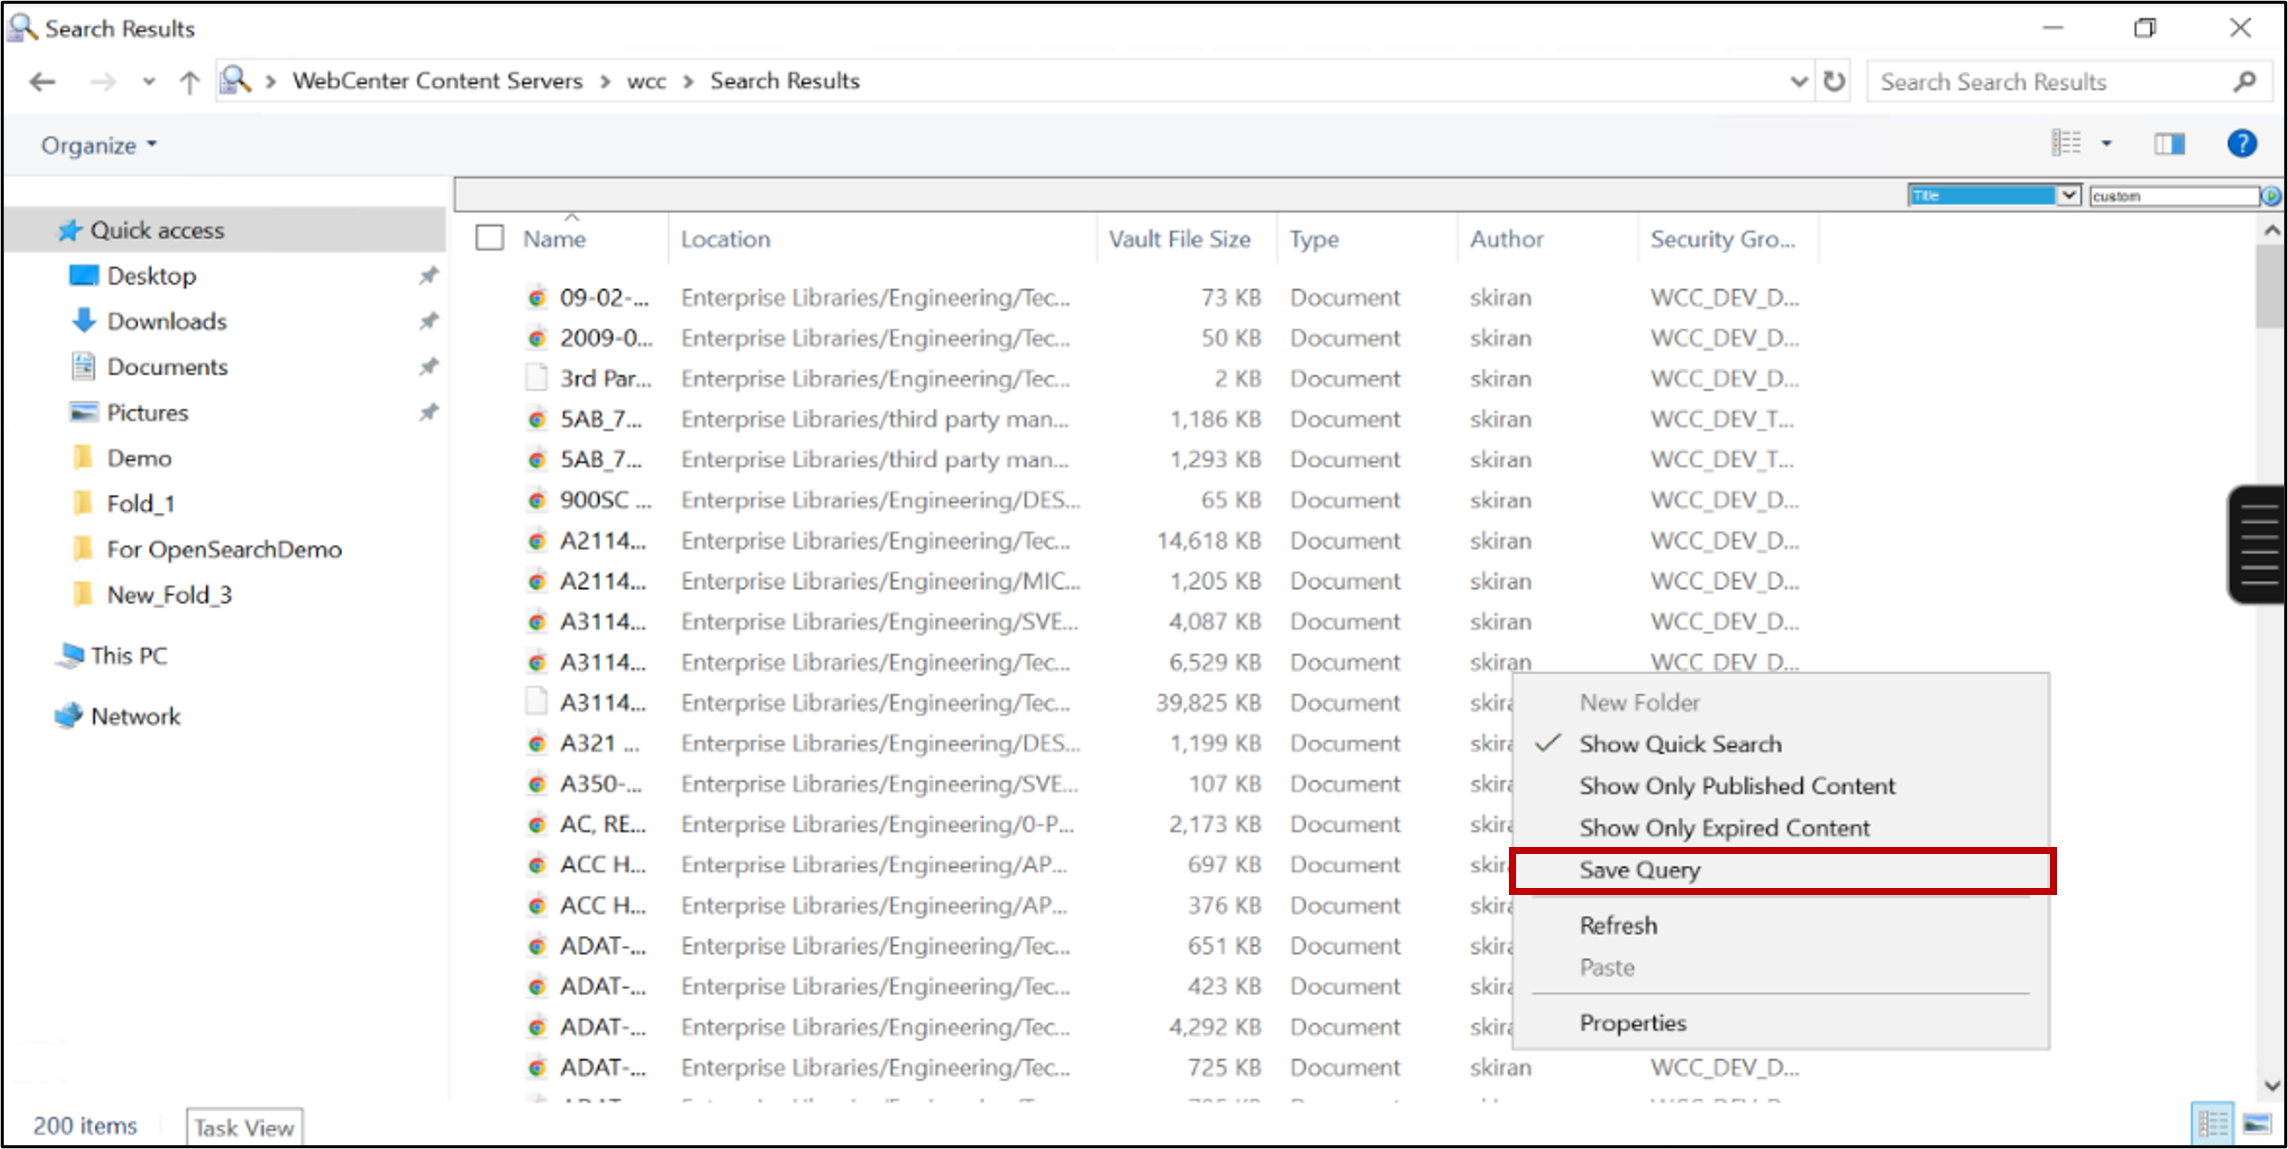
- Now, you can see your saved Queries inside WCC > My Content Server > My saved queries.
- This is how your query is visible.

Conclusion
Oracle WebCenter Content Desktop Integration Suite (DIS) transforms the way users interact with enterprise content by bringing the power of WCC directly to their desktops. From seamless check-in/check-out and metadata management to Microsoft Office integration and offline access, DIS makes enterprise content management intuitive, efficient, and accessible.
By leveraging these capabilities, organizations can eliminate repetitive manual steps, maintain strong content governance, and boost collaboration across teams while ensuring compliance and version control. As you adopt DIS into daily workflows, you will experience a smoother bridge between users and enterprise content, unlocking a more connected and intelligent way of working.
Stay tuned for more insights as we continue exploring Oracle WebCenter Content best practices and innovations in upcoming blogs.