
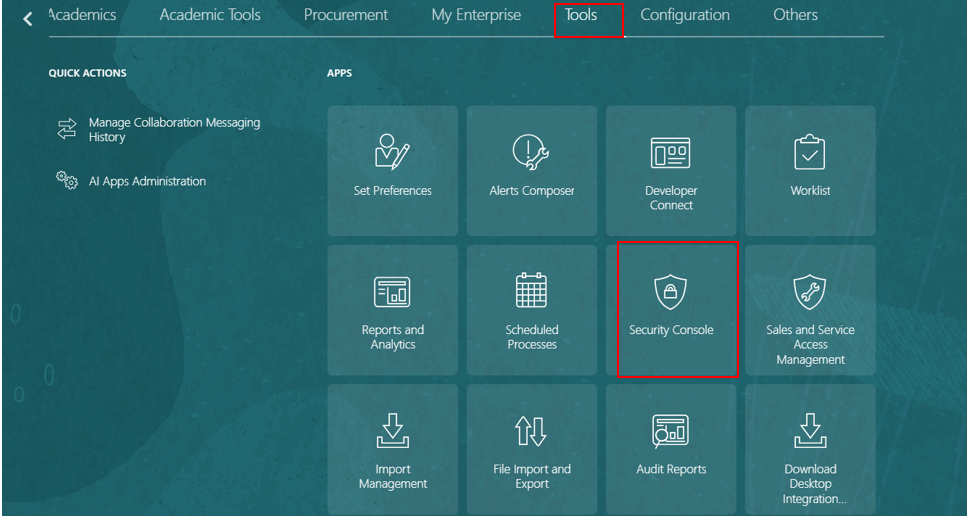
STEP 1: Login to the instance and navigate to Tools -> Security Console.
STEP 2: Navigate to Roles -> Create Role.

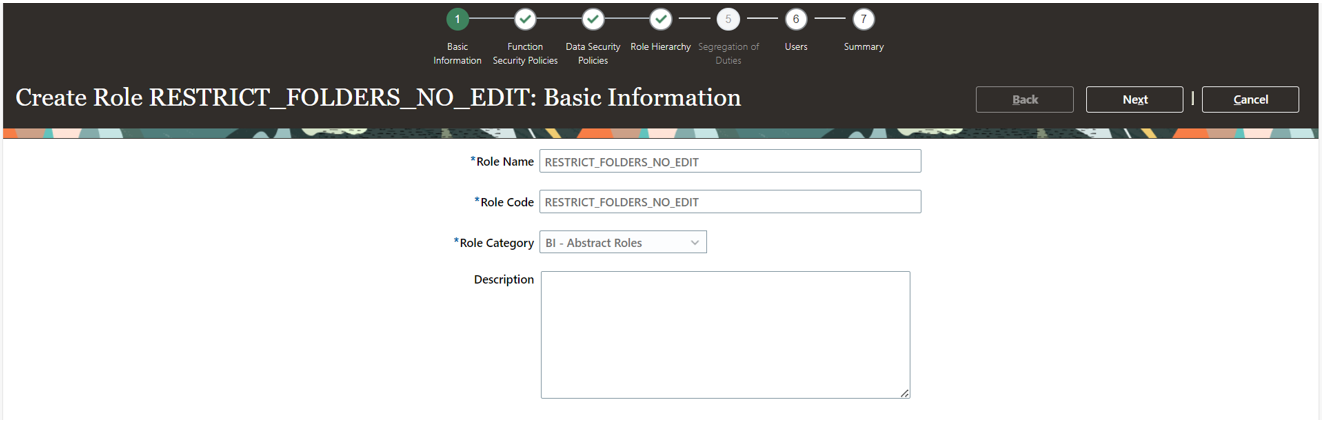
STEP 3: Click on Create Role and enter your details.
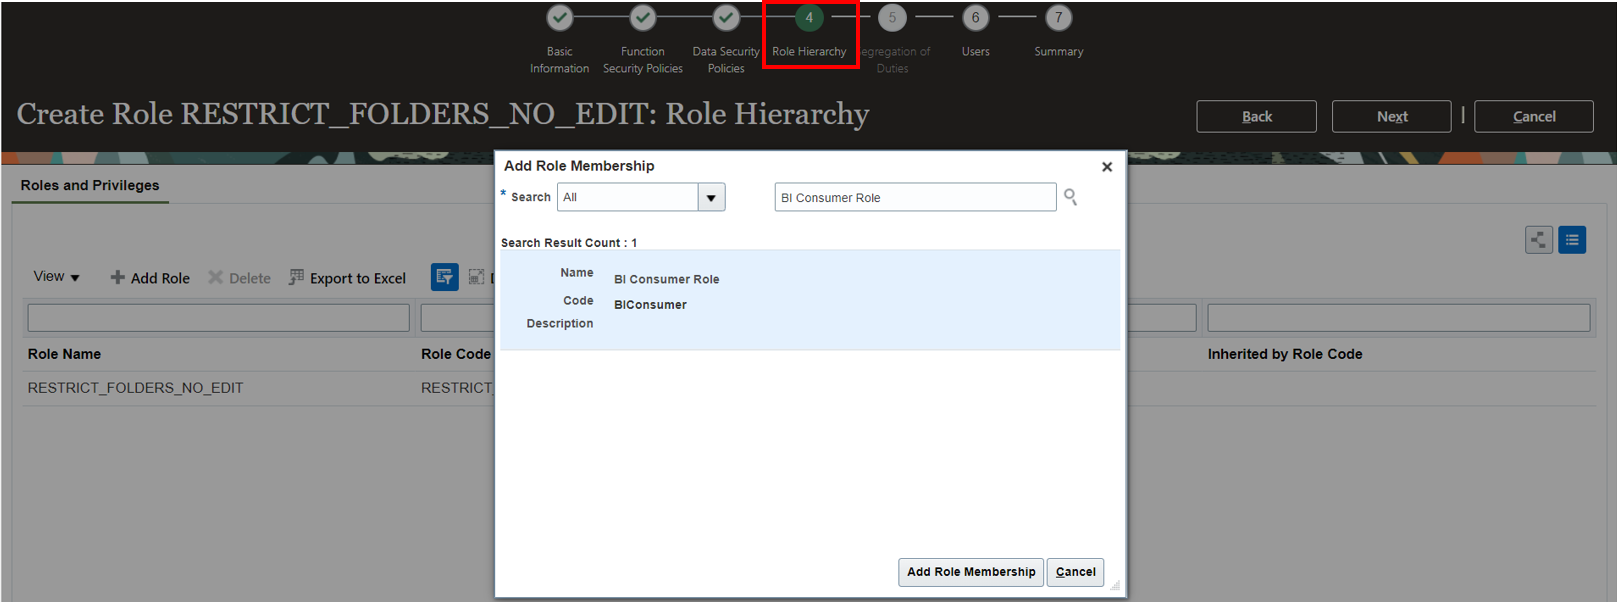
STEP 4: Click on Next and navigate to Role Hierarchy. Click on Add Role and select BI Consumer Role and Add Role Membership.
STEP 5 : Click on Next and then save and close. Assign the custom roles to user.
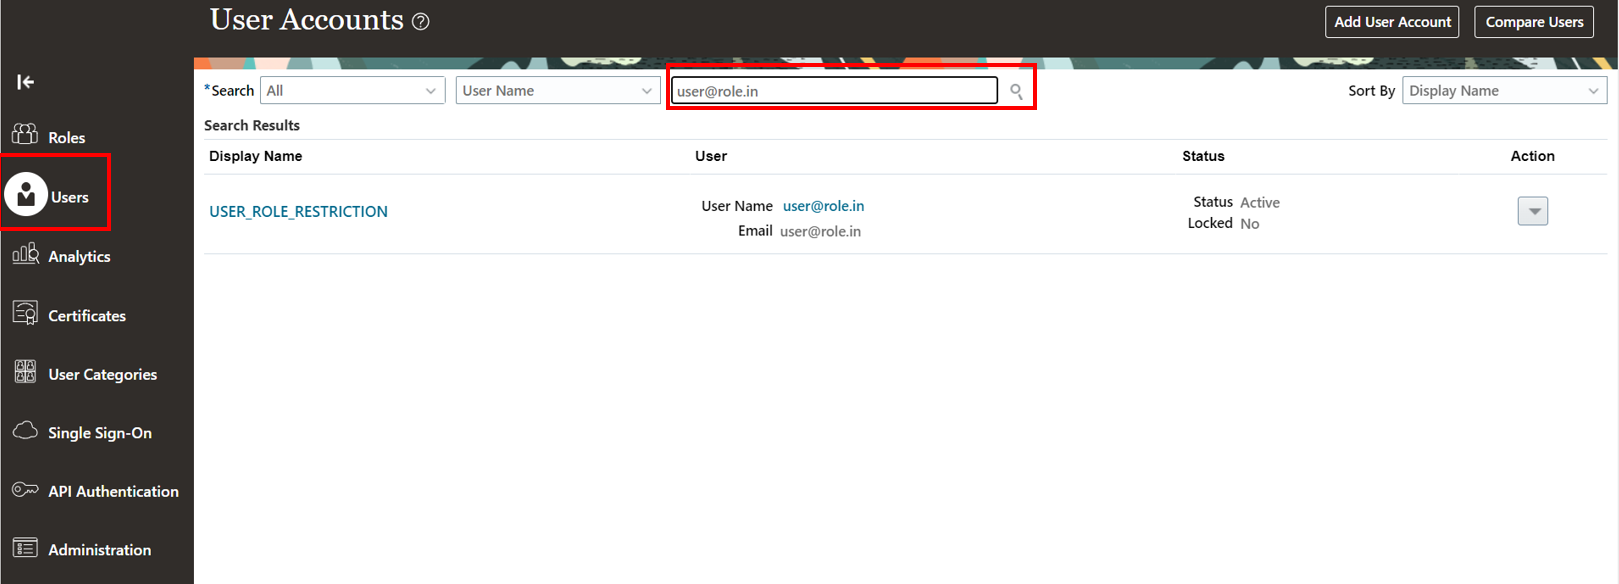
Navigate to Users and enter Username or Email.
STEP 6: Navigate to User Name -> Edit -> Add Role.
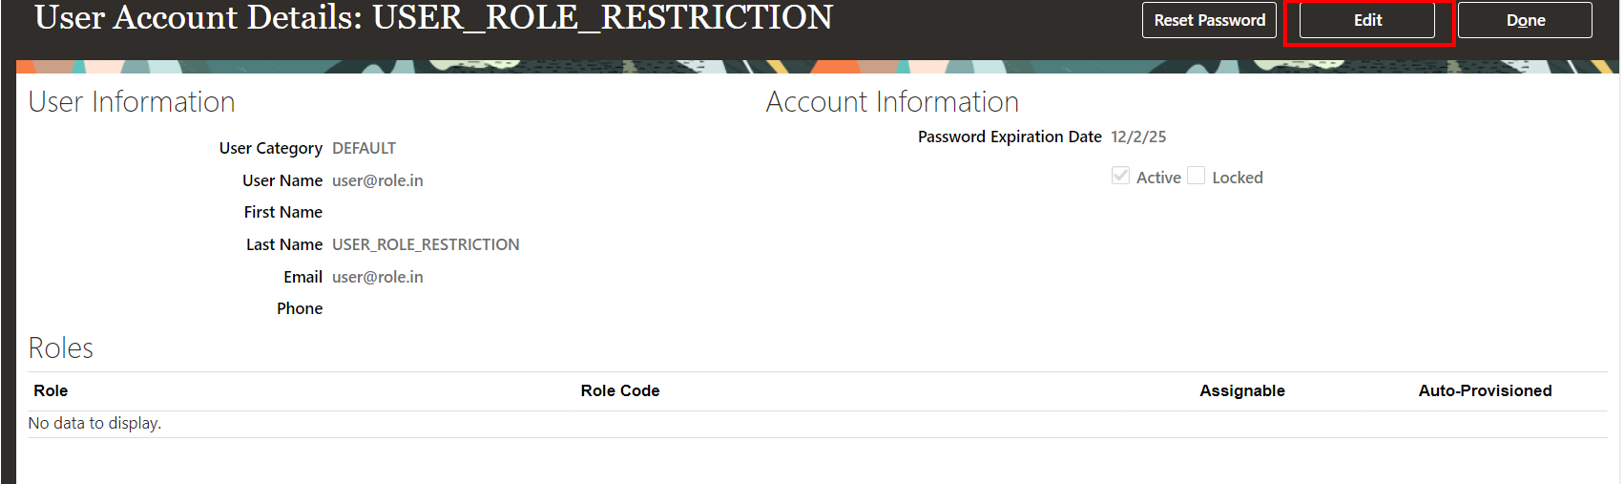
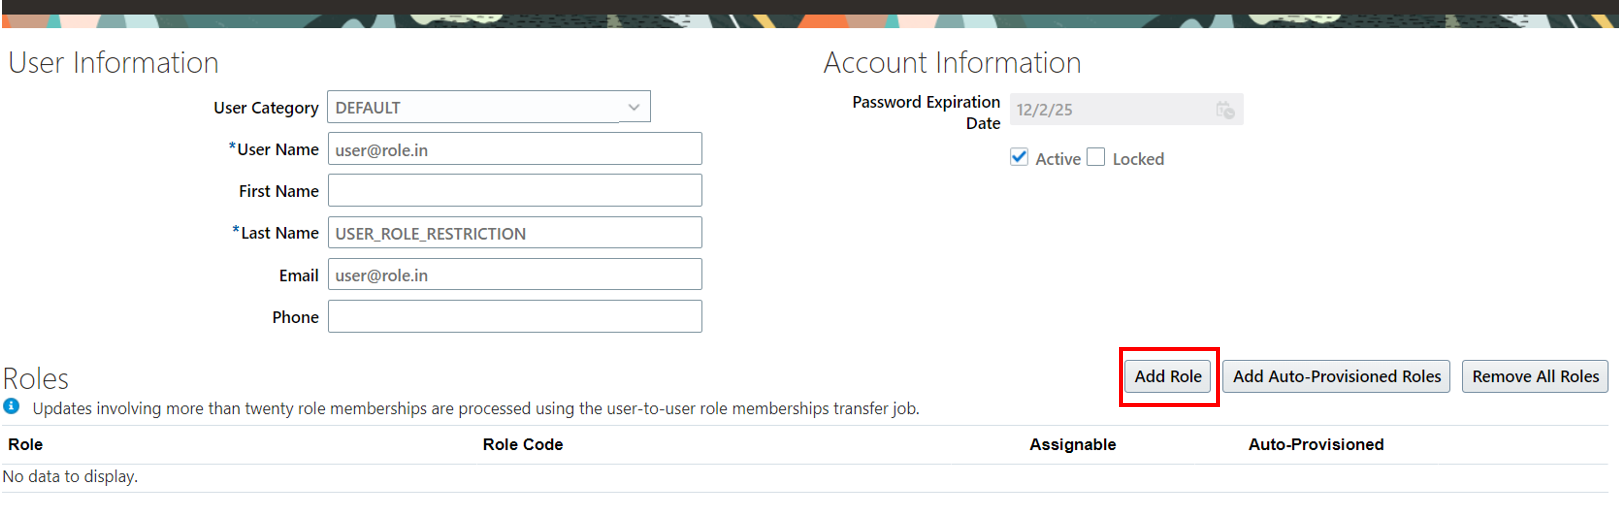
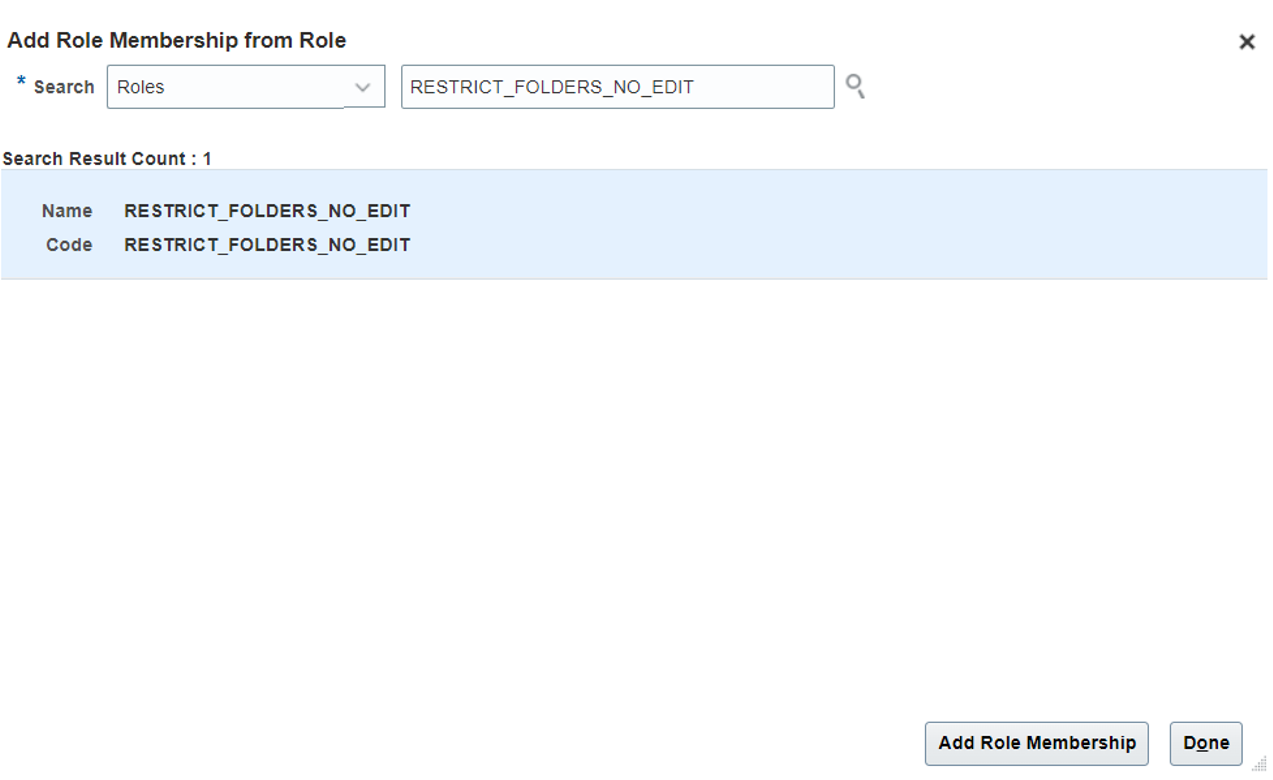
STEP 7: In this step, add the custom role that we have created earlier.
STEP 8: Navigate to the Analytics page
https://fa-erds-dev1-saasfaprod1.fa.ocs.oraclecloud.com/analytics
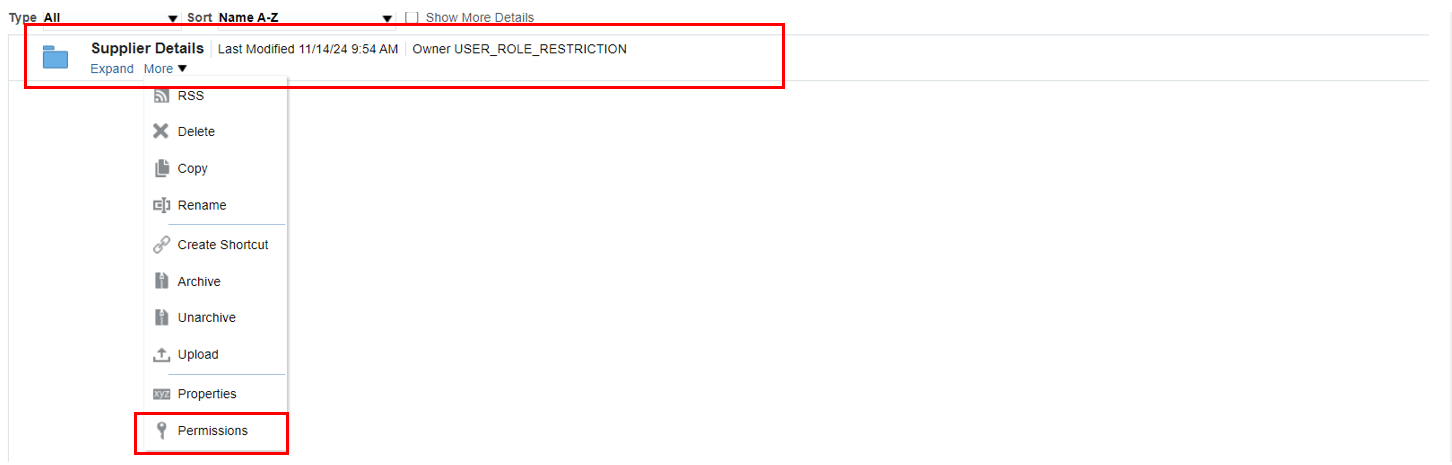
Then proceed to Catalog and select any folder.
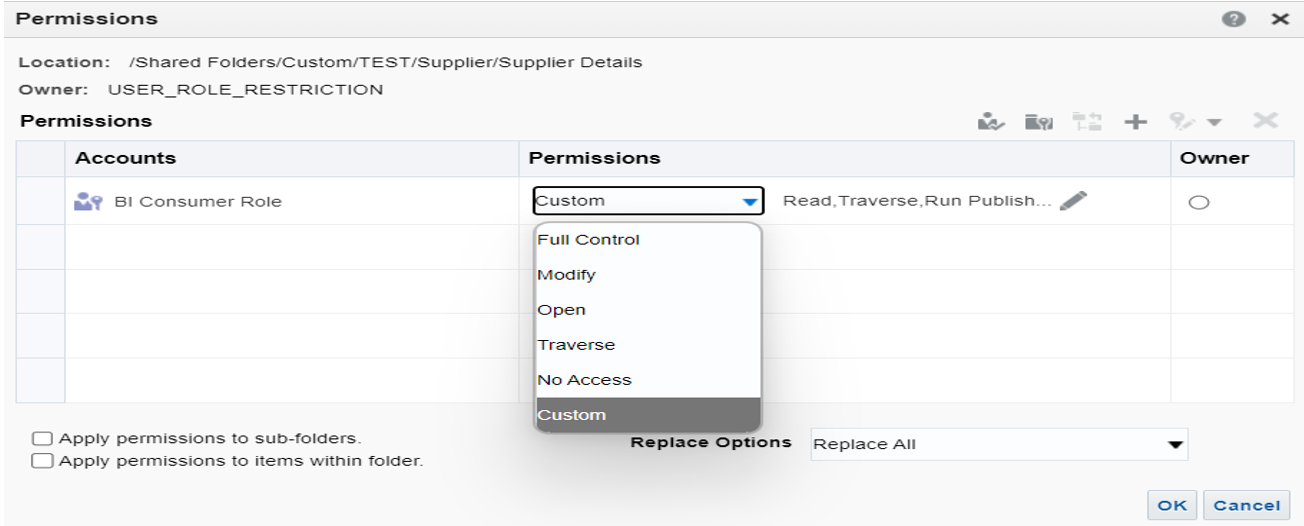
Next, go to More –> Permissions.
STEP 9 : Delete all other roles apart from BI Consumer Role .
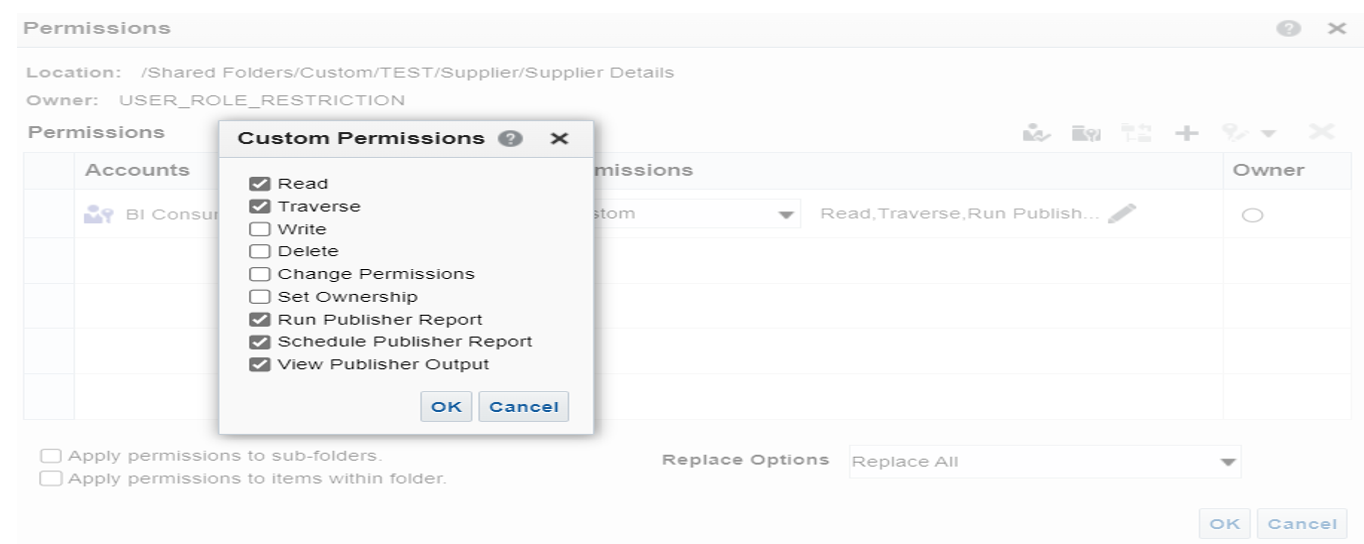
Select Custom Roles and Custom Permissions.
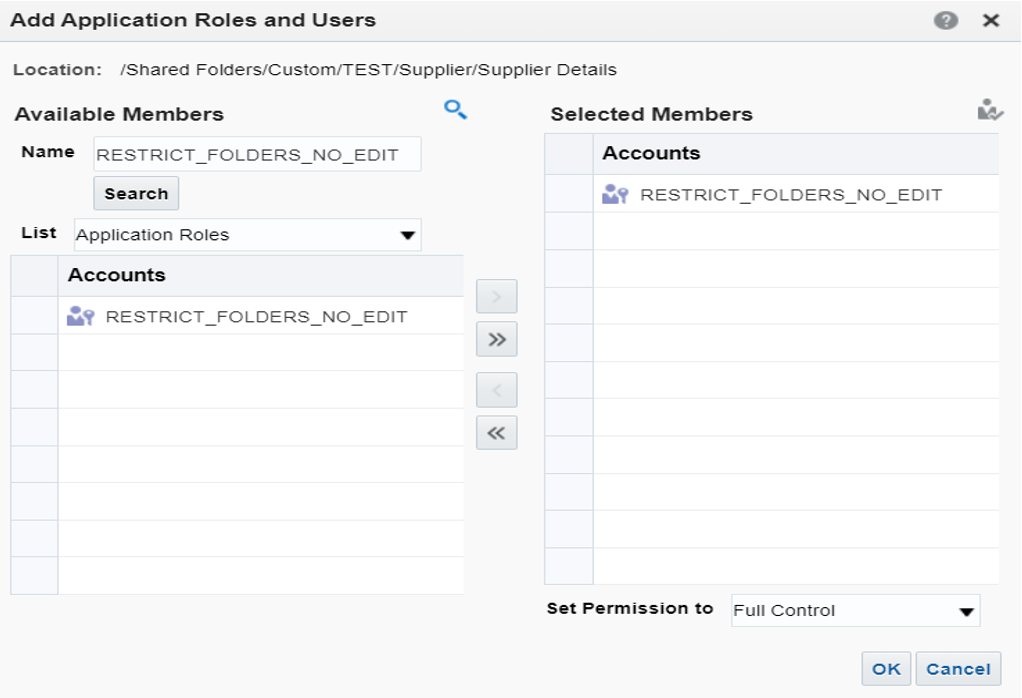
STEP 10 : Click ‘+’ sign and add Application Roles.
Click on Apply permissions to items within folder and Apply permissions to sub-folders and then OK.
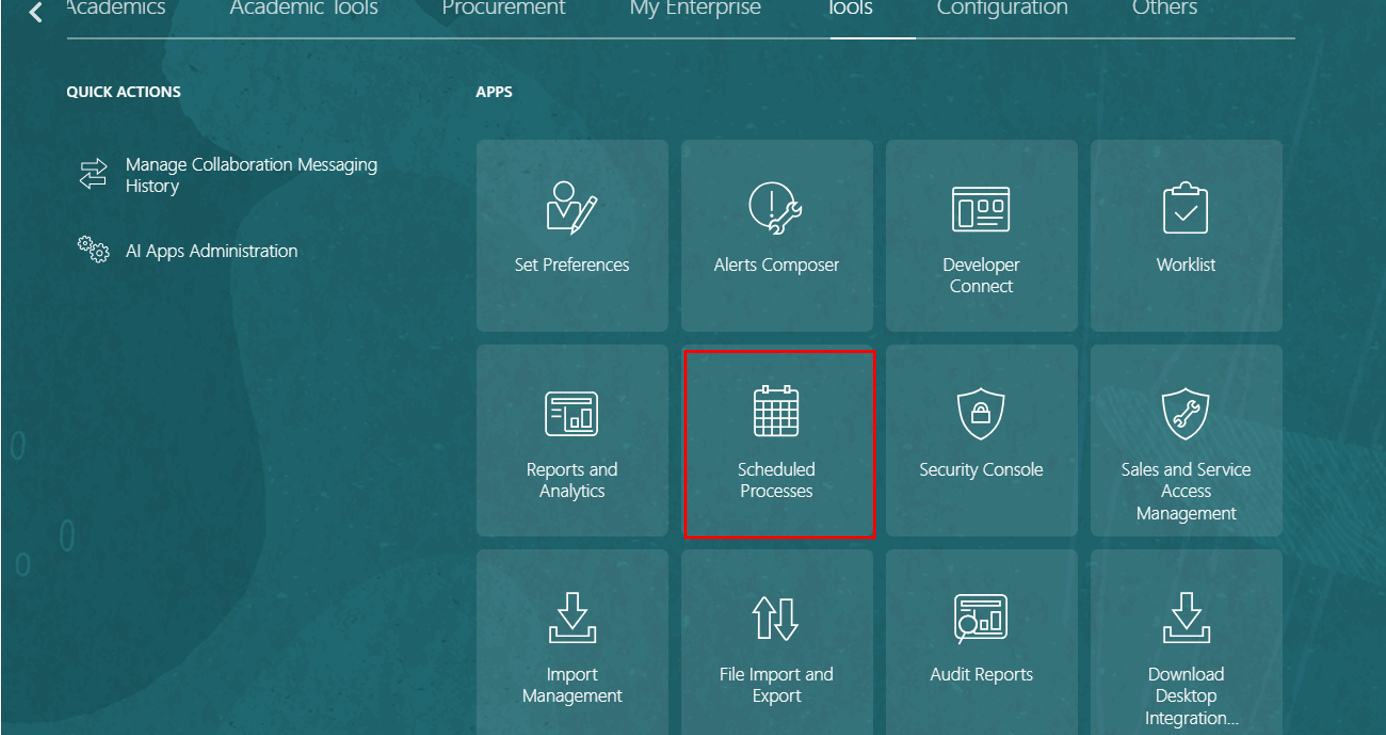
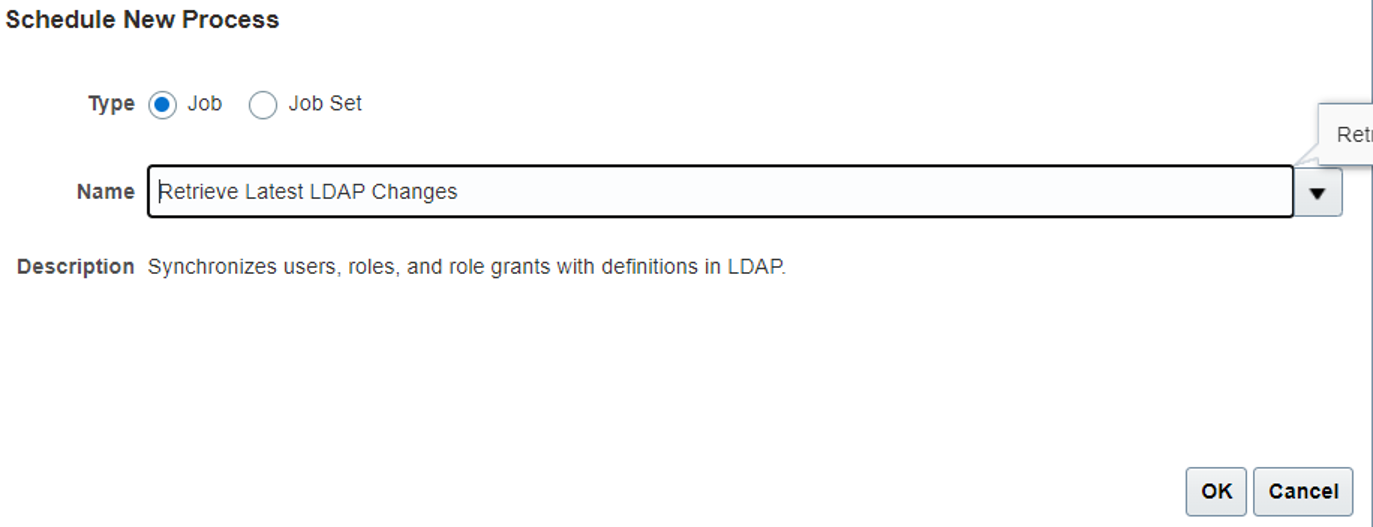
STEP 11 : Navigate to Home -> Tools -> Scheduled Process.
STEP 12: Next, go to Schedule New Process -> Retrieve Latest LDAP Changes.
STEP 13 : Navigate to the folder and expand it. Despite restricting the user with a custom role, the user will still have editing access.

For other users, the edit options will not be accessible.

CONCLUSION
Assigning a custom role alongside the BI Consumer role allows designated users to access and edit specific folders while limiting others to view-only permissions. This targeted role setup enhances security by ensuring only authorized users to modify folder content, supporting controlled access within Oracle BI. By implementing these selective permissions, organizations can achieve a balanced, secure, and efficient user experience that aligns with business and compliance needs. This approach maintains data integrity while empowering key users with the necessary editing capabilities. If you have any questions or concern, please get in touch with us on [email protected].
Nagaraju
Good Information Akanksha. It’s really worked for me.