In this blog, we’ll show how to use Oracle Vector Database 23AI as a knowledge base for your RAG workflows and make it more context-aware using OCI Gen AI agents.
Vector 23AI is an AI-powered vector database that makes it easy to search your data using natural language. Instead of manually going through folders or files, you can ask a question and get relevant results instantly, perfect for powering GenAI use cases.
Previously, we used Object Storage to store and retrieve our knowledge base content. Now, we’re transitioning to Vector 23AI for smarter search, faster access, and better performance in AI-driven applications.
Part 1 – Setting Up Knowledge Base
Step 1: Collect and Clean Raw Data.
To build a knowledge base, the first thing you need is your content like PDFs, Word files, or text documents. These could be company documents, support content, or internal guides.
Step 2: Implement Custom RAG Chunking Code.
Once the raw text is collected and cleaned, the next step is to split it into smaller, meaningful chunks. This is important for RAG, because large documents can’t be processed all at once and chunking helps retrieve only the most relevant parts when answering a query. You can use your desired chunking strategy.
Step 3: Generate Embeddings for Chunks.
Now that we have clean, chunked text, the next step is to convert each chunk into a vector (embedding). These embeddings allow Vector 23AI to search and match relevant content based on the meaning of a user’s query. You can use your desired embedding technique.
Step 4: Store Embeddings into Vector 23AI.
Now that we have embeddings for each chunk of text, the final step is to store them in Vector 23AI so they can be used for search and retrieval in your RAG-based GenAI agent.
Below is sample table structure used to store this data in Vector 23AI:
 Step 5: Write SQL Function to Retrieve the Chunks.
Once your embeddings are stored in the Vector 23AI table, the next step is to create a SQL function that retrieves the most relevant chunks based on a query vector. This is used during the RAG process, where the model retrieves supporting context before generating a response.
create or replace FUNCTION retrieval_func_ai_sop (
P_query IN VARCHAR2,
top_k IN NUMBER
) RETURN SYS_REFCURSOR IS
v_results SYS_REFCURSOR;
query_vec VECTOR;
BEGIN
query_vec := dbms_vector.utl_to_embedding(
P_query,
json(‘{
“provider”: “OCIGenAI”,
“url”: “https://inference.generativeai.eu-frankfurt-1.oci.oraclecloud.com/20231130/actions/embedText”,
“model”: “cohere.embed-multilingual-v3.0”
}’)
);
OPEN v_results FOR
SELECT
ID AS DOCID,
TEXT AS BODY,
VECTOR_DISTANCE(embedding, query_vec) AS SCORE
FROM VECTOR_STORE_TABLE_NAME
ORDER BY SCORE
FETCH FIRST top_k ROWS ONLY;
RETURN v_results;
END;
Part 2 – Creating an Agent in OCI
Step 1: Go to Developer Services > Database Tools > Click on Connections.
 Step 2: Click on the Create Connection Button.

Step 3: Fill in Connection Details and Set Up Vault.
Now, enter the details to create your database connection:
- Name: Give your connection a name.
- Database Cloud Service: Select Oracle Autonomous Database.
- Compartment: Choose the required compartment.
- Database: Select your target database.
 If you don’t have a password secret set up yet:
- Click on Create Password Secret.
- If no vault file exists, create a new Vault to store the secret securely.
- Then click on Create the connection will be created.
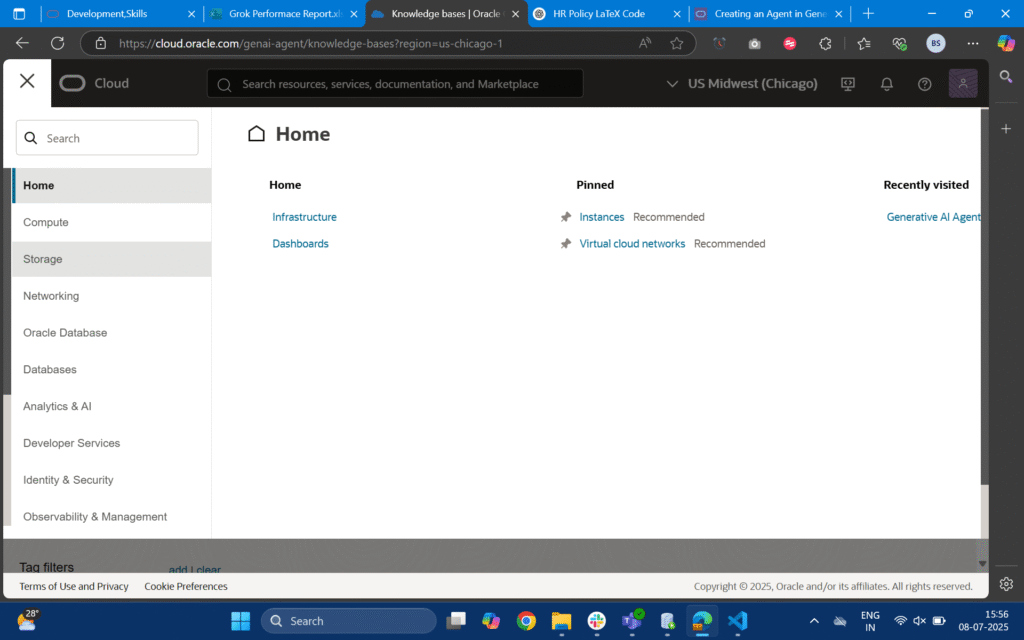
Step 4: After setting up your database connection, navigate to the GenAI Agents section in your cloud dashboard. From there, click on Knowledge Base this is where you’ll link your vector data source to your GenAI agent for RAG.
 Step 5: Click on Create Knowledge Base, enter a name, then select Database AI Vector Search as the source type. Choose your previously created database connection and click on Test Connection.
Step 6: From the dropdown, select your Vector Search Function, then click on Validate Function Behavior. Click create to finish setting up your knowledge base.
Step 7: Now that your knowledge base has been created, you can go to the Agents section and click on Create Agent.
Step 8: Enter all the required details like the agent name, description, and other basic settings. In the Tools section, select the Knowledge Base you created earlier. Once everything is filled in, click Create Agent.

Step 9: Wait for the agent creation process to complete. Once it’s ready, click on the agent’s name, then select Launch Chat. A chat window will open where you can start asking questions and see responses powered by your new knowledge base.
Conclusion
By integrating Vector 23AI as the knowledge base for your RAG workflows, you move beyond simple document storage and into a world of intelligent, context-aware search. Instead of shifting through files manually, OCI GenAI agents can now deliver more accurate responses backed by vector embeddings and semantic search.
This transition from Object Storage to Vector 23AI not only improves performance and scalability but also ensures your AI applications are future ready. With OCI’s seamless integration and the flexibility of Vector 23AI, you can easily build powerful OCI Gen AI agents that understand your data and provide meaningful, real-time insights.
The result? Smarter automation, more productive teams, and a stronger foundation for innovation. If you have any questions or concerns, please contact us at
[email protected].